What Are Data Mappings?
Data mappings are the connections you set between a form field and a piece of information already stored in your system — such as a customer's name, a policy's effective date, or your agency's phone number. Once a field is mapped, the system automatically fills it in when the form is generated, so you don't have to type that information manually every time.
Whether you're designing a PDF Form Template (like a certificate or insurance document) or a Web Form Template (like an intake or update form), the mapping process works through the same interface: the Field Mappings Selection panel.
Understanding the "Areas" — What Can Be Mapped?
When setting up a data mapping, you choose which part of the system your field should pull data from. These sections are called Areas. The 7 available areas are: Customer, Policy, Carrier, Office, Agent, Agency, and Date & Time. For the full list of fields available in each area, see the Quick Reference section below.
Each area contains a list of standard fields available for all users. Additionally, Customer and Policy areas also show your agency's Custom Fields — any extra fields you've defined for your customers or policies — labeled with a Custom badge so they're easy to identify.
How to Map a Field in a PDF Form Template
Data mappings for PDF forms are set directly inside the PDF Designer, available when editing a PDF Form Template under Administration → Customizations → Forms Templates → PDF Forms.
Step 1: Enable the Mapping Selector Switch
Before you can map fields by clicking on them, you need to turn on the Field Mappings toggle. Look for the switch in the top-right area above the PDF editor — it's labeled Field mappings. When the switch is turned on (shown in orange/yellow), clicking any field in the PDF will automatically open the mapping selector. When it's off, clicking a field selects it for design purposes only (positioning, resizing), without opening the mapping panel.
Also visible in this same area is the red Clear All Mappings button. This button removes every data mapping configured on the template in one action — use it when you want to start your mappings fresh. See the Clearing Mappings section below for details.

Step 2: Click a Field to Open the Mapping Panel
With the switch turned on, click any text field, checkbox, or other field on the PDF canvas. The Field Mappings Selection panel will open. At the top of the panel you'll see an information banner that confirms what mappings do: every time the form is generated, the mapped values will be filled in automatically. Below that, the panel is split into two columns — Areas on the left and Fields on the right.
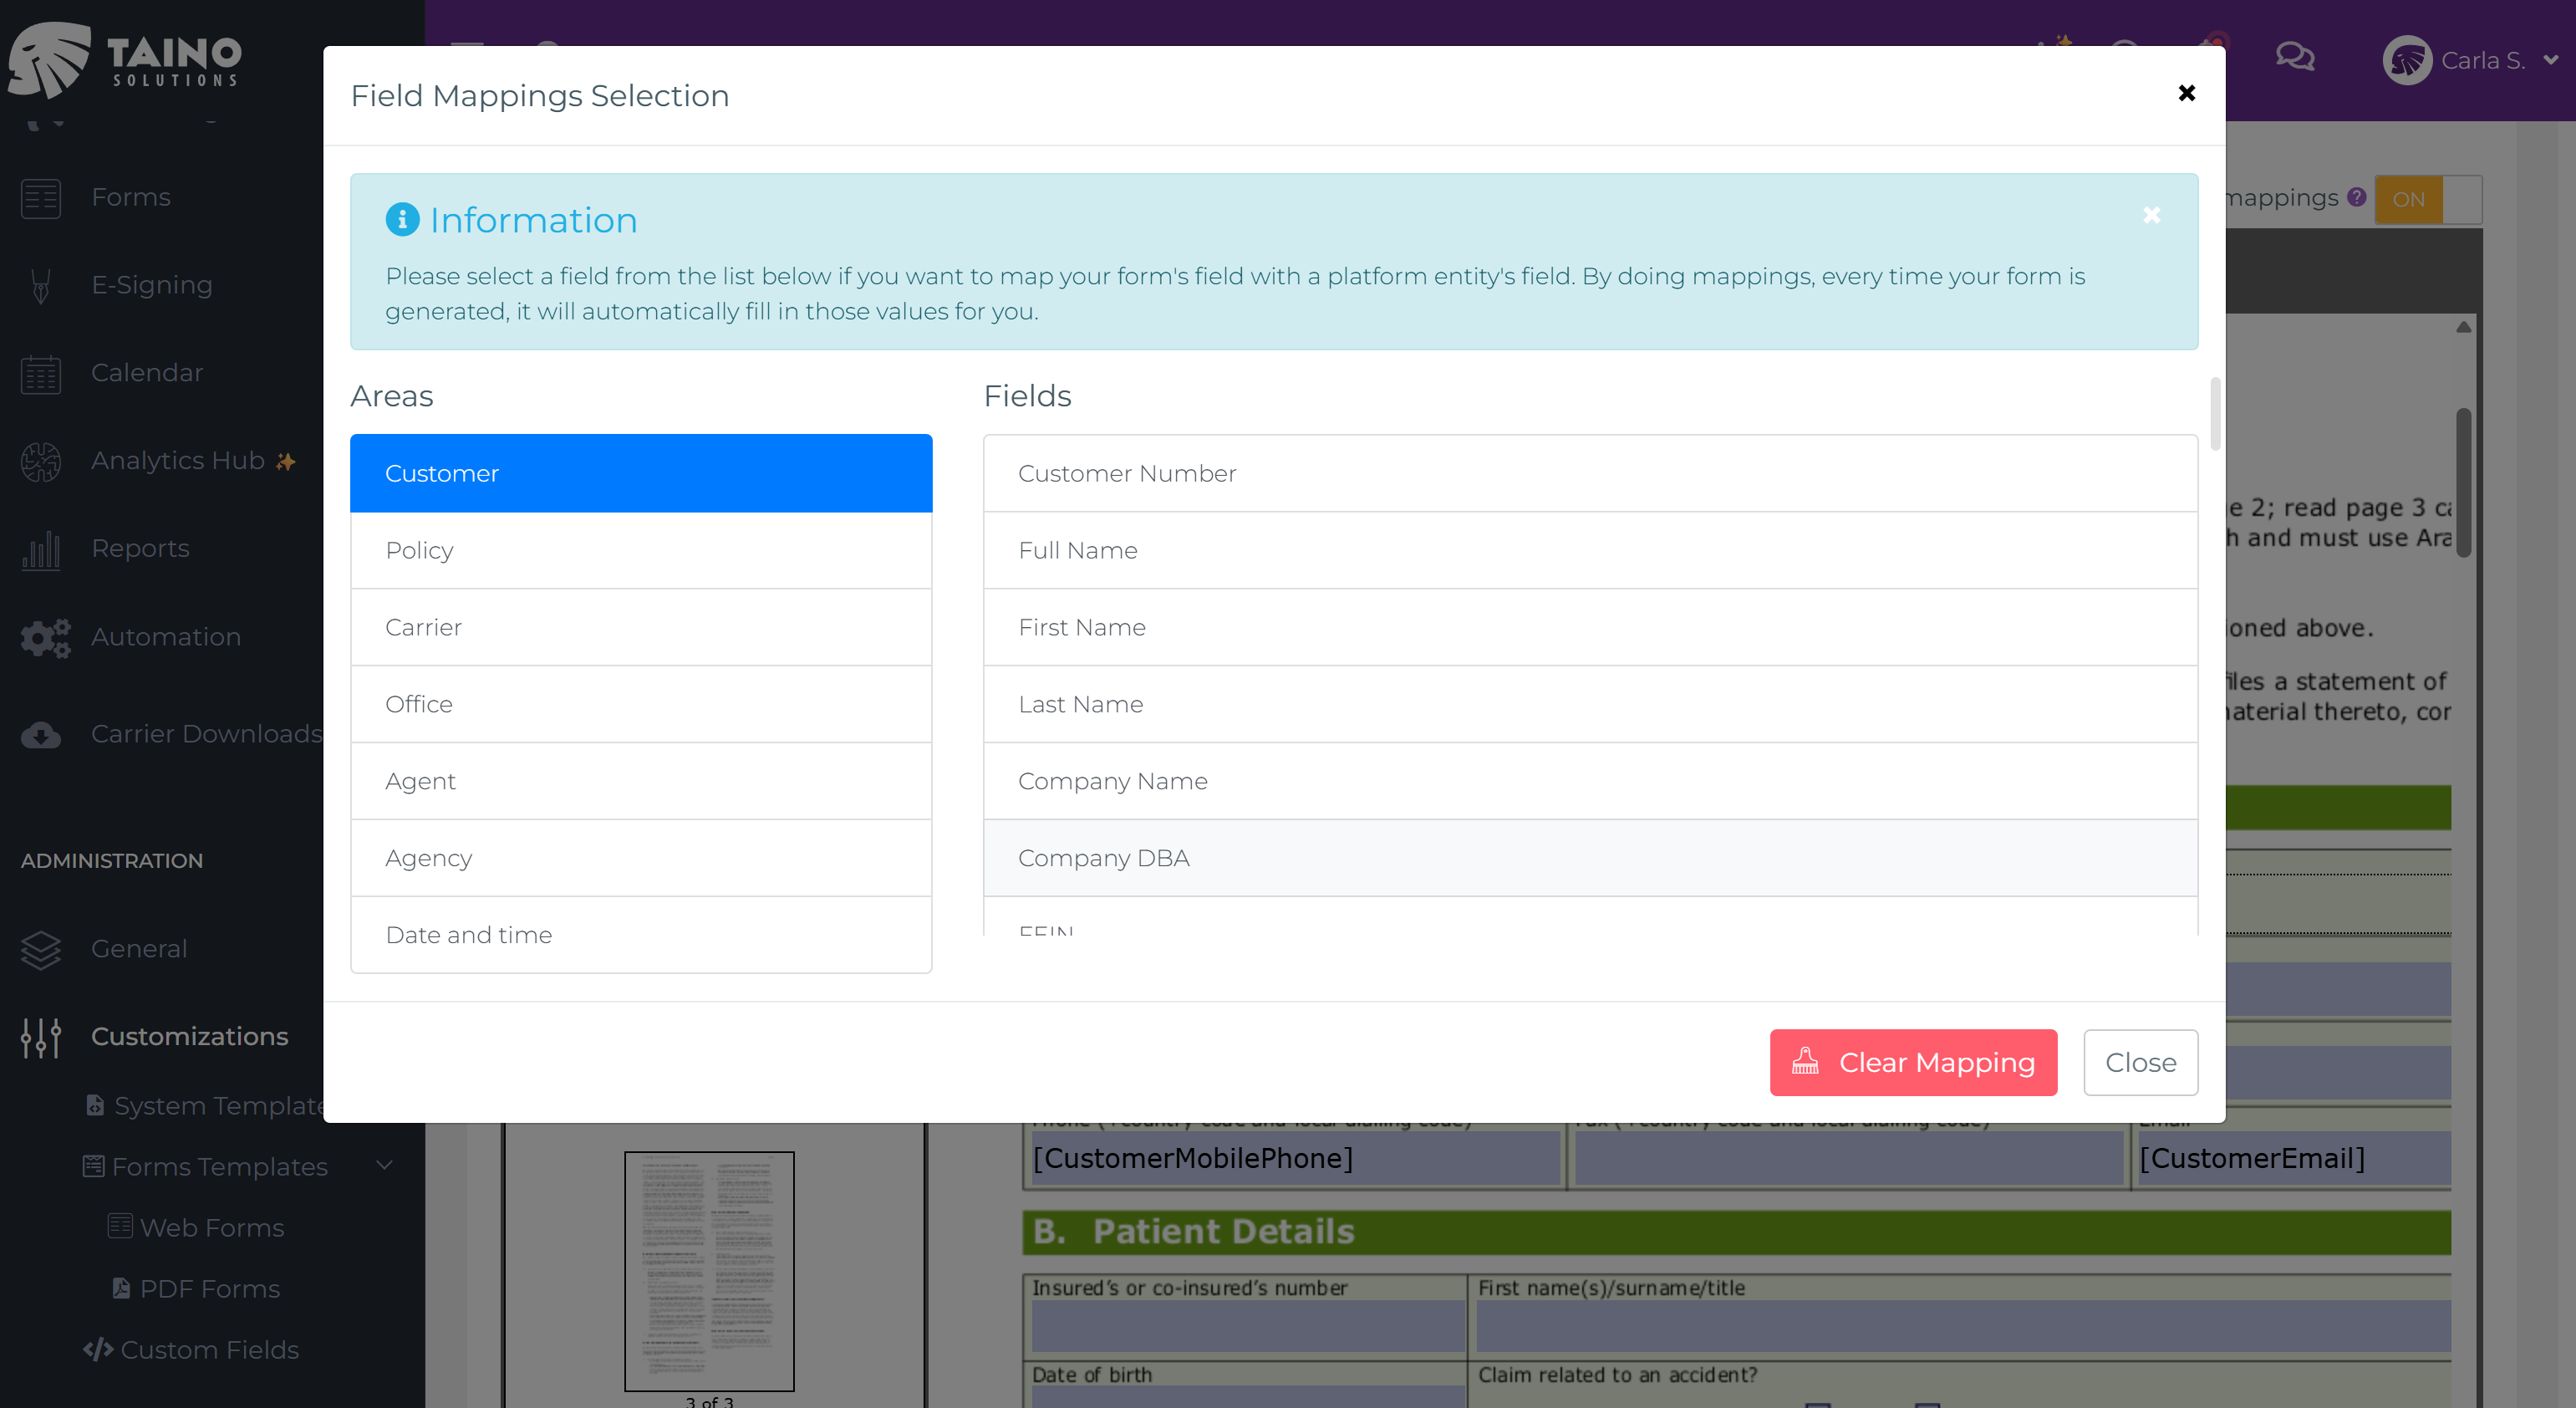
Step 3: Choose an Area and Select a Field
On the left side of the panel, you'll see the list of Areas (Customer, Policy, Carrier, Office, Agent, Agency, Date & Time). Click the area that contains the data you want to pull into this field. On the right side, the available fields for that area will appear. Standard fields are listed first; any Custom Fields your agency has created appear below the divider line, each marked with a Custom badge.
Click the field you want to map. The panel closes automatically and a placeholder label — such as [CustomerFirstName] or [PolicyNumber] — appears inside the PDF field, confirming that the mapping is set.
Step 4: Verify Your Mappings Across the Form
Once you start mapping fields, it helps to see the whole picture. With the Field mappings switch ON, every mapped field displays its placeholder token directly inside the PDF field. For example, a form section might show:
[PolicyNumber]— the policy number for the insurance record[CustomerFullName]— the insured's full name[CustomerDateOfBirth]— the insured's date of birth[CustomerFullAddress]— the insured's full correspondence address[CustomerMobilePhone]— the insured's mobile phone number
Fields without a mapping remain blank. Scroll through the form to check every section — any field showing its original label or left empty still needs a mapping assigned (or is intentionally left for manual entry).
![PDF Form editor with Field mappings ON, showing placeholder tokens such as [PolicyNumber], [CustomerFullName], [CustomerDateOfBirth] and [CustomerFullAddress] inside the mapped fields](/content/articles/data-mappings-in-form-templates/pdf-mapped-fields-overview-en.png)
Clearing Mappings
There are two ways to remove mappings, depending on what you need:
- Remove a single field's mapping: Make sure the Field mappings switch is on, then click the specific field whose mapping you want to remove. The mapping panel will open. At the bottom of the panel, click the red Clear Mapping button. The placeholder label will be removed from that field and the connection to system data will be cleared — without affecting any other mapped fields.
- Remove all mappings at once: Click the red Clear All Mappings button in the top-right corner of the PDF card (visible above the editor, next to the Field mappings switch). This removes every data mapping from the entire template in one action. Use this when you want to remap the whole form from scratch.
How to Map a Field in a Web Form Template
Web form data mappings work through the field card on the Web Form Designer canvas. Navigate to Administration → Customizations → Forms Templates → Web Forms, open or create a template, and add your fields using the drag-and-drop designer. Here's what each state looks like:
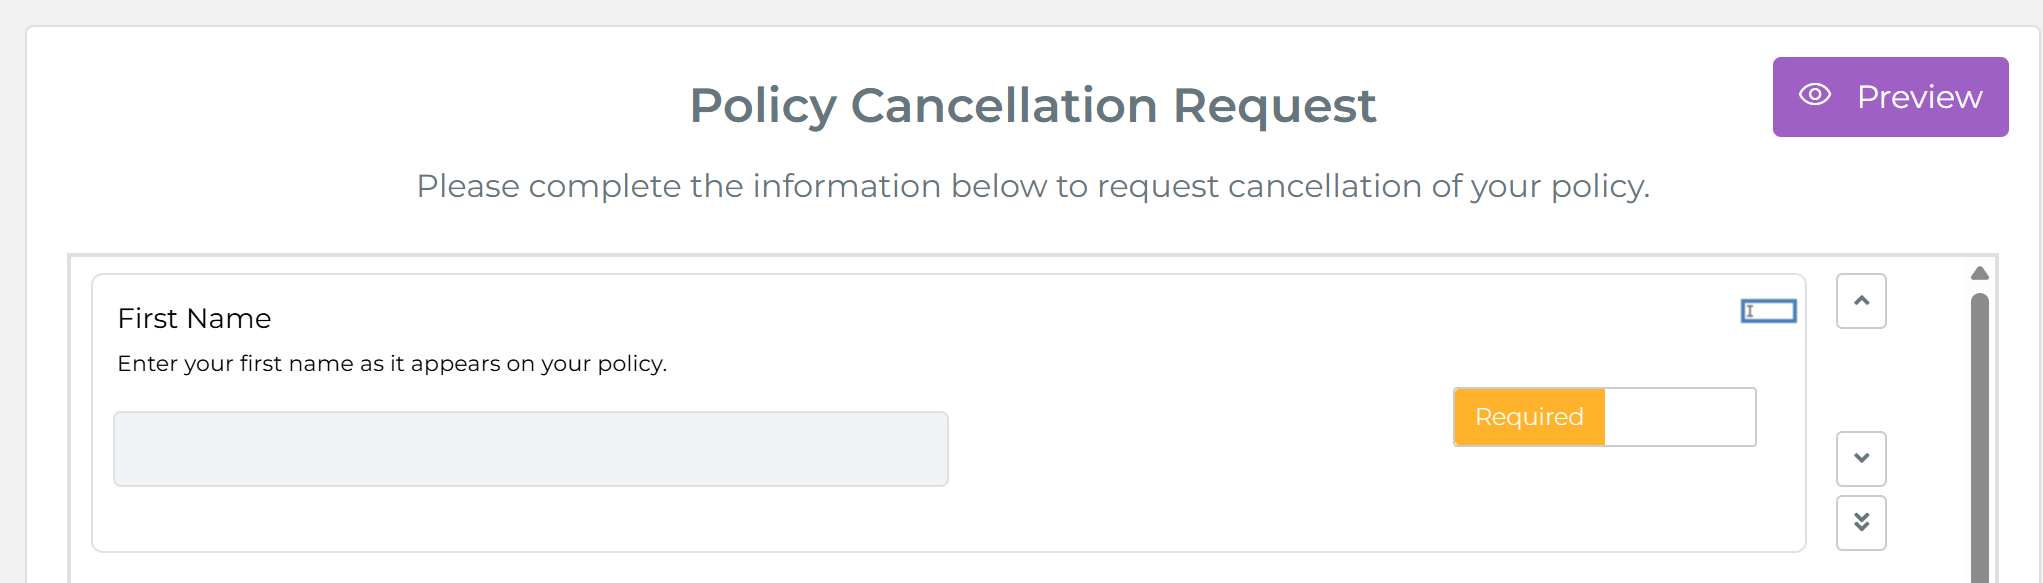
1. Field as dropped onto the canvas
When a field is first added to the canvas, the card shows the field label, its description, and the input area. No mapping is set yet — the field is ready to be configured.
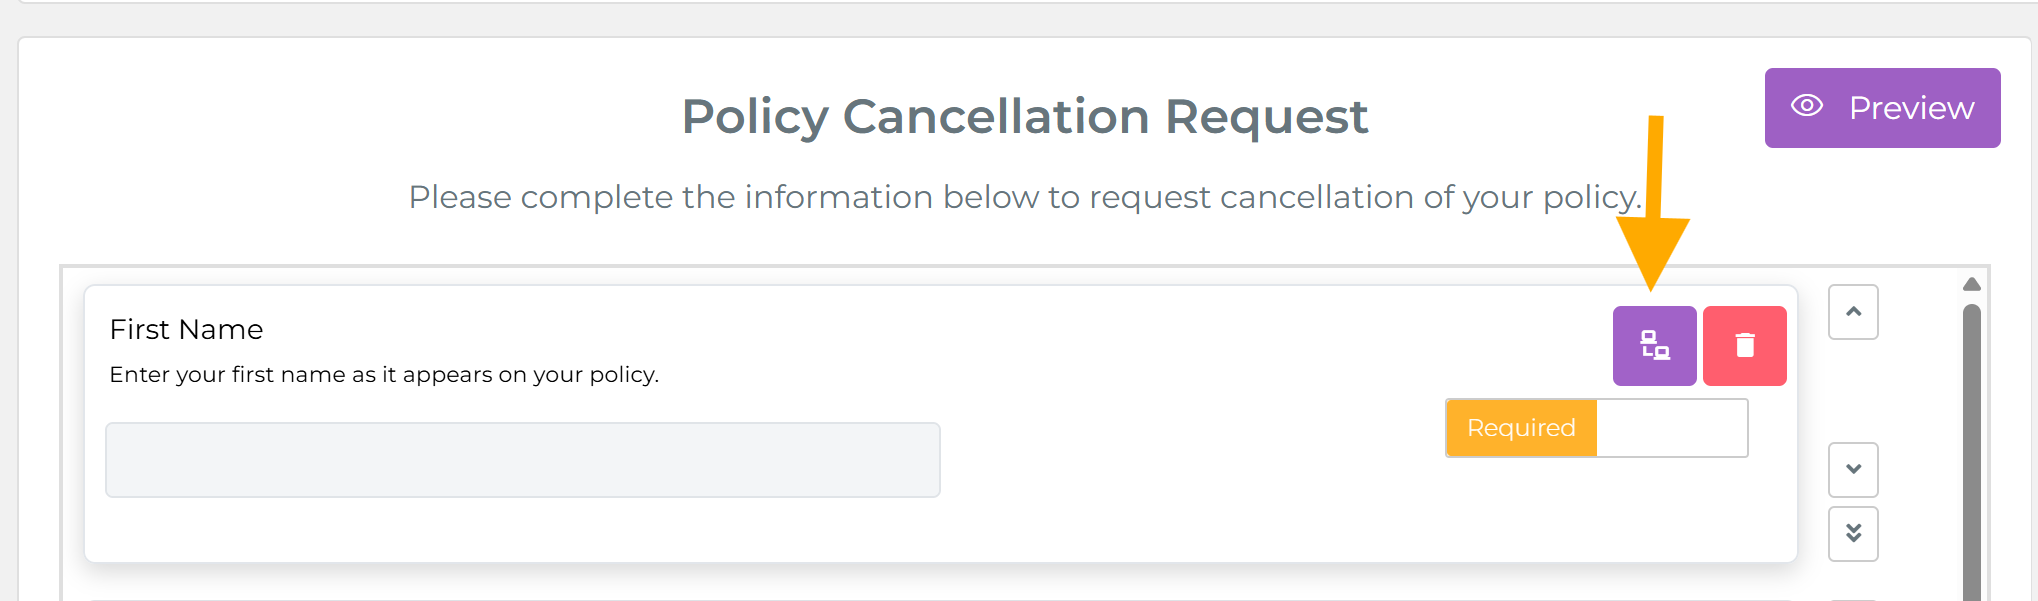
2. Hover to reveal the mapping button
Hover over the field card and two action buttons appear on the right: a purple mapping icon (the data mapping button) and a red delete button. Click the purple button to open the Field Mappings Selection panel — the same panel used in PDF forms. Select the area and field as described above.
3. Field with mapping set
Once a mapping is configured, the field card displays a purple "Mapped to:" label showing the exact placeholder token — for example, Mapped to: [CustomerFirstName]. This makes it easy to verify at a glance which data each field is connected to.
![Web Form field card showing 'Mapped to: [CustomerFirstName]' purple label after mapping is set](/content/articles/data-mappings-in-form-templates/webform-field-mapped-label.png)
4. Hover over a mapped field to remove the mapping
If you hover over a field that already has a mapping, the purple button changes to an UnMap action. Clicking it removes the data mapping from that field without deleting the field itself.

What Happens When a Form Is Generated?
Once a form is generated for a specific customer or policy, the system looks at each mapped field and replaces the placeholder with the actual data from that record. For example:
- A field mapped to Customer → First Name will show the customer's actual first name
- A field mapped to Policy → Effective Date will show that policy's start date
- A field mapped to Date & Time → Creation Date will show today's date at the moment the form is generated
- A field mapped to a Custom Field (e.g., "Vehicle VIN") will show that customer's or policy's value for that custom field
Fields that have no mapping will remain blank and can be filled in manually at generation time.
Quick Reference: Available Fields by Area
Customer
| Field Name | Placeholder Token |
|---|---|
| Customer Number | [CustomerNumber] |
| Full Name | [CustomerFullName] |
| First Name | [CustomerFirstName] |
| Last Name | [CustomerLastName] |
| Company Name | [CustomerCompanyName] |
| Company DBA | [CustomerDBA] |
| FEIN | [CustomerFEIN] |
| Gender | [CustomerGender] |
| Marital Status | [CustomerMaritalStatus] |
| Date of Birth | [CustomerDateOfBirth] |
| Office Name | [CustomerOfficeName] |
[CustomerEmail] | |
| Mobile Phone | [CustomerMobilePhone] |
| SMS Consent | [CustomerMobilePhoneSmsConsent] |
| Work Phone | [CustomerWorkPhone] |
| Fax | [CustomerFax] |
| Website | [CustomerWebsite] |
| SSN | [CustomerSSN] |
| Driver License | [CustomerDriverLicense] |
| Driver License State | [CustomerDriverLicenseState] |
| Personal Full Address | [CustomerFullAddress] |
| Personal Address Street 1 | [CustomerAddressStreet1] |
| Personal Address Street 2 | [CustomerAddressStreet2] |
| Personal Address City | [CustomerAddressCity] |
| Personal Address State | [CustomerAddressState] |
| Personal Address Zip Code | [CustomerAddressZipCode] |
| Personal Address Country | [CustomerAddressCountry] |
| Business Full Address | [CustomerFullBusinessAddress] |
| Business Address Street | [CustomerBusinessAddressStreet1] |
| Business Address Street 2 | [CustomerBusinessAddressStreet2] |
| Business Address City | [CustomerBusinessAddressCity] |
| Business Address State | [CustomerBusinessAddressState] |
| Business Address Zip Code | [CustomerBusinessAddressZipCode] |
| Business Address Country | [CustomerBusinessAddressCountry] |
| + any Custom Fields defined for Customers | |
Policy
| Field Name | Placeholder Token |
|---|---|
| Policy Number | [PolicyNumber] |
| Effective Date | [PolicyEffectiveDate] |
| Expiration Date | [PolicyExpirationDate] |
| Cancelled Date | [PolicyCancellationDate] |
| Payments Due Day | [PolicyPaymentDueDay] |
| Carrier | [PolicyCarrierName] |
| Business Type | [PolicyBusinessType] |
| Office | [PolicyOfficeName] |
| Description | [PolicyDescription] |
| Product Name | [PolicyProductName] |
| Term | [PolicyTerm] |
| Line of Business | [PolicyLineOfBusinesses] |
| Base Premium | [PolicyPremiumAmount] |
| Total Premium (Final Amount Due) | [PolicyPremiumAmountTotal] |
| + any Custom Fields defined for Policies | |
Carrier
| Field Name | Placeholder Token |
|---|---|
| Name | [PolicyCarrierName] |
| Street | [PolicyCarrierAddressStreet1] |
| Street 2 | [PolicyCarrierAddressStreet2] |
| City | [PolicyCarrierAddressCity] |
| State | [PolicyCarrierAddressState] |
| Zip Code | [PolicyCarrierAddressZipCode] |
| Country | [PolicyCarrierAddressCountry] |
[PolicyCarrierEmail] | |
| NAIC Code | [PolicyCarrierNAIC] |
Office
- Office Name, DBA, TIN, Time Zone, Phone, Fax
- Office Address (Full, Street, City, State, Zip, Country)
Agent
- First Name, Last Name, Full Name, Email, Work Phone, Mobile Phone
Agency
- Agency Name, Website URL
- Agency Address (Full, Street, City, State, Zip, Country)
Date & Time
- Creation Date (Full), Creation Date Year, Month Number, Month Name
- Day Number, Day of Week Name, Creation Time