Generating Web Forms from Existing Templates
In Taino Solutions, agents can easily generate web forms for customers or policies by using pre-existing templates. This process is straightforward and can be done directly from the Customer or Policy page. Once generated, the web form can be shared via email or SMS with the customer. Let’s walk through the steps:
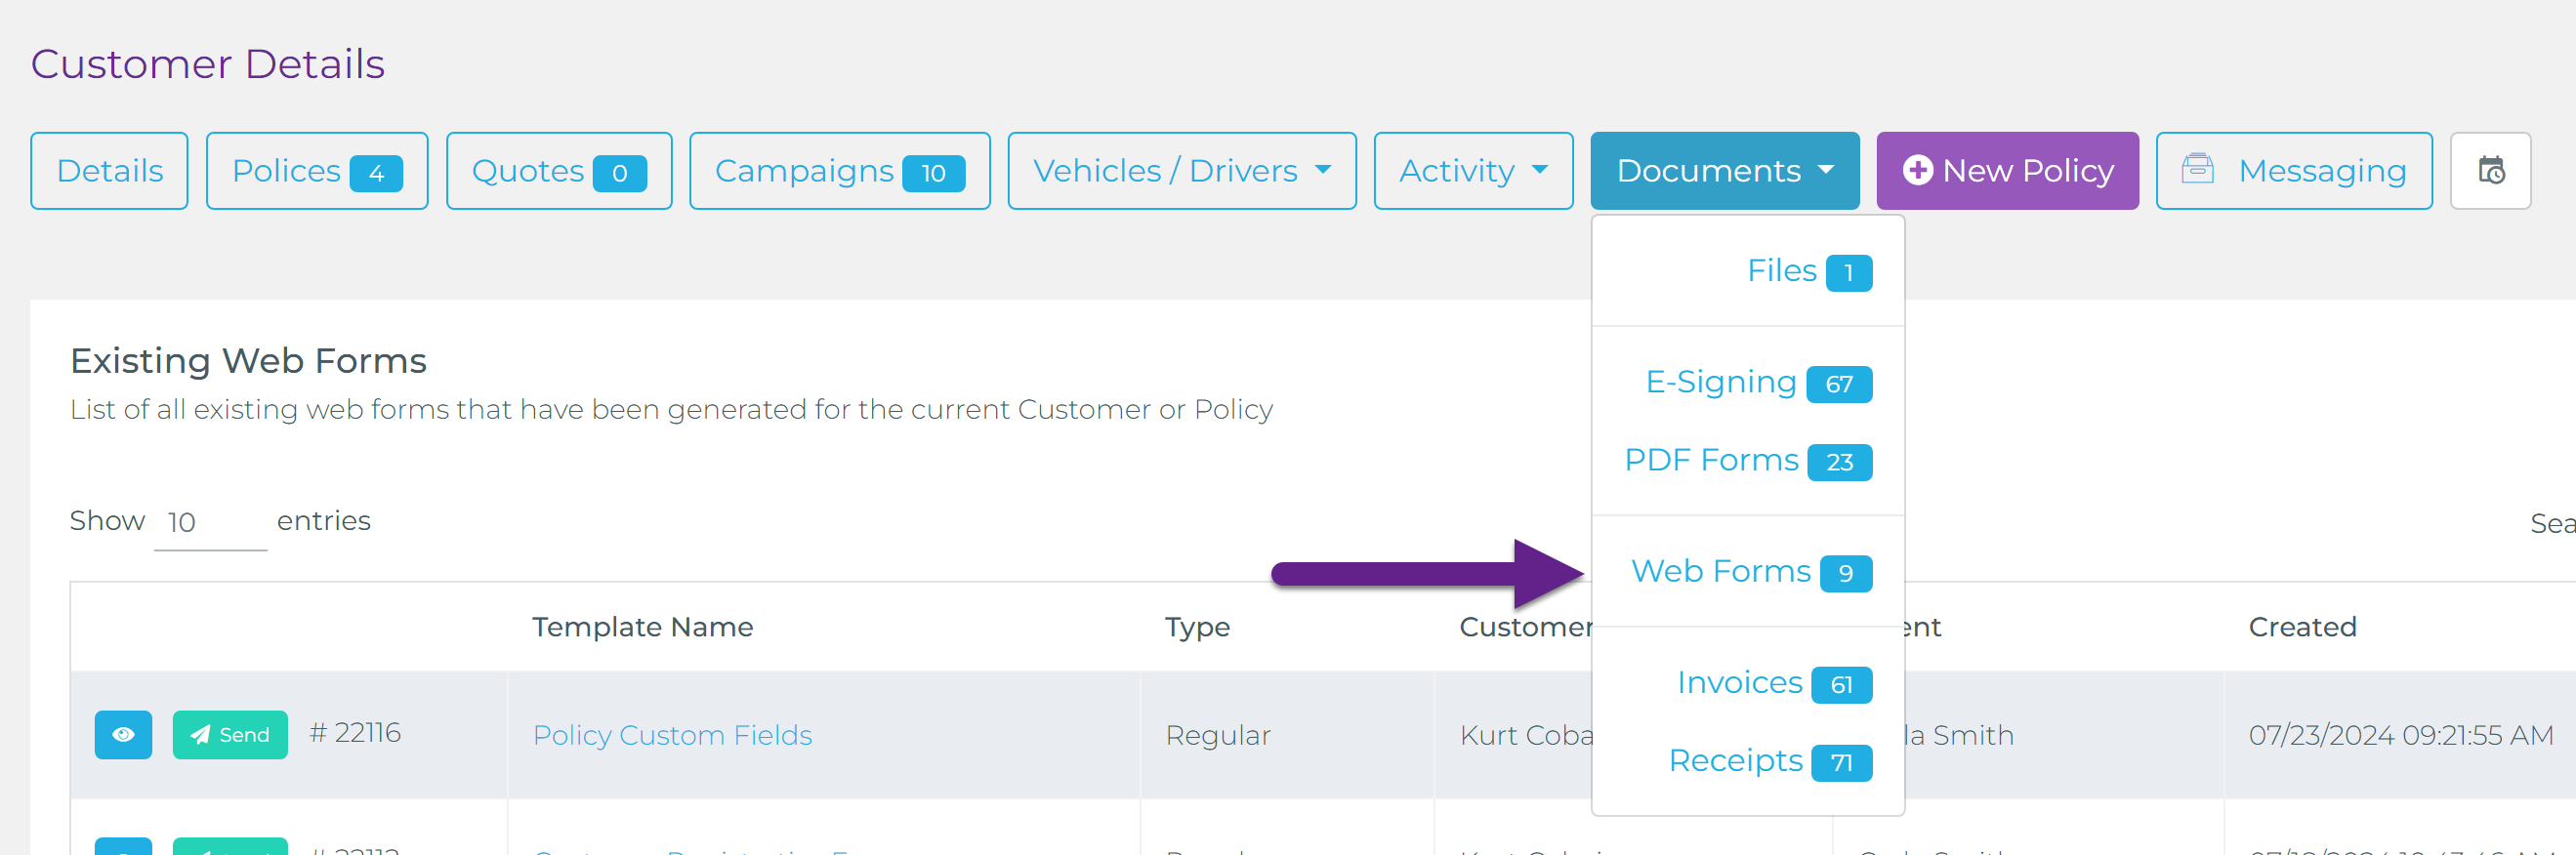
Step 1: Navigate to the Web Forms Section
To start, go to either a Customer or Policy page, depending on where you want to generate the web form. In both cases, follow these navigation steps:
- From the top menu, click on Documents.
- Under the Documents menu, select Web Forms.
Step 2: Create a New Web Form
In the Web Forms section, you’ll find a button labeled Create Form. Click this button to start generating a new form:
- A pop-up window will appear, allowing you to select a form from your list of existing templates.
- Browse through the list and select the appropriate template that fits your needs (e.g., a policy update form, customer information form, etc.).
- Once the template is selected, the system will generate the web form for you.

Step 3: Share the Web Form
After generating the web form, you’ll have the option to share it with the customer through the following methods:
- Email: Send the web form directly to the customer’s email address.
- SMS: Send the form via SMS, allowing the customer to fill it out on their mobile device.
This flexibility ensures that the customer can access and complete the form in a way that suits them best.

Step 4: Managing Submitted Forms
Once the customer completes and submits the web form, you will receive a notification, alerting you that the form has been submitted. The submitted form will be automatically stored under the Web Forms section in the customer’s or policy’s record for easy access.
Step 5: Automated Workflows and Pipelines
If you have any automated pipelines set up that are triggered by web form submissions, those workflows will kick into action once the form is submitted. Depending on your automation setup, this could include tasks like:
- Creating tasks or reminders for follow-up actions.
- Generating documents based on the form submission data.
- Updating customer or policy records with new information.
- Sending automatic notifications or emails based on the data received.
These automated actions ensure that the process is streamlined, saving you time and reducing the risk of missing important steps in the workflow.
Conclusion
Generating web forms from templates in Taino Solutions is a simple and efficient process that allows you to gather important data from customers or policies. With the ability to share forms via email or SMS and the power of automated pipelines, managing web forms is seamless, ensuring that you can focus on what matters most.
Watch the video below for a step-by-step tutorial: