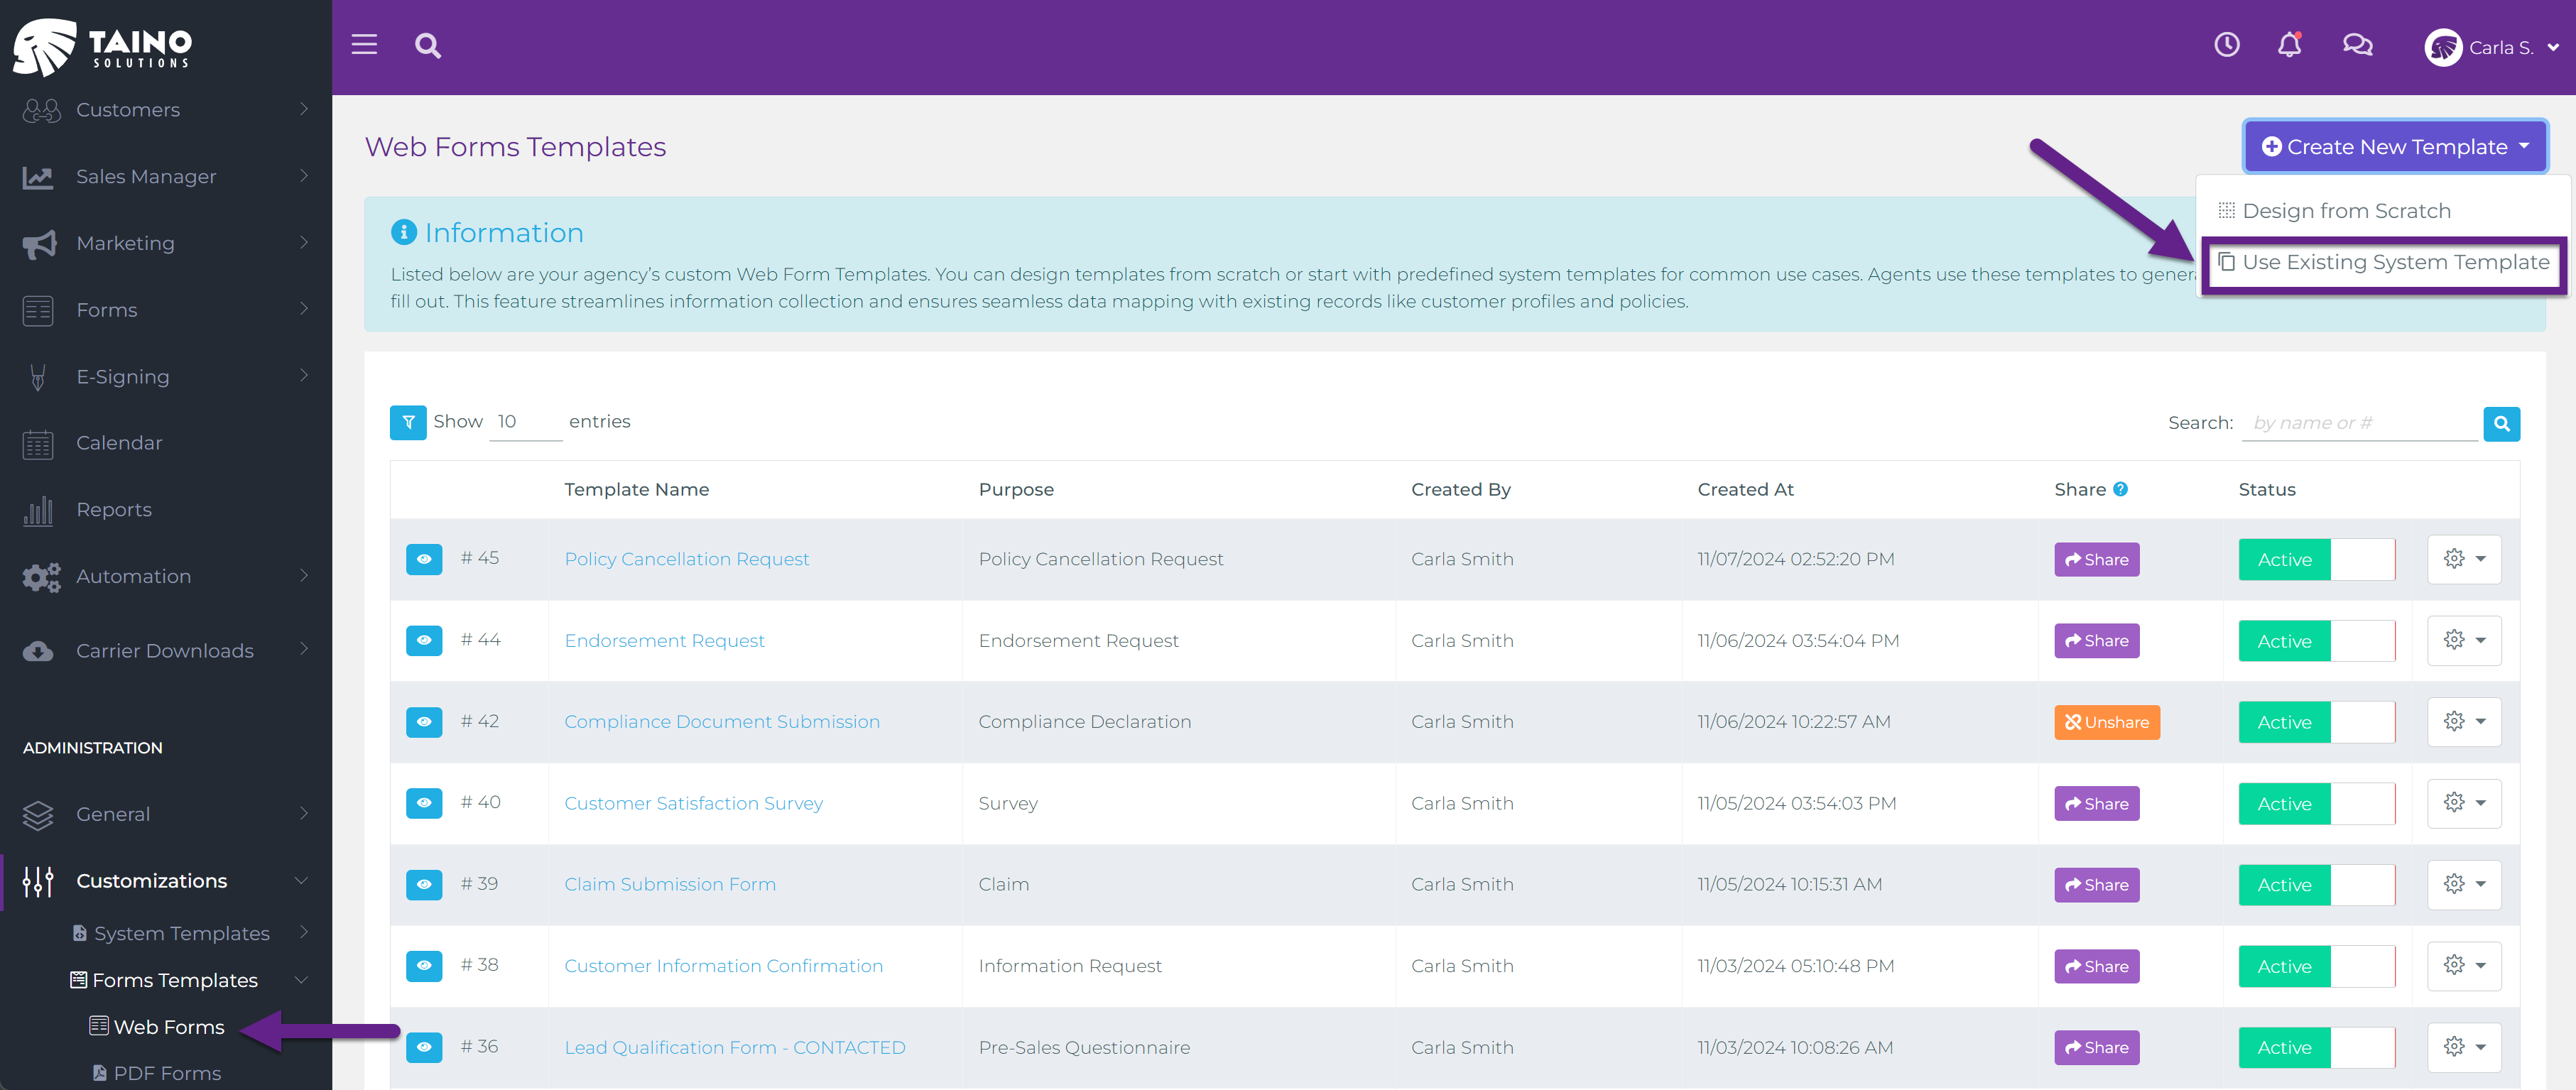
Step 1: Access the Web Forms Templates Section
In the left menu, go to Administration -> Customizations -> Forms Templates -> Web Forms. This displays a list of all web form templates in your agency’s account. Templates can be either enabled or disabled. When enabled, they become available for generating web forms across the agency.
Step 2: Begin Adding a New Web Form Template
In the top right corner, click the Create New Template button. A dropdown menu will appear with two options:
- Design from Scratch – to build a custom web form template tailored to your specific needs. For step-by-step instructions on designing from scratch, refer to the Creating Custom Web Forms Templates article.
- Use Existing System Template – to select from pre-built templates that streamline common tasks.
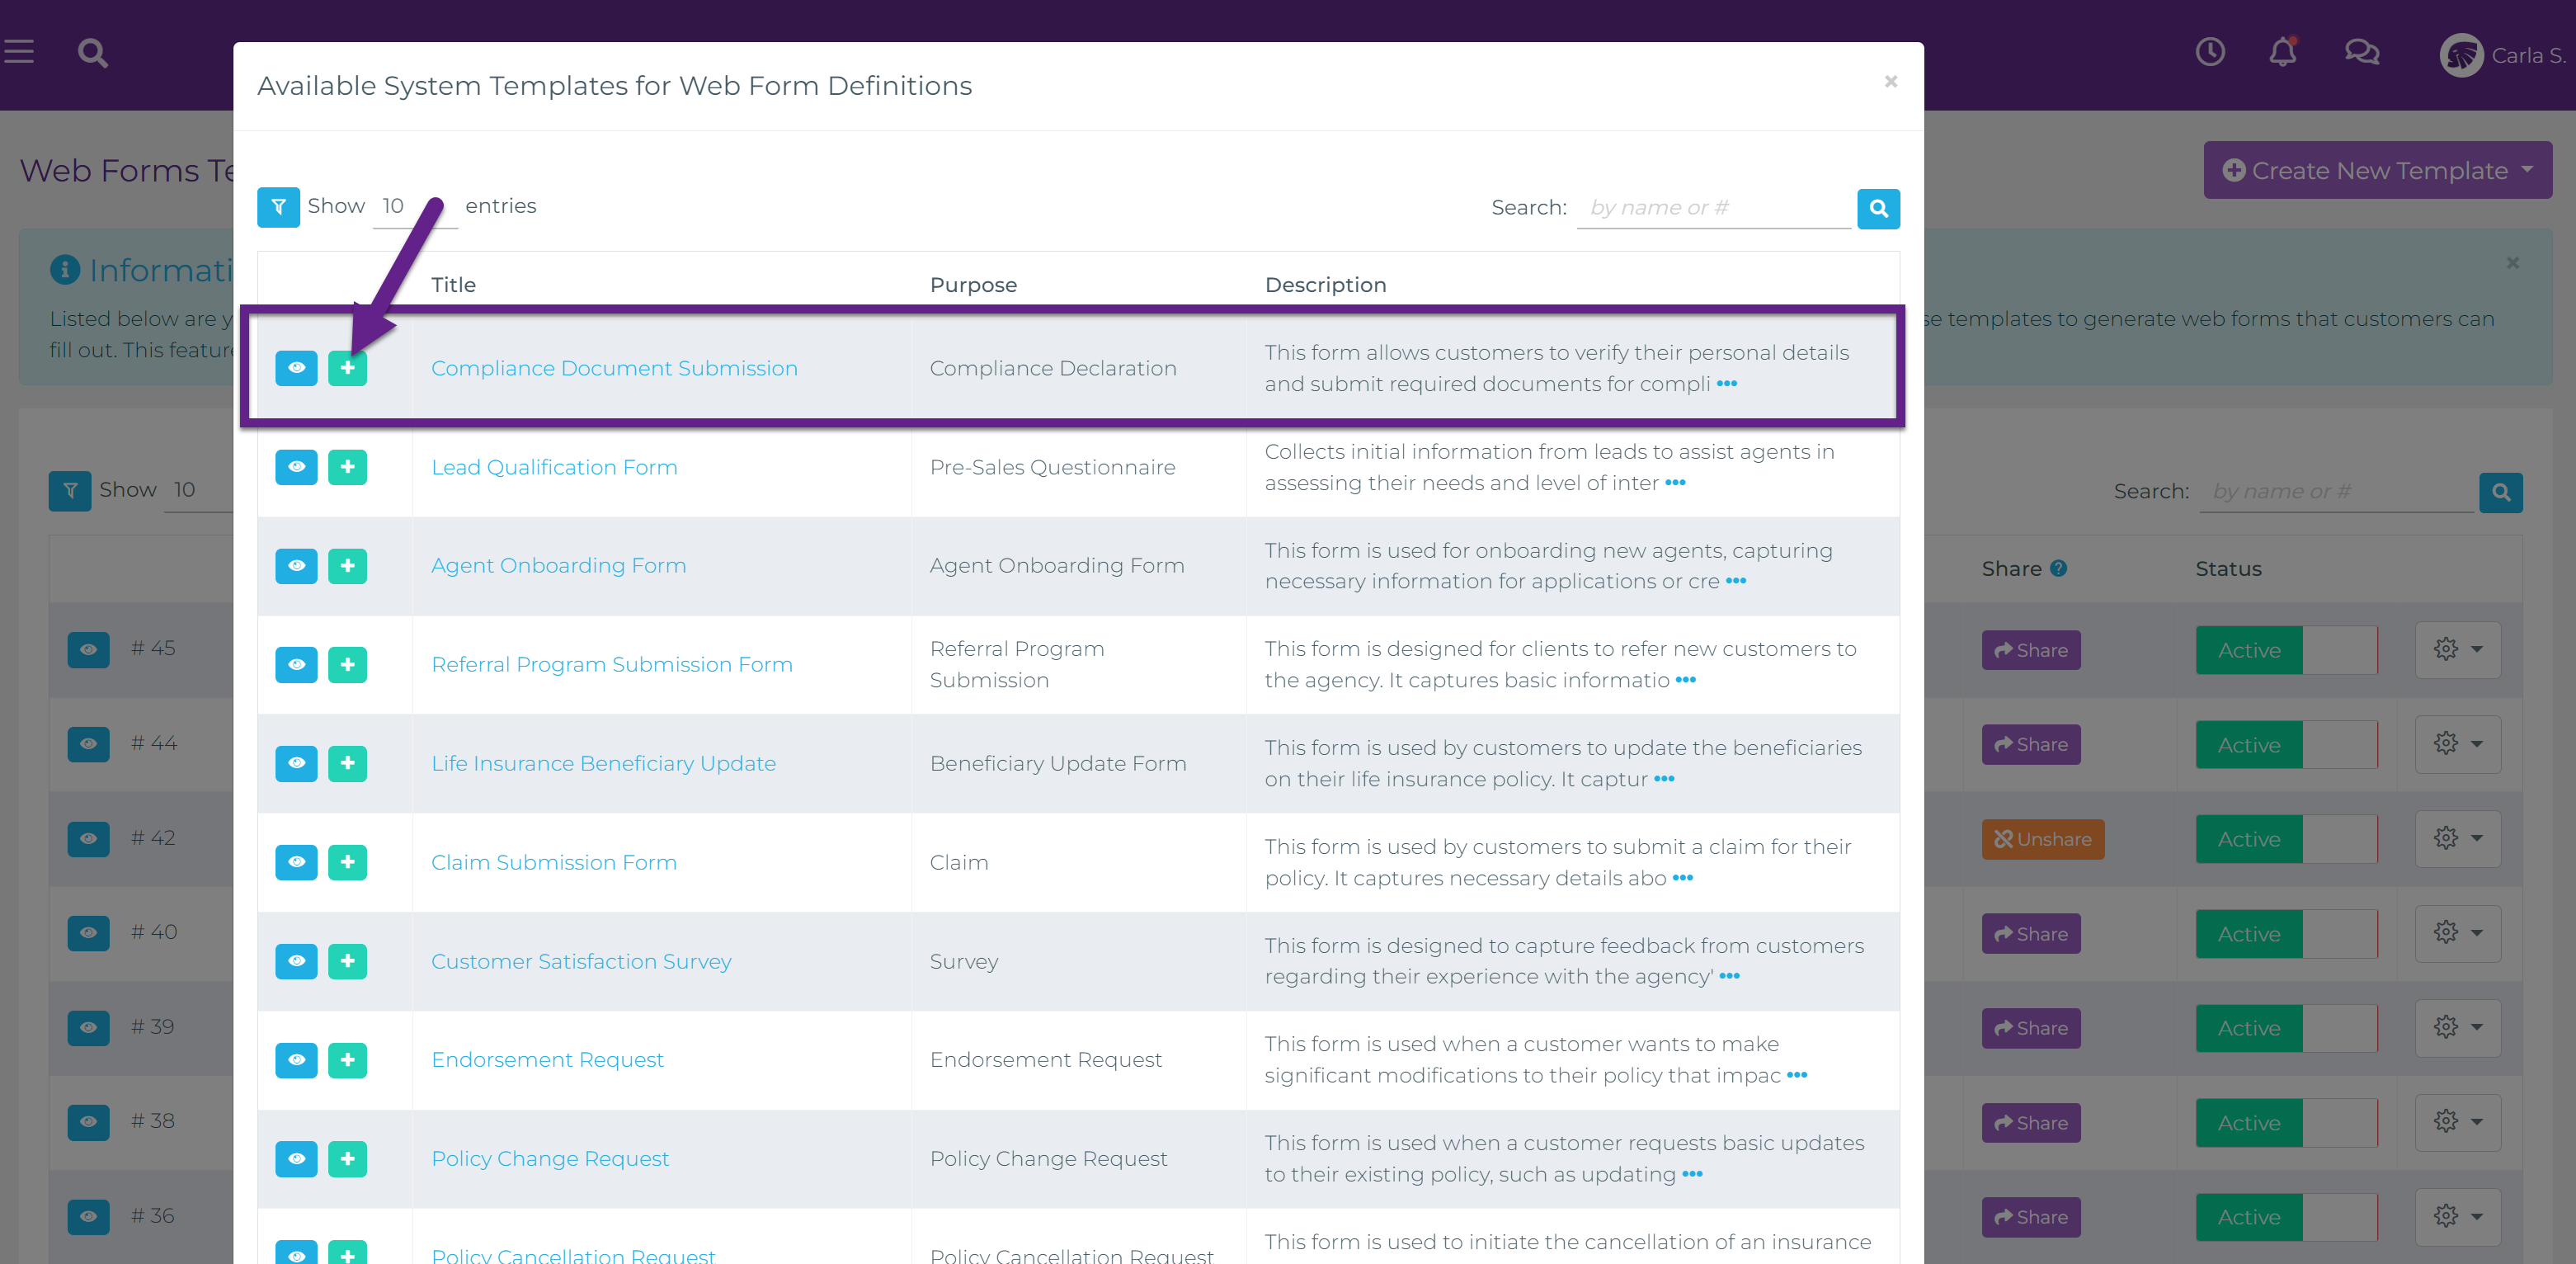
Step 3: Choose a System Web Form Template
A modal will pop up, displaying the list of available pre-built web form templates. Browse the list to find a template that best matches your needs, such as Customer Information Confirmation, Quote Request, Compliance Document Submission, Policy Cancellation Request, or Lead Qualification Form. Once you’ve chosen a system template, click Add.
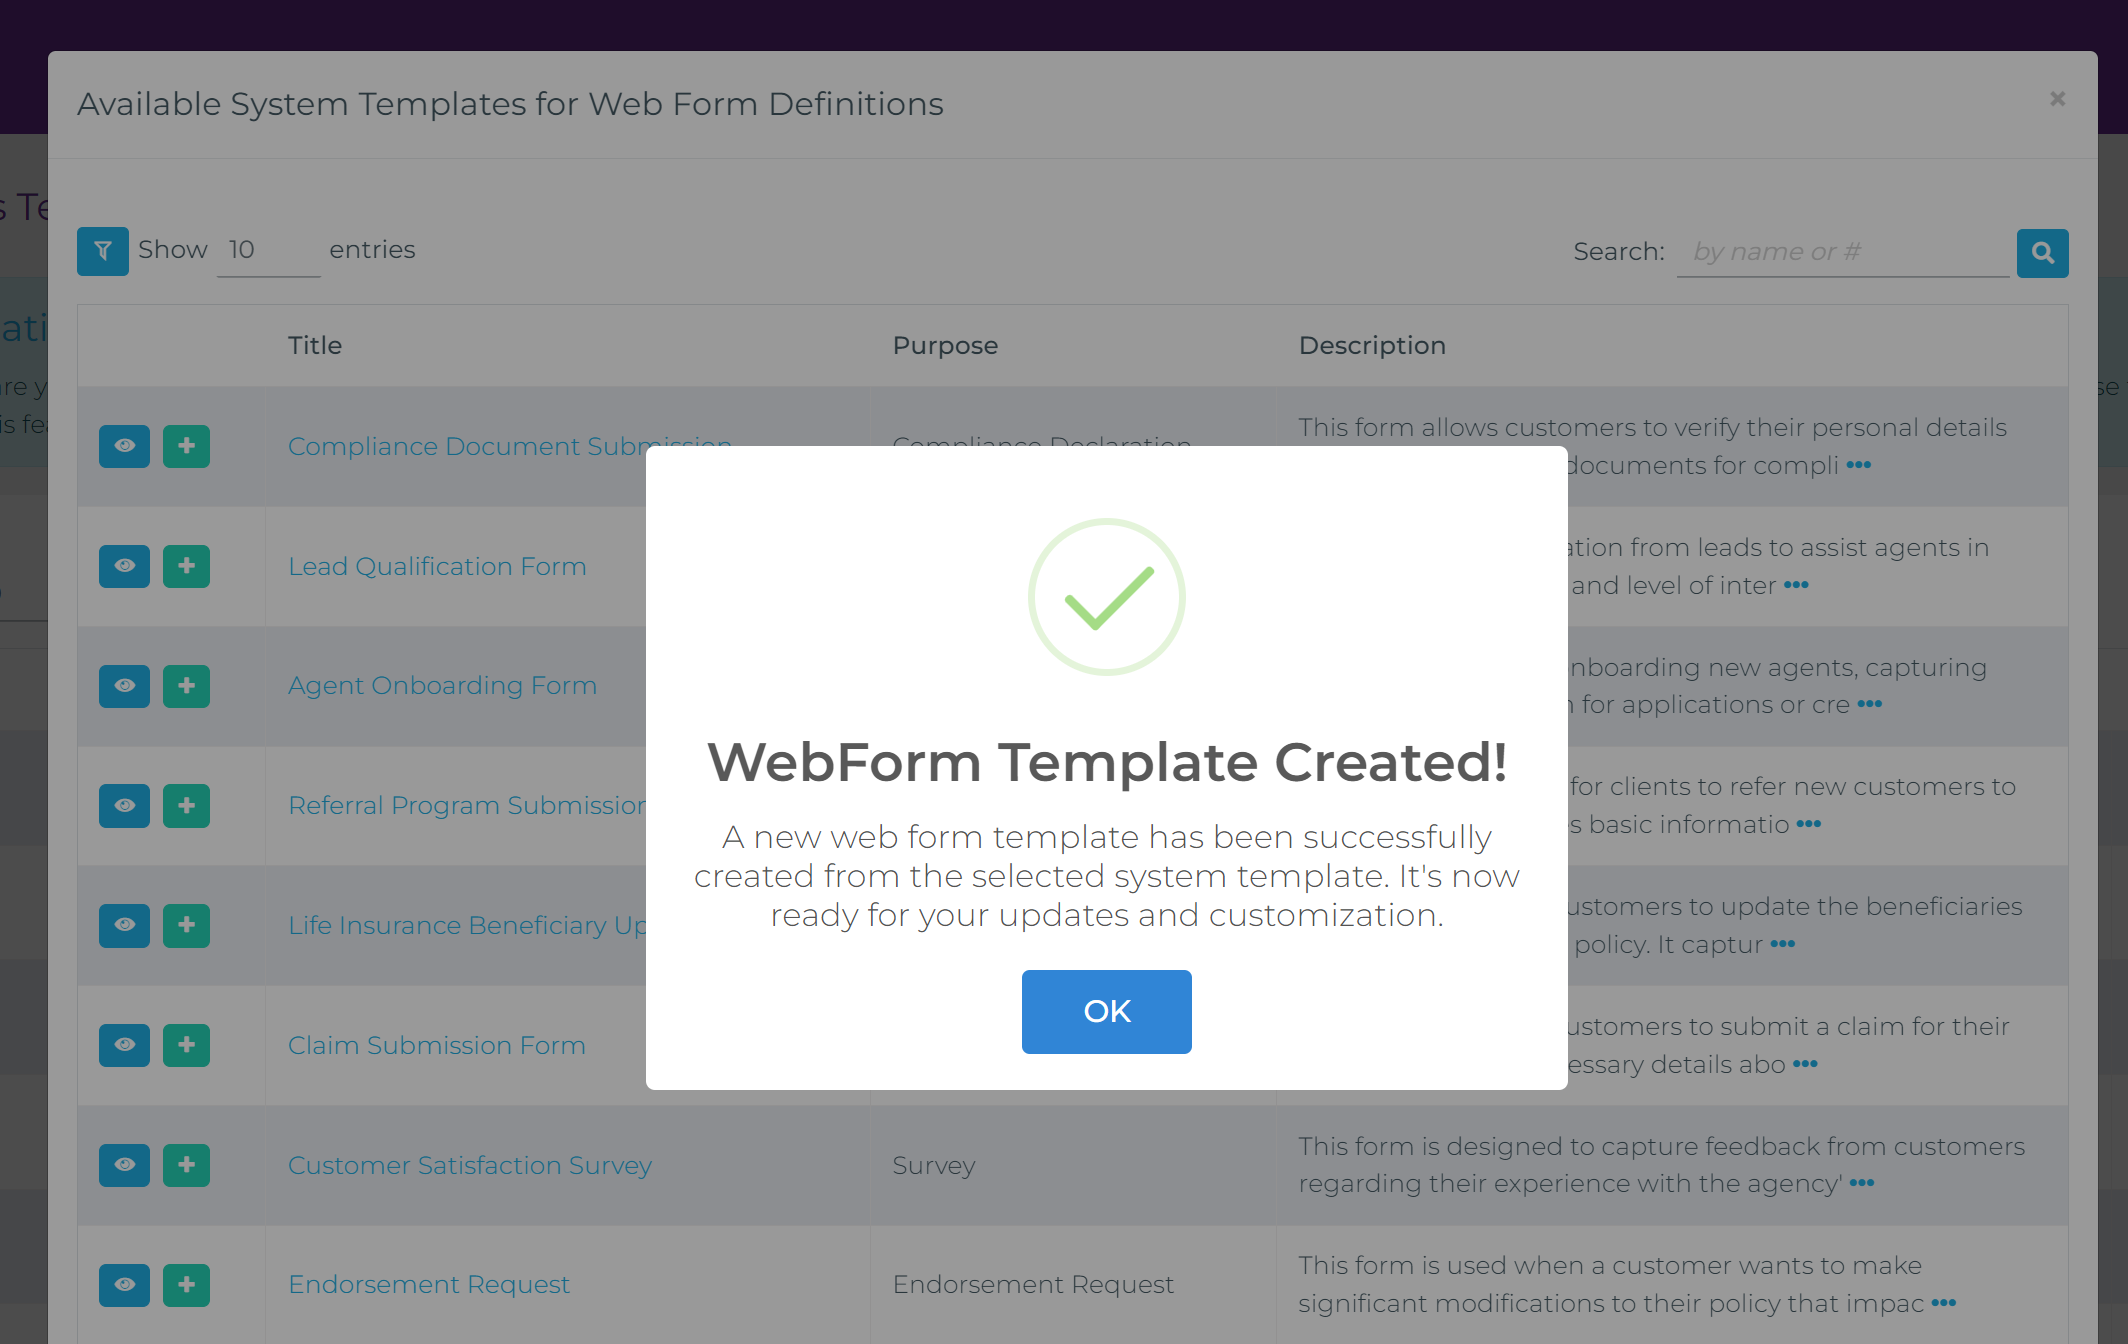
Step 4: Review and Customize the Web Form Template
The selected system web form template will be added to your agency’s list of web form templates, initially set to Disabled status, with a suffix like “- NEW” to indicate that it has just been added. You may rename the template if desired.
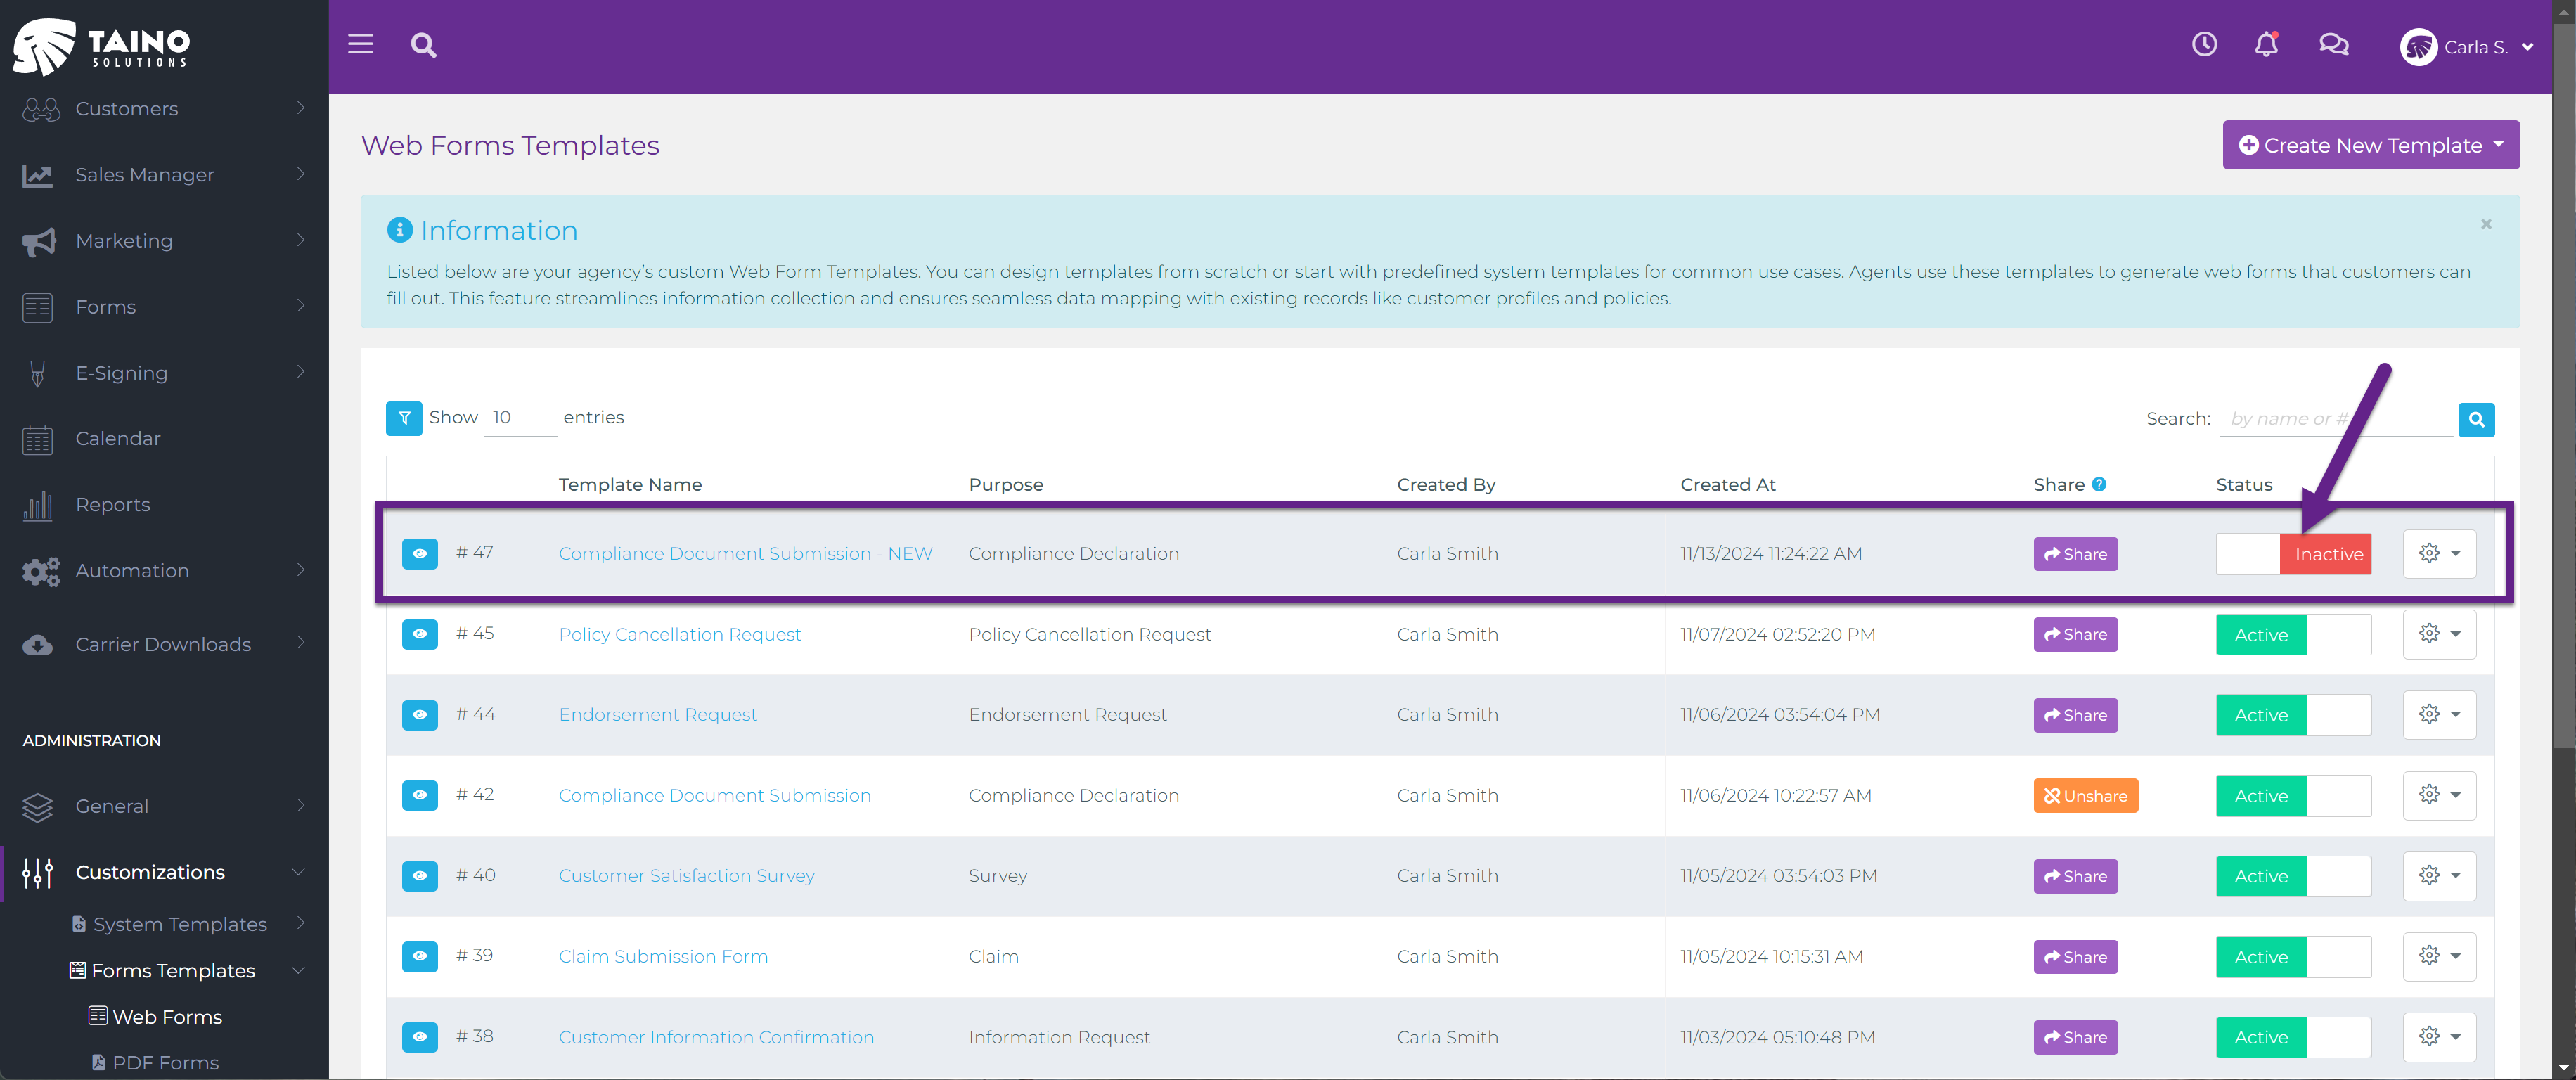
Review the web form template and make any necessary customizations before enabling it. Customization isn’t required unless specific changes are needed to suit agency needs; otherwise, the form can simply be enabled for immediate use.
Step 5: Activate the Web Form Template
Once you’ve completed customizations, or if no further adjustments are necessary, enable the web form template by toggling its status to Active in the list. This will make the template ready for use within your agency’s workflows and automation.
Conclusion
System web form templates make it easy to quickly implement effective data collection forms in your agency. These pre-built templates provide a solid starting point, allowing for rapid deployment or further customization as needed. By activating these templates, you’re equipping your team with ready-to-use forms to enhance client interactions and streamline workflows.