Introduction to Policy Creation
Creating a new policy in the Taino platform is a straightforward process. This guide will walk you through the necessary steps to ensure that policy records are accurately created and managed within the system. Properly assigning policies ensures accurate tracking and compliance with your operational workflows.
Step 1: Navigating to the "My Customers" Option
Before creating a policy, you need to navigate to the "My Customers" option under the "Customers" section. Here, you can either create a new customer or select an existing one.
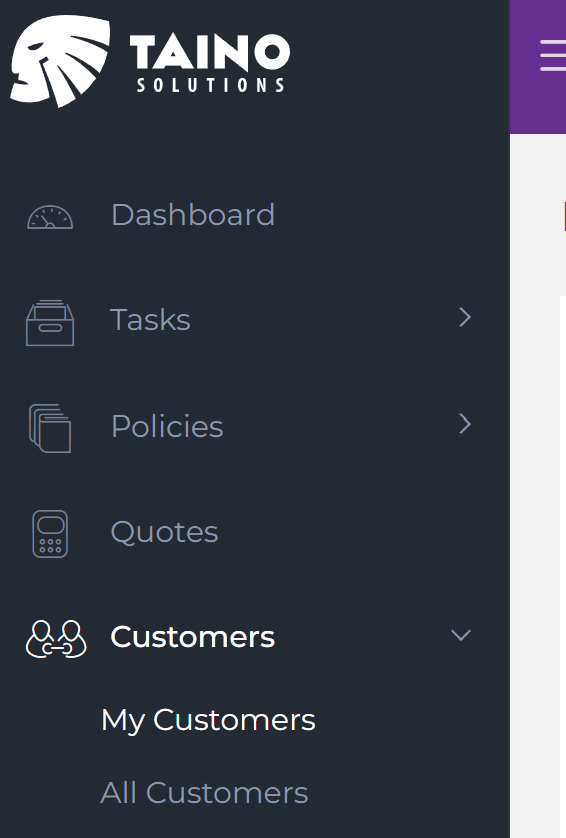
Once the customer is selected or created, you can add a policy to their account by clicking the New Policy purple button in the toolbar.
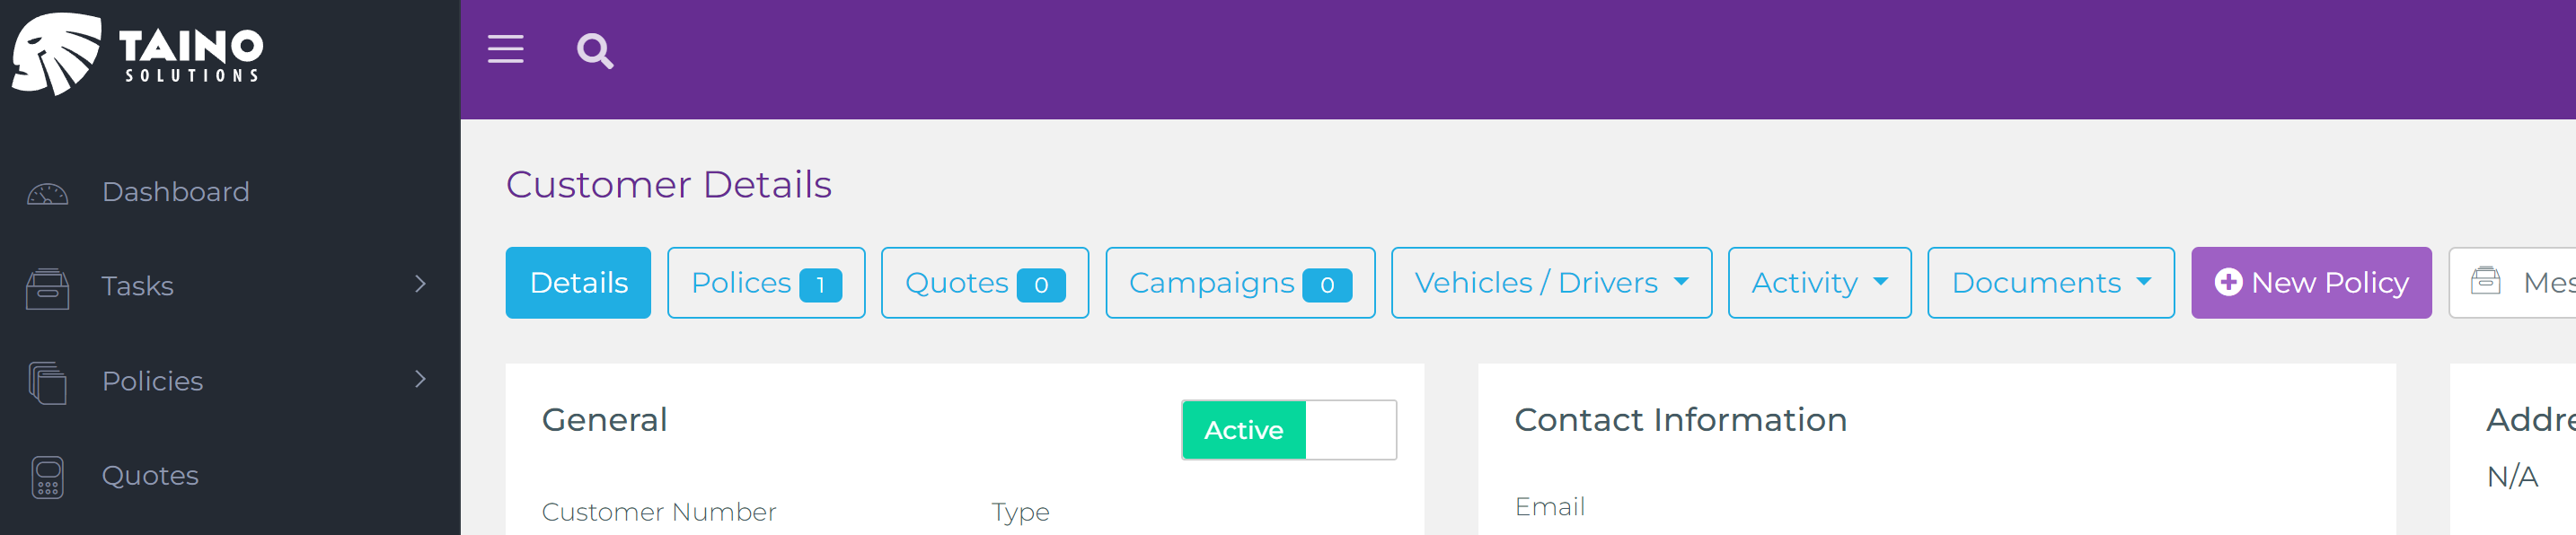
This step ensures that every policy is tied to the correct customer, allowing for accurate policy management and tracking.
Step 2: Filling in Policy Details
After selecting or creating a customer, the next step is to fill in the general information for the policy. You will be asked to provide the policy number, effective date, and expiration date. These are required fields to ensure the policy is valid and tracked accurately within the system.
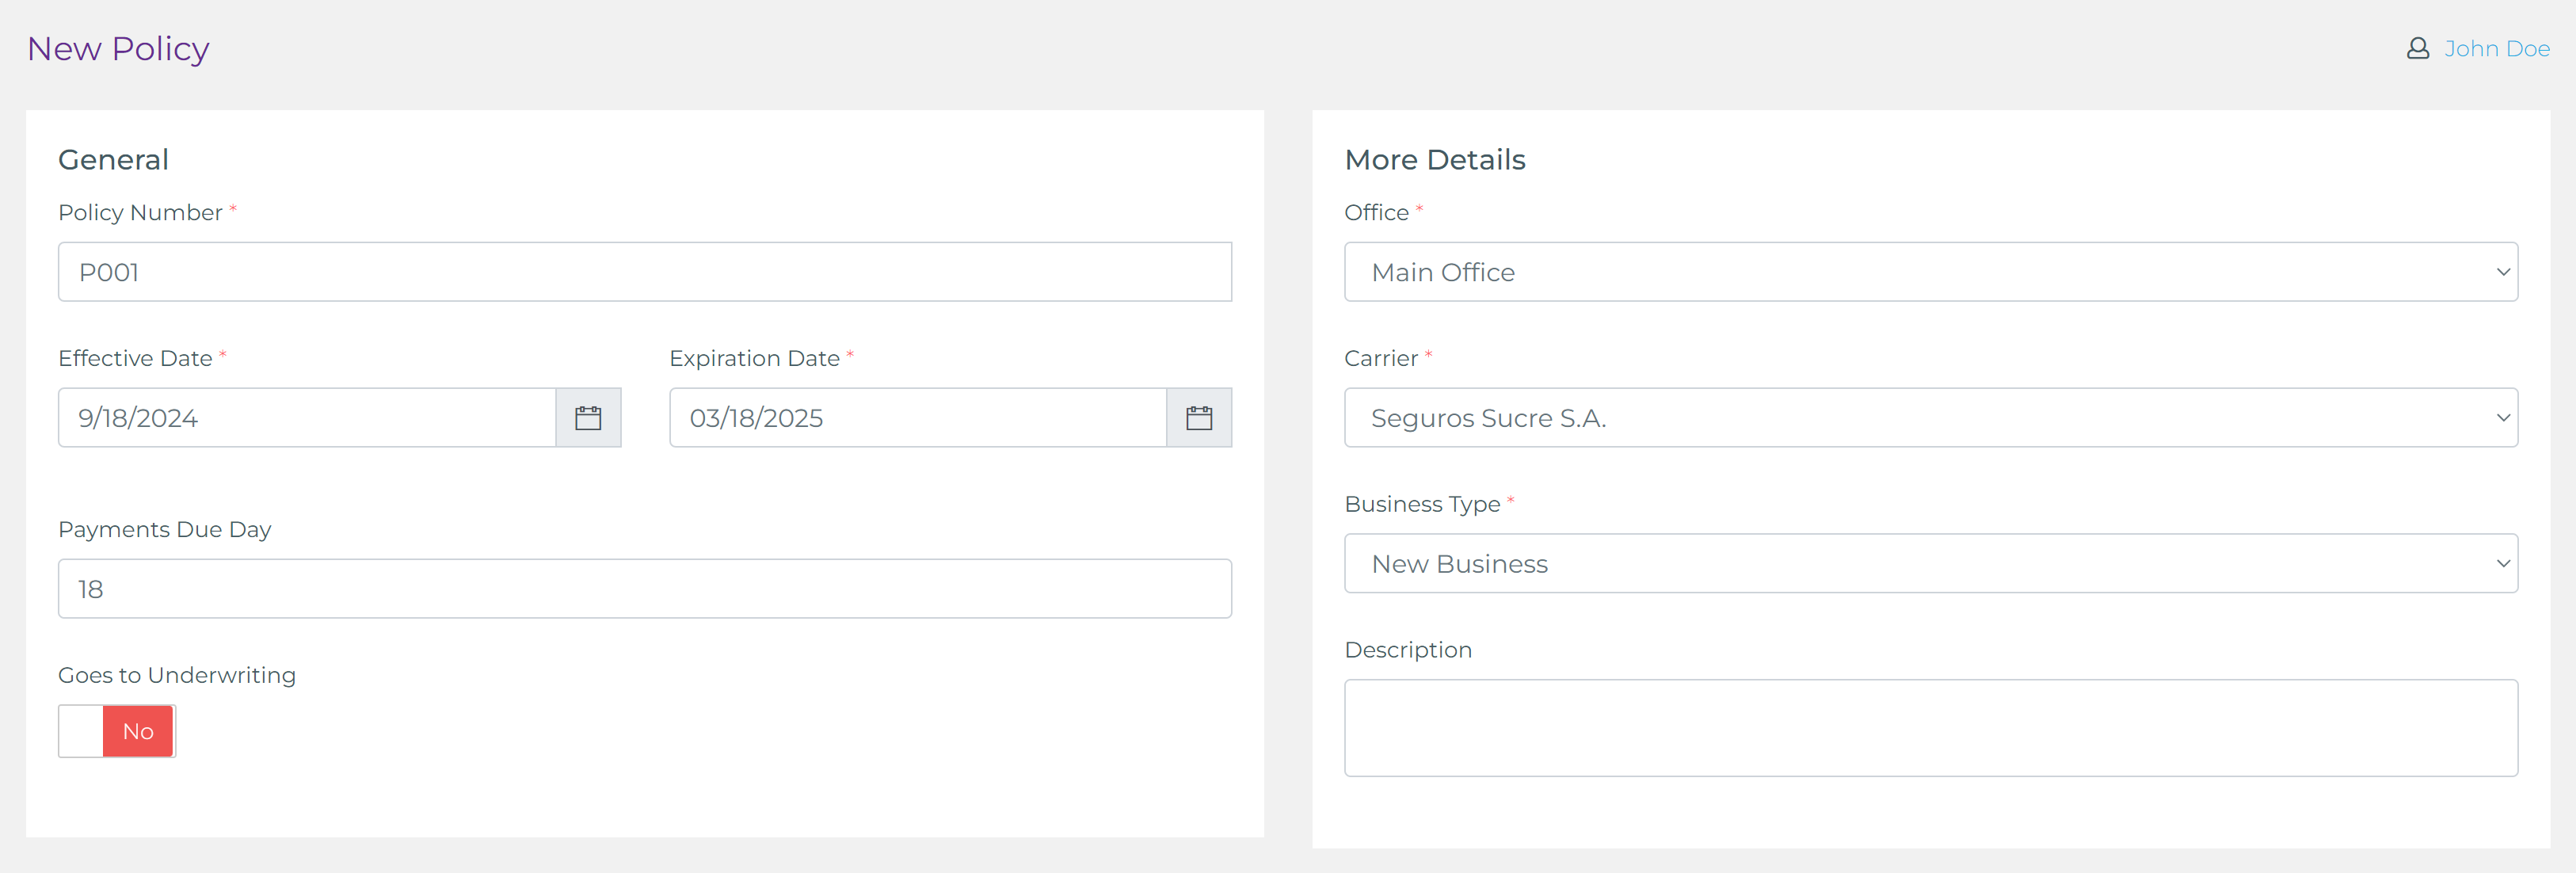
Once the general information is entered, you will be prompted to provide more specific details such as:
- Which office this policy belongs to
- The carrier associated with the policy
- The type of business (e.g., new business, renewal, etc.)
- A description of the policy
These additional details ensure that the policy is properly categorized and associated with the correct office and carrier, making it easier to manage and track within the system.
In addition, Taino supports attaching custom fields to policies. This is helpful if you need to include extra information that is not provided by default in the system. You can learn more about creating and managing custom fields here.

These additional details ensure that the policy is properly categorized and associated with the correct office and carrier, making it easier to manage and track within the system.
Step 3: Assigning the Policy
After filling in the policy details, the next step is to assign the policy to one or more users (agents). This allows multiple agents to work on the policy or share commissions if necessary. You can select the relevant agents who need access to the policy from the assignment section.

This flexibility ensures that all necessary agents are properly assigned to the policy, making collaboration and commission tracking easier.
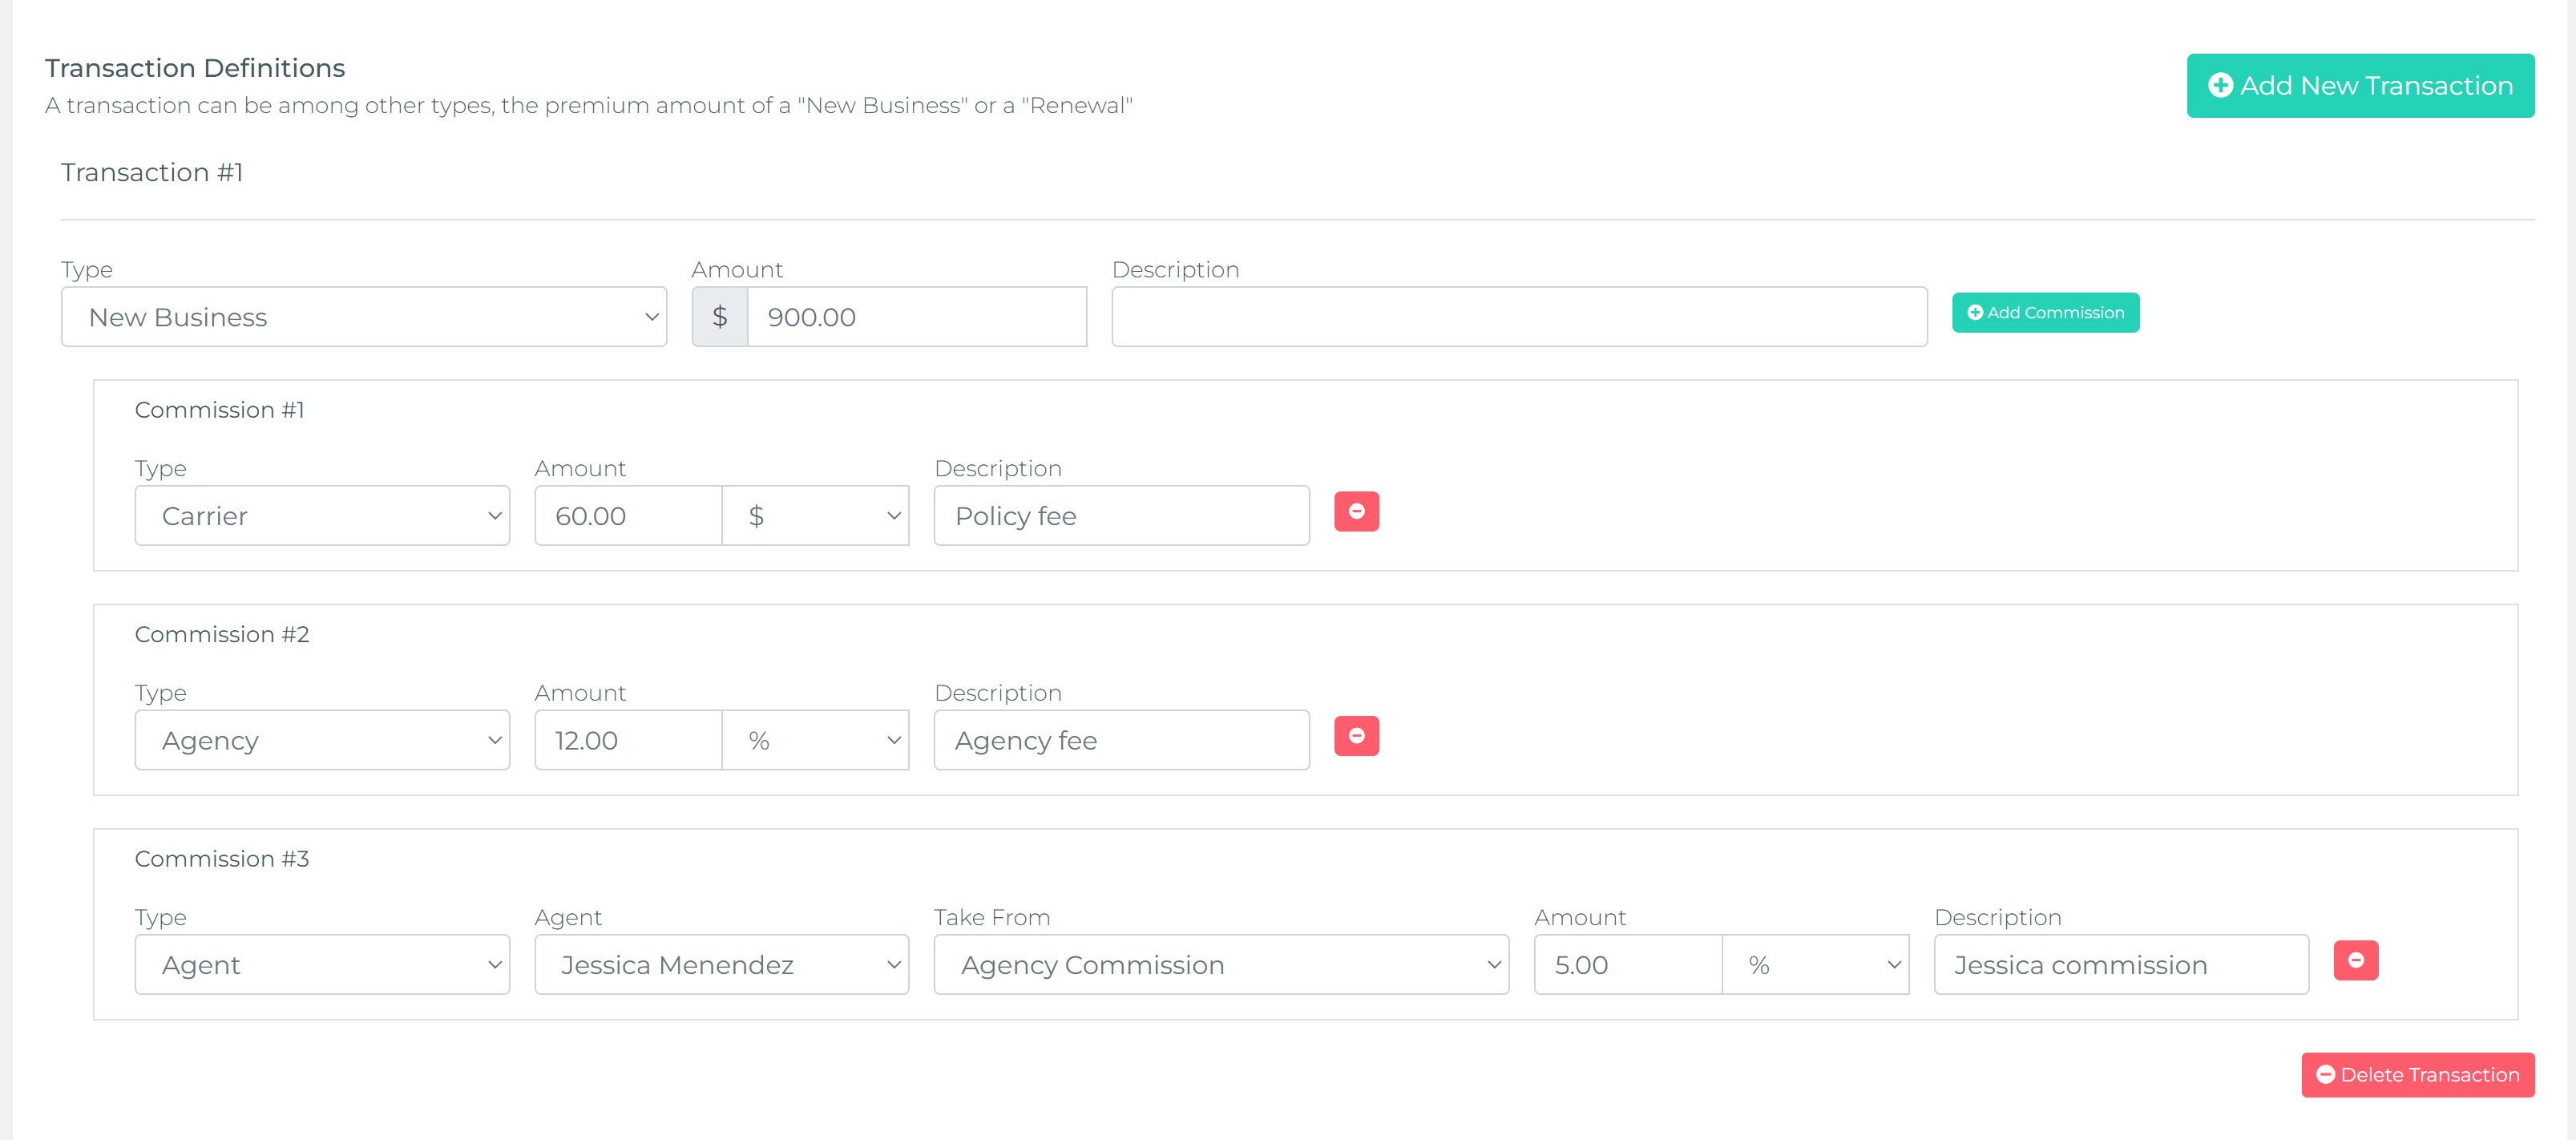
Step 4: Transactions and Commissions
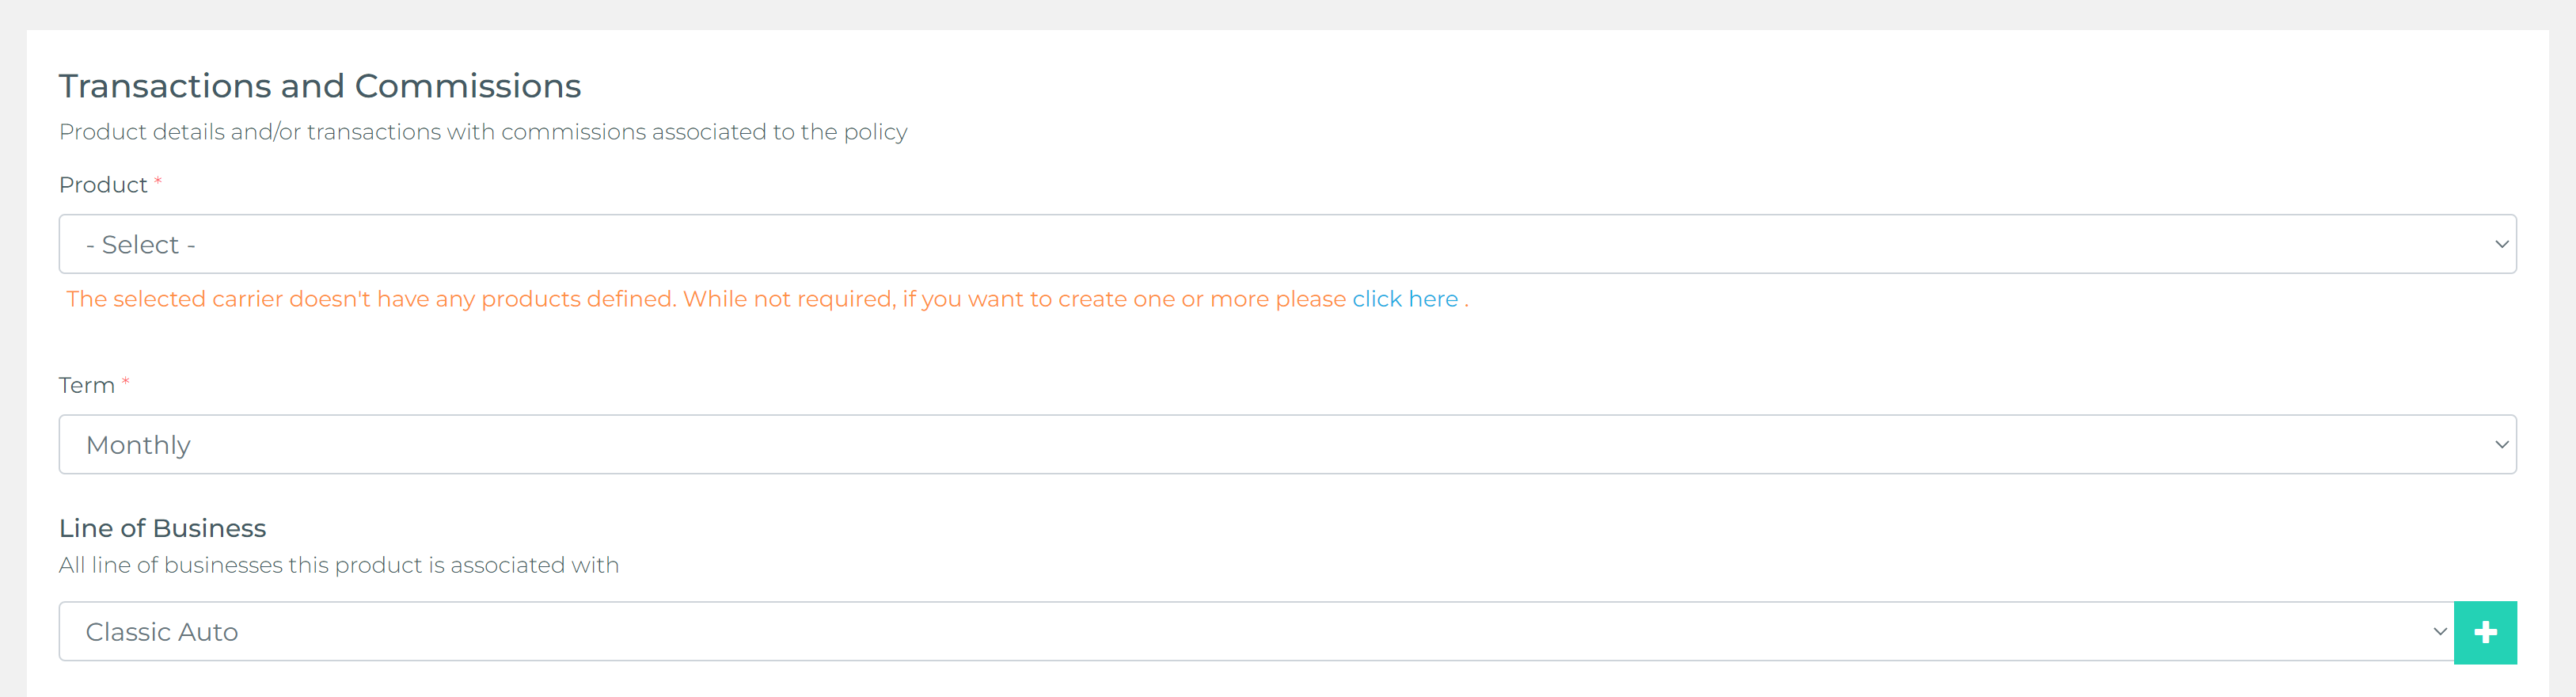
The first step in managing transactions and commissions for a policy is selecting the product. While this step is not required, it is highly recommended and considered a good practice. The products listed will be filtered based on the carrier and business type you selected when filling in the policy details.
Selecting a product will automatically apply all transactions and commissions definitions configured in that product to the policy. This saves you a significant amount of time and effort by streamlining the process. For this reason, having predefined products is considered a best practice.
After selecting the product, you can proceed to choose the term (e.g., annual, semi-annual, quarterly) and the line of business. These selections help define the payment schedule and the specific nature of the policy, ensuring that all transactions are recorded accurately.
Transaction Definitions (Brief)
Selecting a well‑defined Product auto‑adds the correct transactions (New Business, Renewal, Endorsement) plus associated fees and commission layers. If you skip product selection you must add every fee and commission manually—slower and prone to inconsistent reporting. For deeper modeling guidance (when to create a new product vs reuse, payment defaults, financing fields) see the full Product Definition Best Practices article.
Step 5: Billing and Payment Details
The billing and payment details in this section can be predefined in the product definitions. That’s why we always recommend having products defined ahead of time to save effort when creating similar policies for the same carrier.
In this section, you can select the billing type, which includes options such as:
- Agency Bill
- Paid in Full
- Direct Bill
- Finance Company
To enable Taino’s auto-invoicing feature, you must select "Agency Bill" as the billing type. Additionally, you can enter details like the processing fee (if your agency charges one), down payment, interest rate, and the number of payments. Some of these details are essential if you plan to use the Smart Payment Matrix feature, which helps generate future payments and streamlines customer payment management.
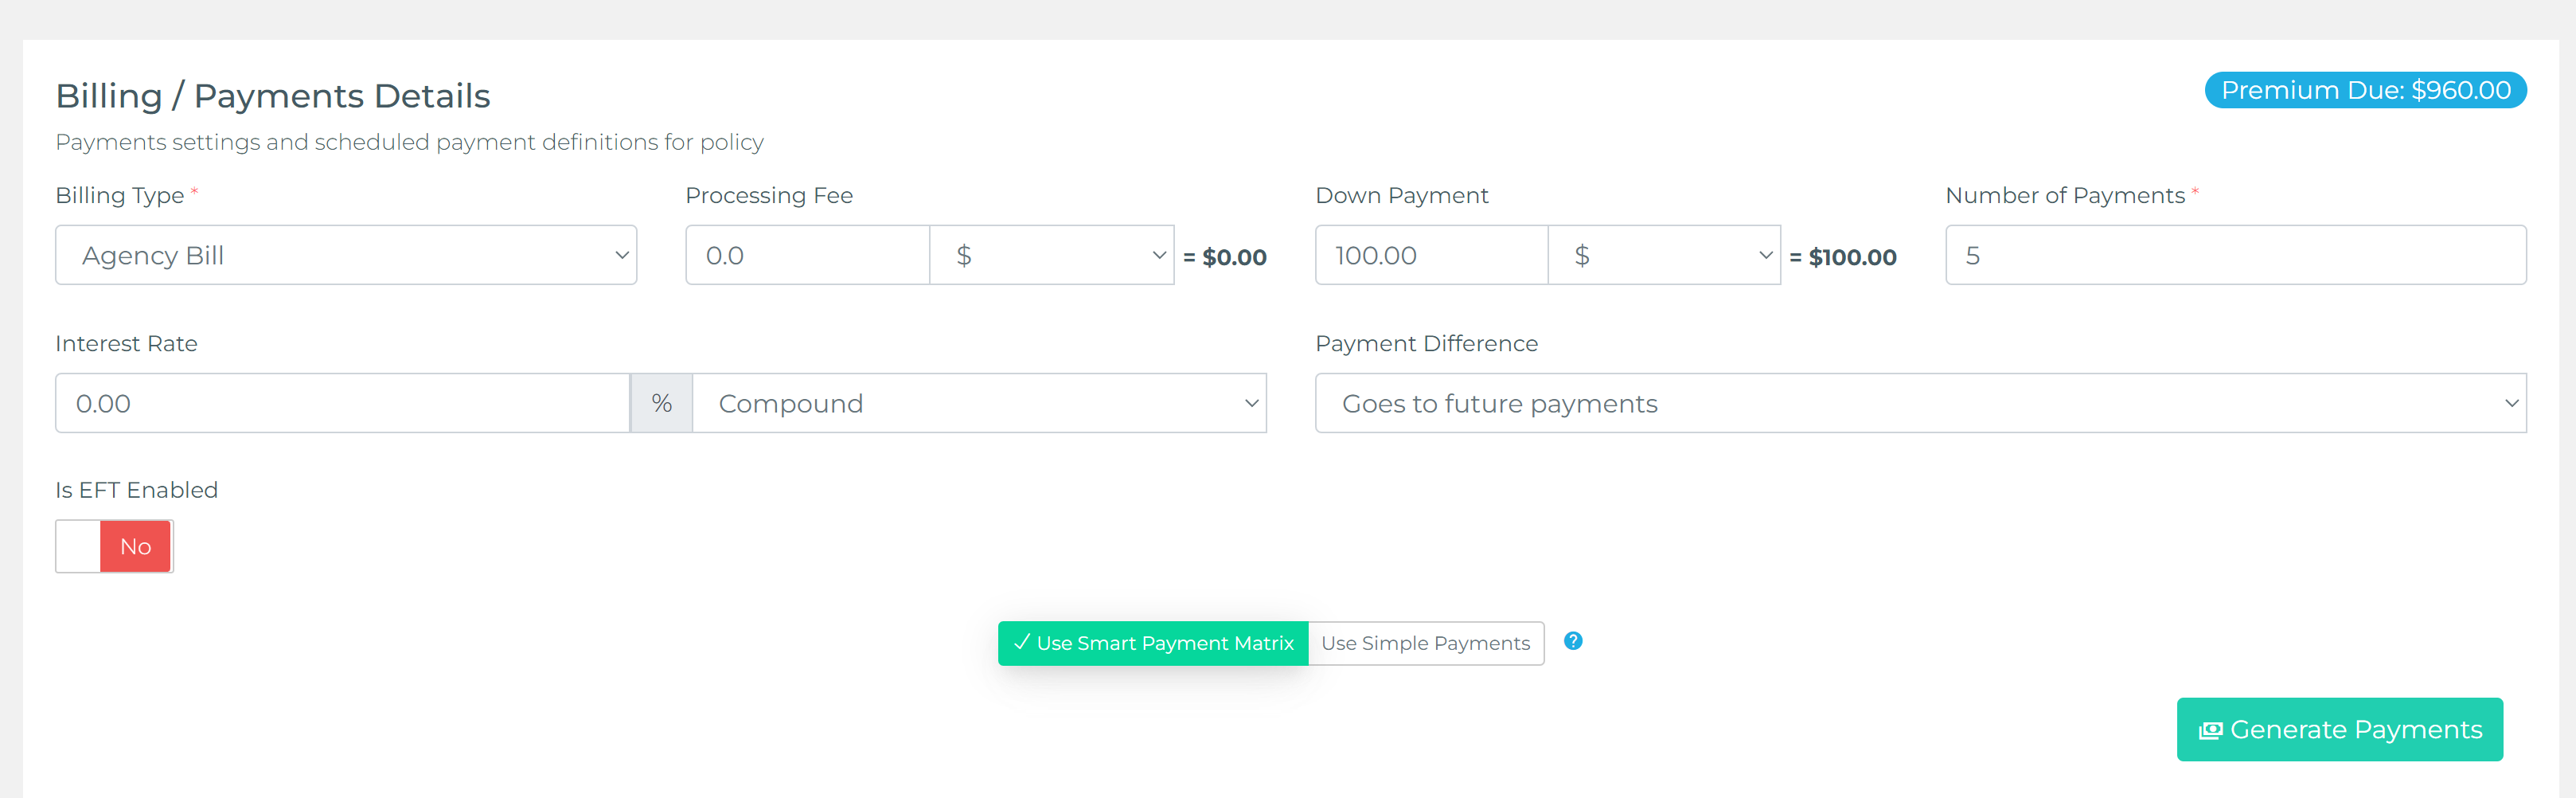
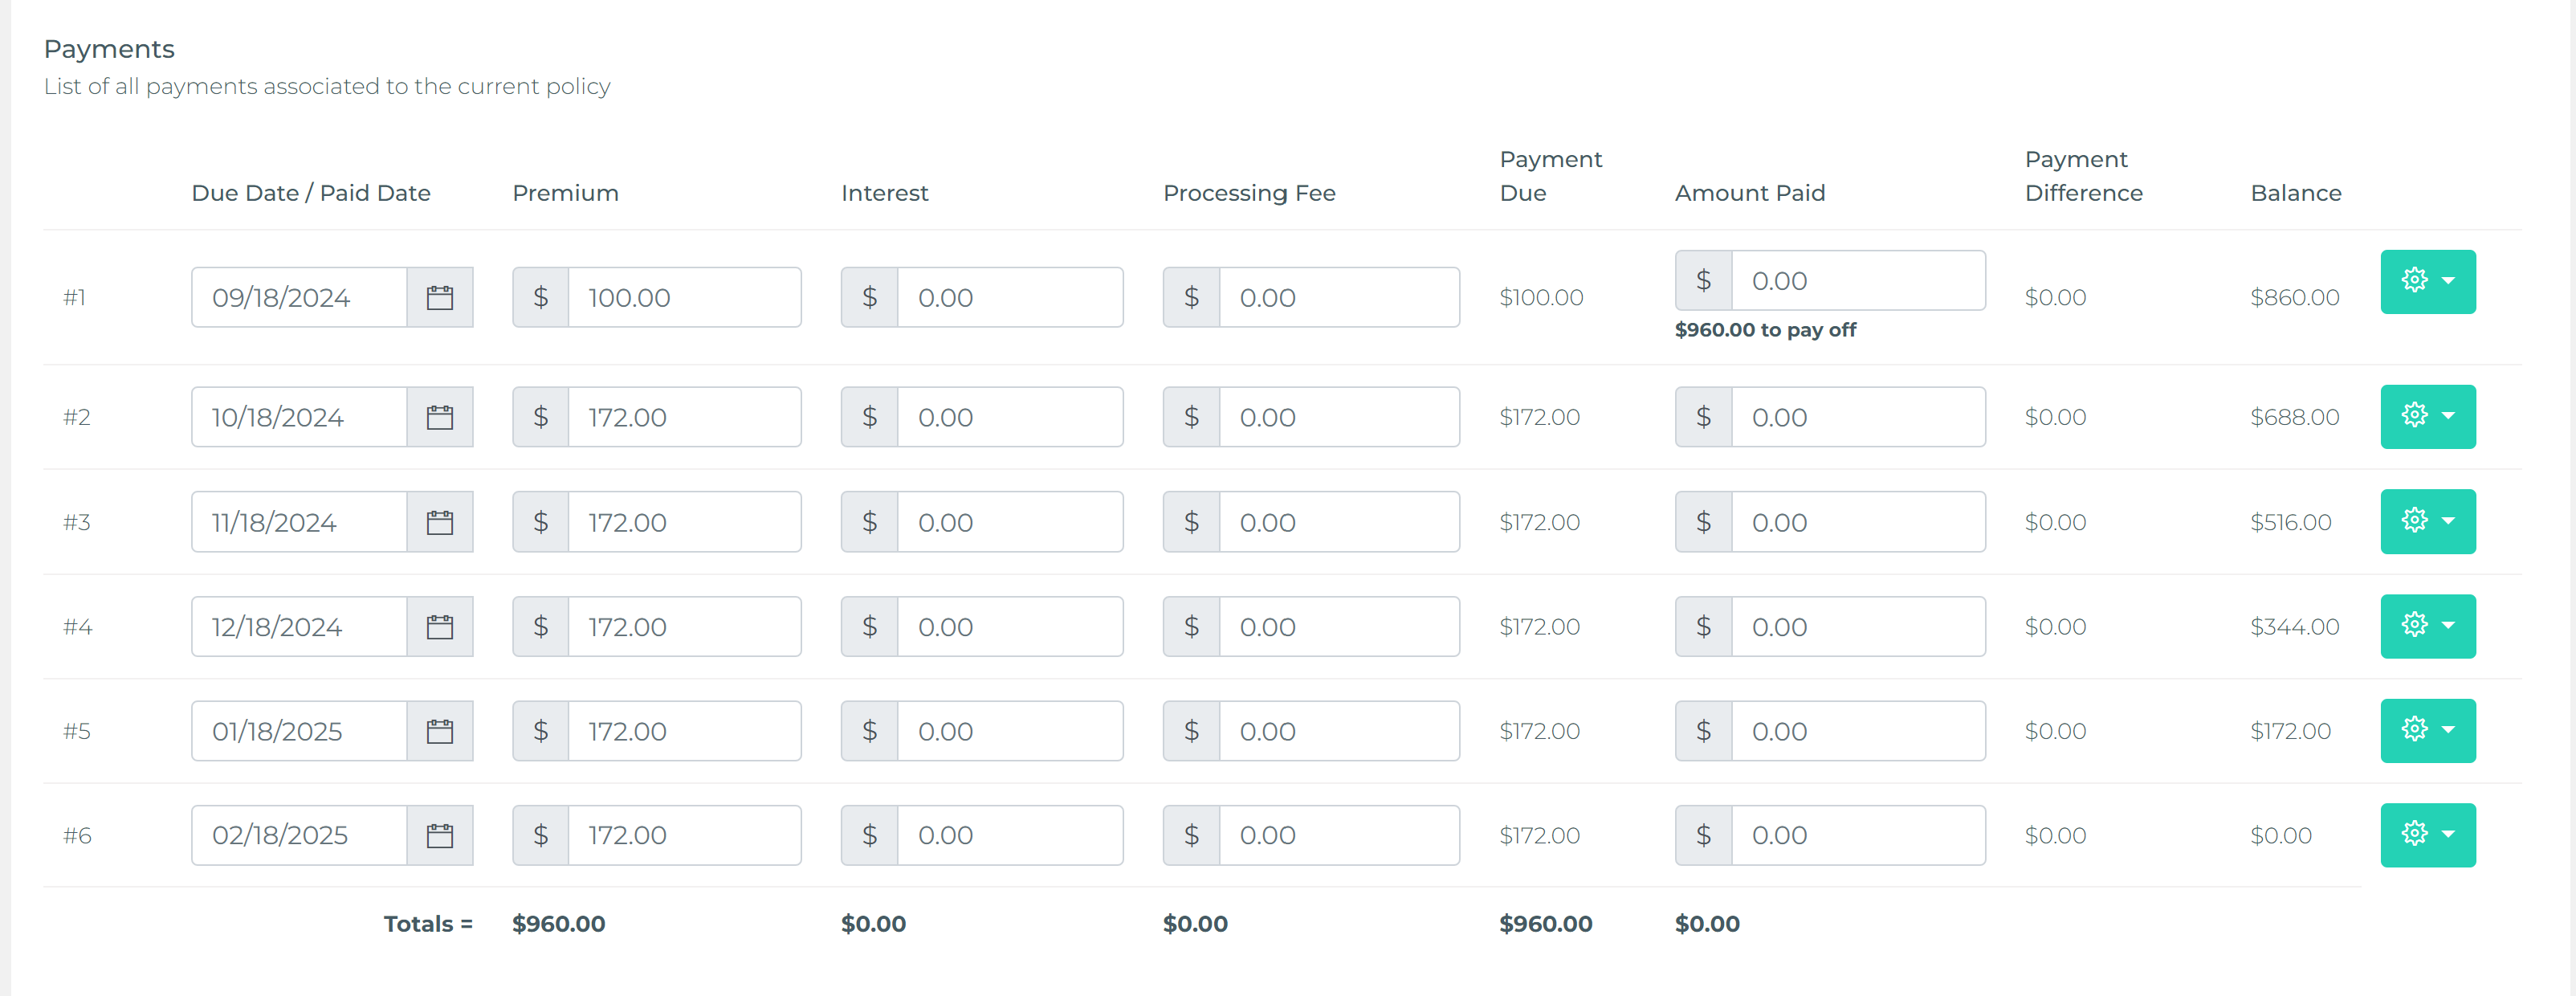
You can learn more about the Smart Payment Matrix feature in this article. If you choose to use this feature, you can click on the "Generate Payments" button, and Taino will automatically generate the payment schedule for you.
Step 6: Reviewing and Saving
Before finalizing, review all the policy details to ensure accuracy. Once reviewed, click "Create Policy" to complete the process. You will then be redirected to the policy details page, where you can review the policy again and edit any errors. You can also take any immediate payments, such as down payments or fees, if necessary.
The newly created policy will now appear under the "My Policies" option in the "Policies" section, but only if you were added as a user (agent) on the policy. If you have the required permissions, you can also see it under the "All Policies" option.
Additionally, the policy is accessible via the customer details page. There is a button at the top labeled "Policies" that will list all policies linked to the selected customer.

Concluding Thoughts
Managing policy records efficiently is crucial for smooth operations. Following this guide ensures that your policies are accurately created and assigned, enabling easy tracking and reporting. As always, make sure to regularly update policies and review any changes in the system to keep your records current.
Watch the video below for a step-by-step tutorial: