Introduction to Office Creation
Creating an office in the Taino platform allows you to manage customer, agent, and policy data for specific locations. This guide will walk you through the steps required to set up a new office and organize your operations more efficiently.
Step 1: Navigating to the "Offices" Section
To create a new office, first, navigate to the ADMINISTRATION area at the bottom of the side menu. From there, expand the General section and click on the "Offices" option. This will display a list of your existing offices.
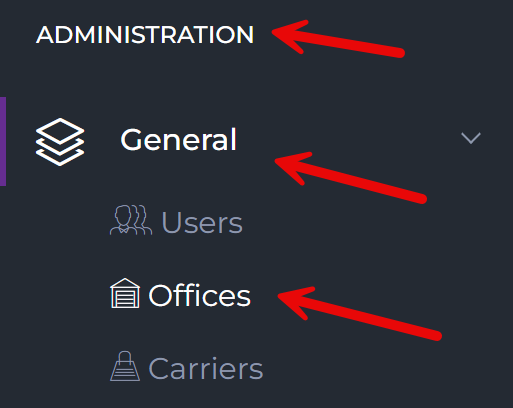
To create a new office, click the Create Office button located at the top-right corner of the page.

Step 2: Entering Office Details
In the office creation form, you should start by filling in the information in the General section. This section includes:
- Name: The official name of the office.
- DBA: The "Doing Business As" name, if applicable.
- TIN: The Taxpayer Identification Number for the office.
- Time Zone: The time zone in which the office operates.
- Phone Number: The contact phone number for the office.
- Fax: The office’s fax number, if available.
You can also provide the office address at this stage. Note that required fields are marked with a *.

Step 3: Assigning Carriers to the Office
In the Carriers section, you can assign available carriers to your office by clicking the Add Carriers button. This allows you to associate specific carriers with the office for managing policies and related services.
Once added, the carriers will appear in the list. If you make a mistake or no longer need a carrier assigned to this office, you can easily remove them from the list.

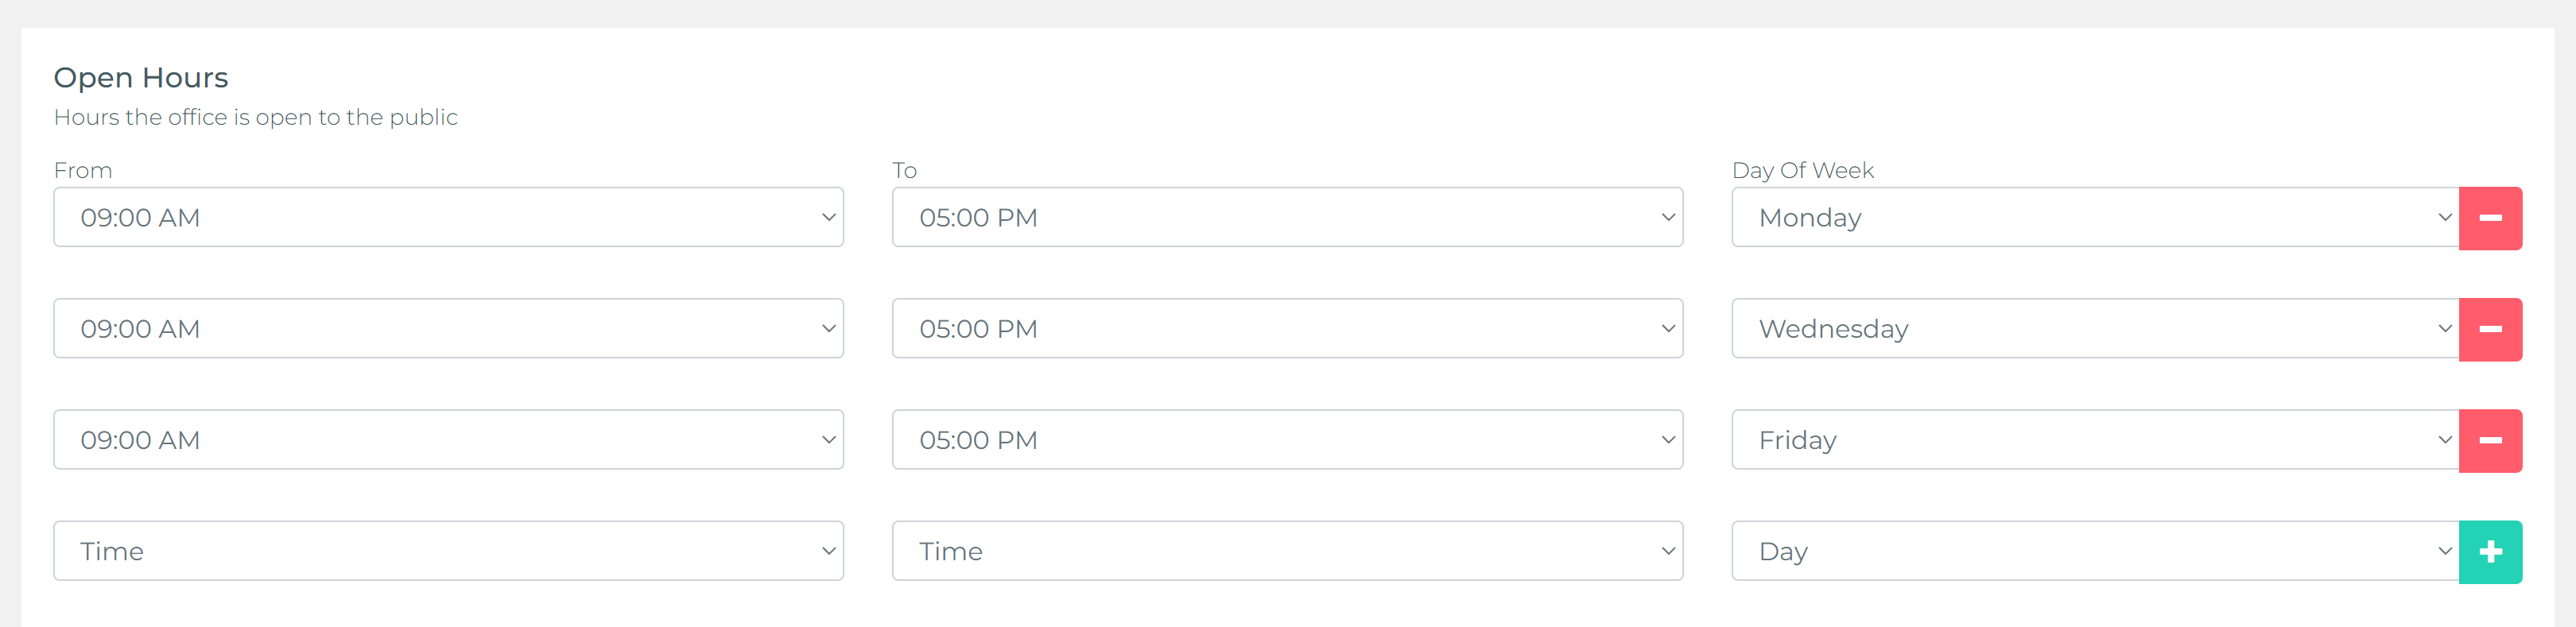
Step 4: Configuring Office Open Hours
In the Open Hours section, you can configure your office’s working hours by specifying several rows with the following fields:
- From: The start time for office hours.
- To: The end time for office hours.
- Day of Week: The day(s) of the week these hours apply to.
See the following image as an example of how you can configure your office hours:
Step 5: Configuring System Authorized IP Addresses
In the System Authorized IP Addresses section, you can add IP addresses from where you want your users to access the system. This feature helps secure access by restricting login attempts to specified IP addresses.
If no IP addresses are added to the list, users will be able to access the system from any IP address.

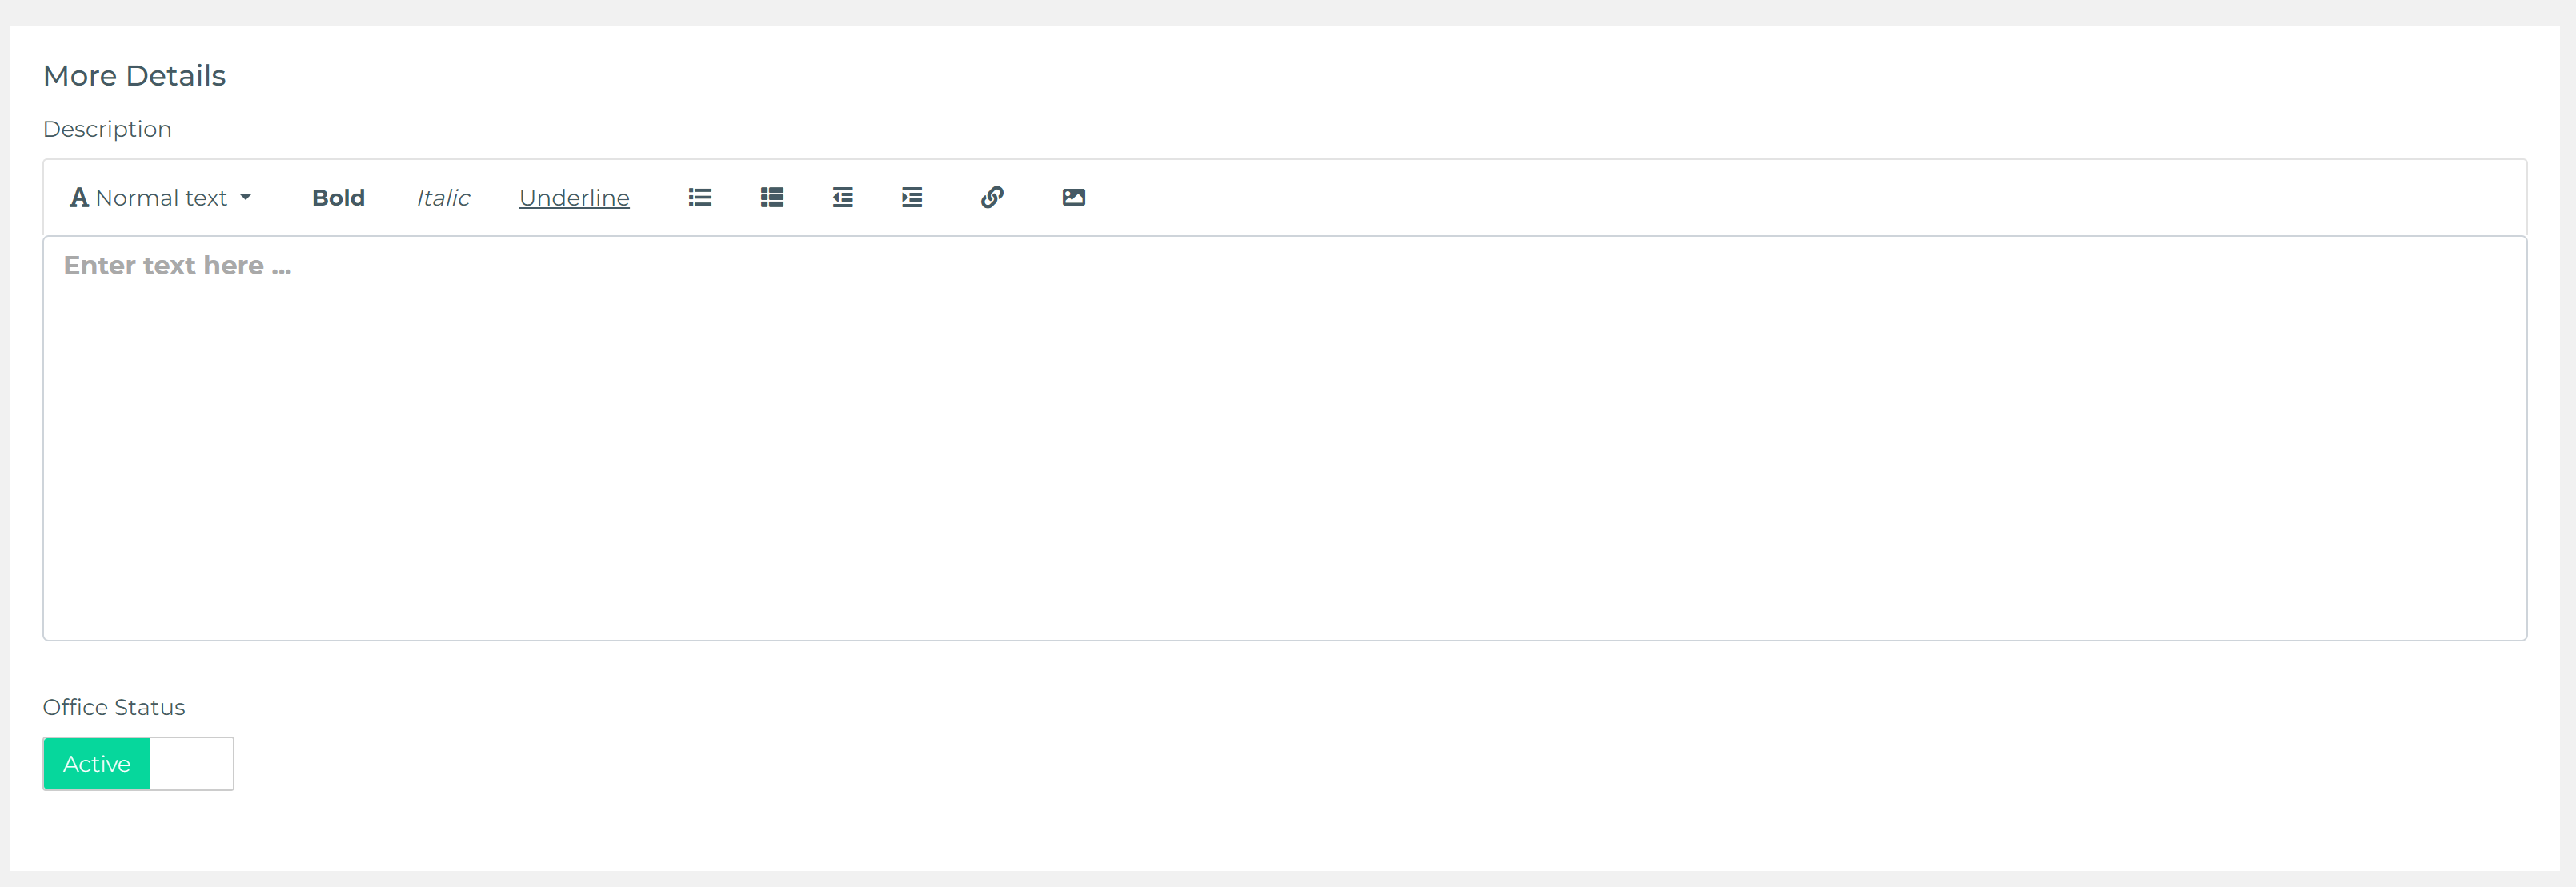
Step 6: More Details
In the More Details section, you can provide any extra information about the office using a rich text editor. This allows for detailed notes or descriptions that may not fit in other fields.
Additionally, in this section, you will find the Office Status toggle, where you can set the office to either active or inactive based on the current status of the office.
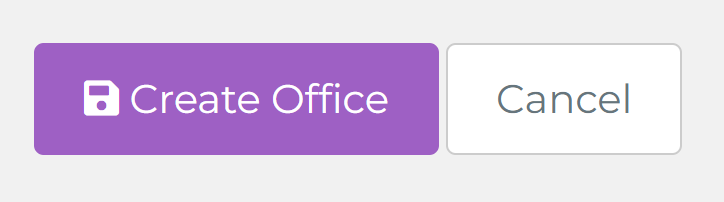
Step 7: Reviewing and Saving the Office
Before saving the office, review all the entered details to ensure accuracy. Once confirmed, click on the "Create Office" button to save the office.
After creating the office, you will be redirected to the office listing page, where the newly created office will now appear.

Concluding Thoughts
Managing offices efficiently in Taino helps streamline operations and provides better organization for customers, agents, and policies. By following this guide, you will be able to create offices that serve as hubs for your business's activities.