Introduction to Carriers and Products
In Taino, carriers represent the insurance providers, while products represent the specific services or policies they offer. Pre-defining carriers and products simplifies operations for your offices and agents, enabling more efficient handling of policies, commissions, and accounting.
Step 1: Adding a Carrier
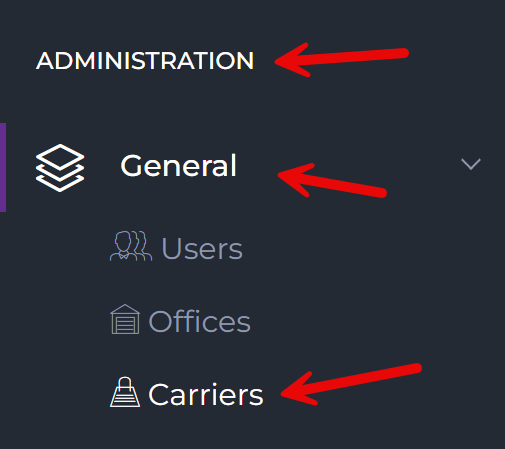
The first step in setting up carriers and products is to add a carrier, as products belong to specific carriers. To add a carrier, navigate to the Administration section, expand the General menu, and select the "Carriers" option.
After clicking on "Carriers," you will see a list of carriers you’ve already added. At the top-right corner of the page, there is a Create Carrier button that you can click to start adding a new carrier.

Step 2: Filling the Carrier Information
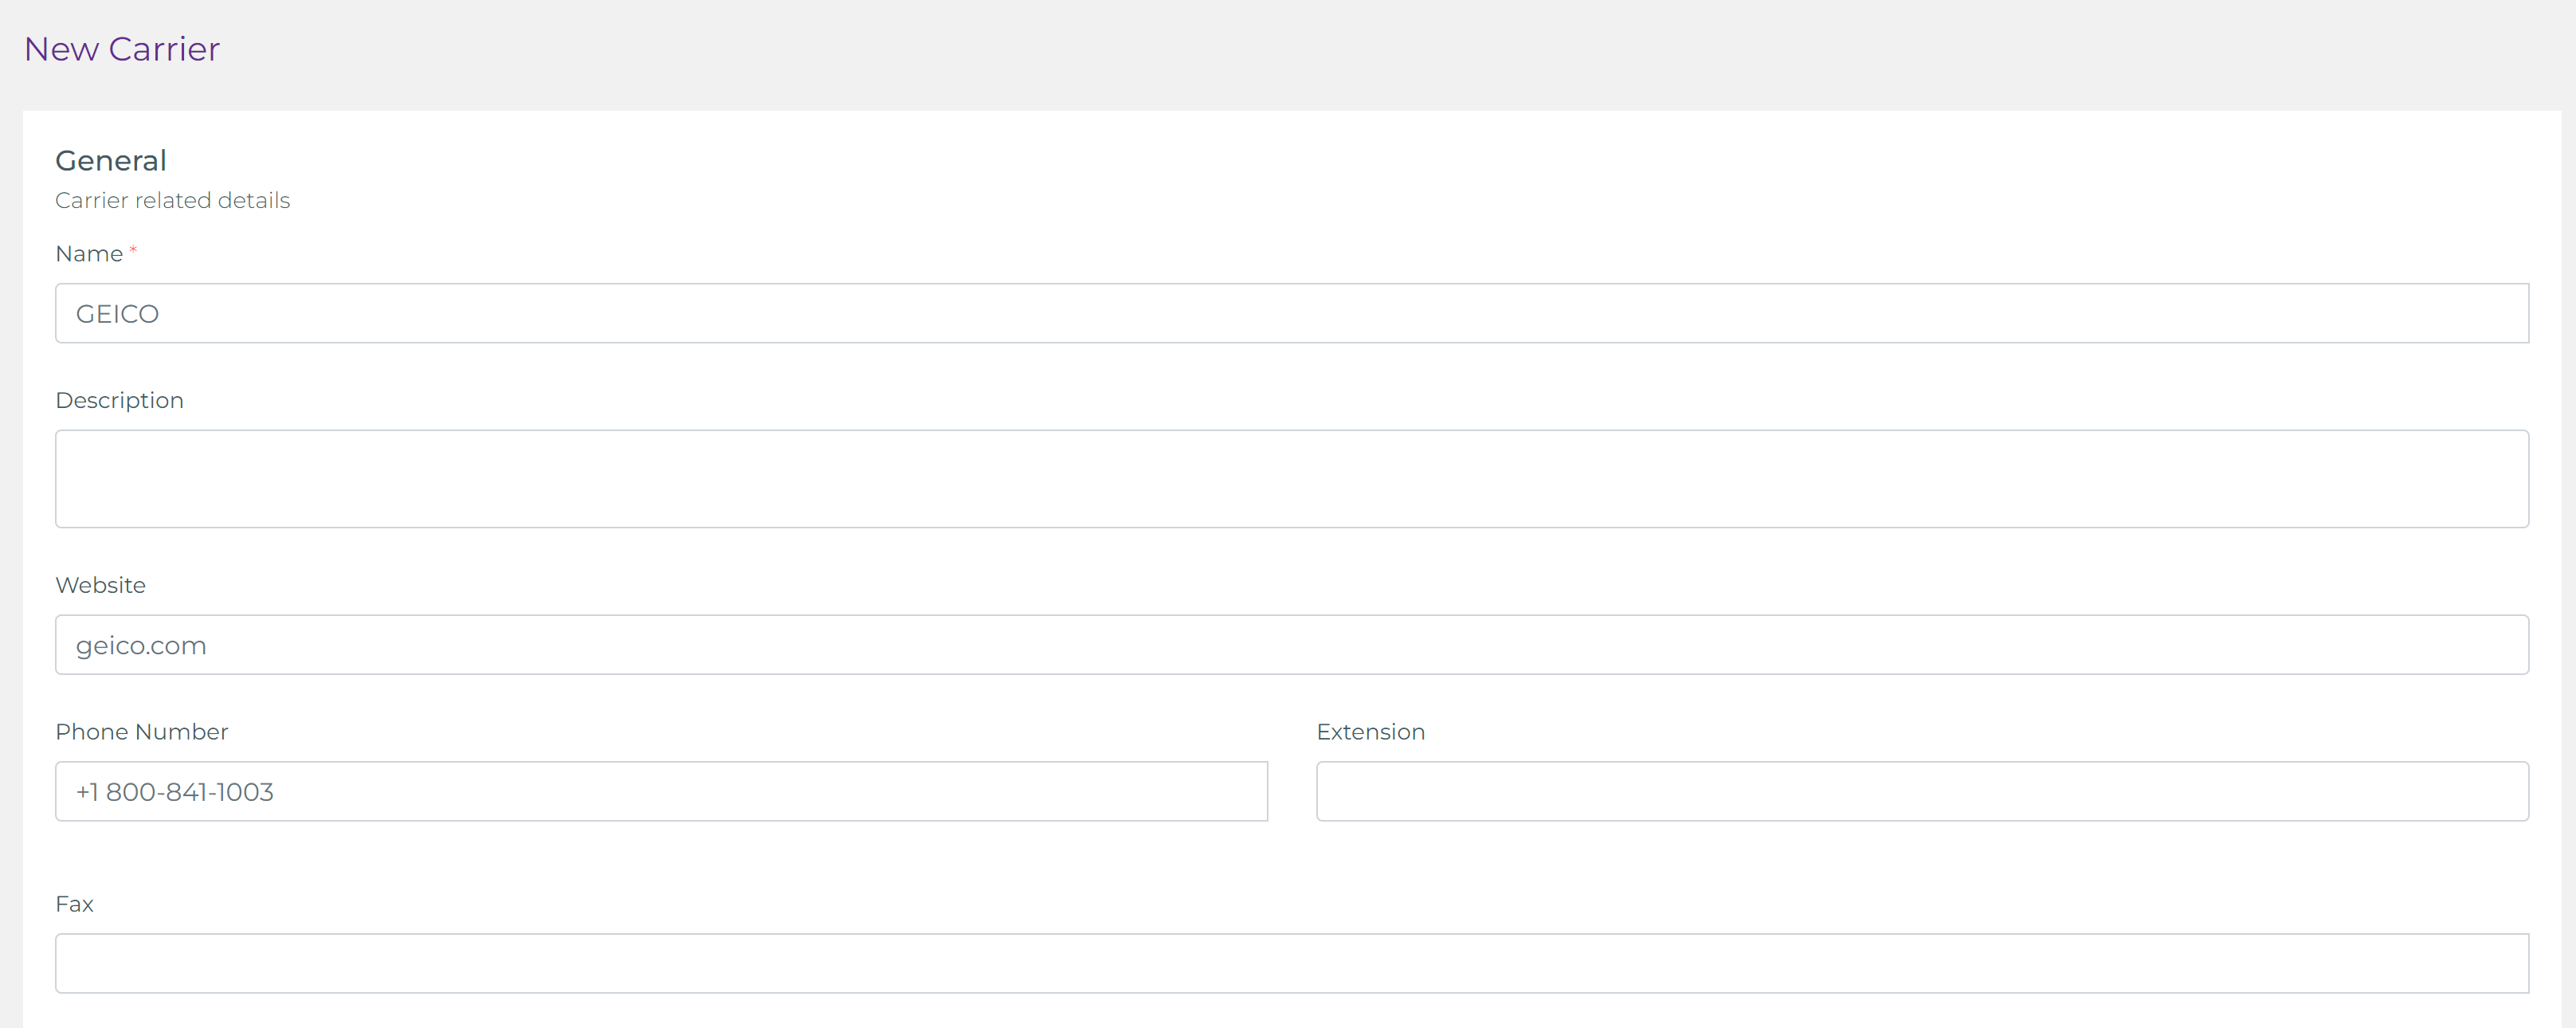
The first section to fill out when adding a carrier is the General Information. This section includes the following fields:
- Name: The name of the carrier.
- Description: A brief description of the carrier.
- Website: The carrier's website URL.
- Phone Number and Extension: The primary contact number for the carrier.
- Fax: The carrier’s fax number, if available.
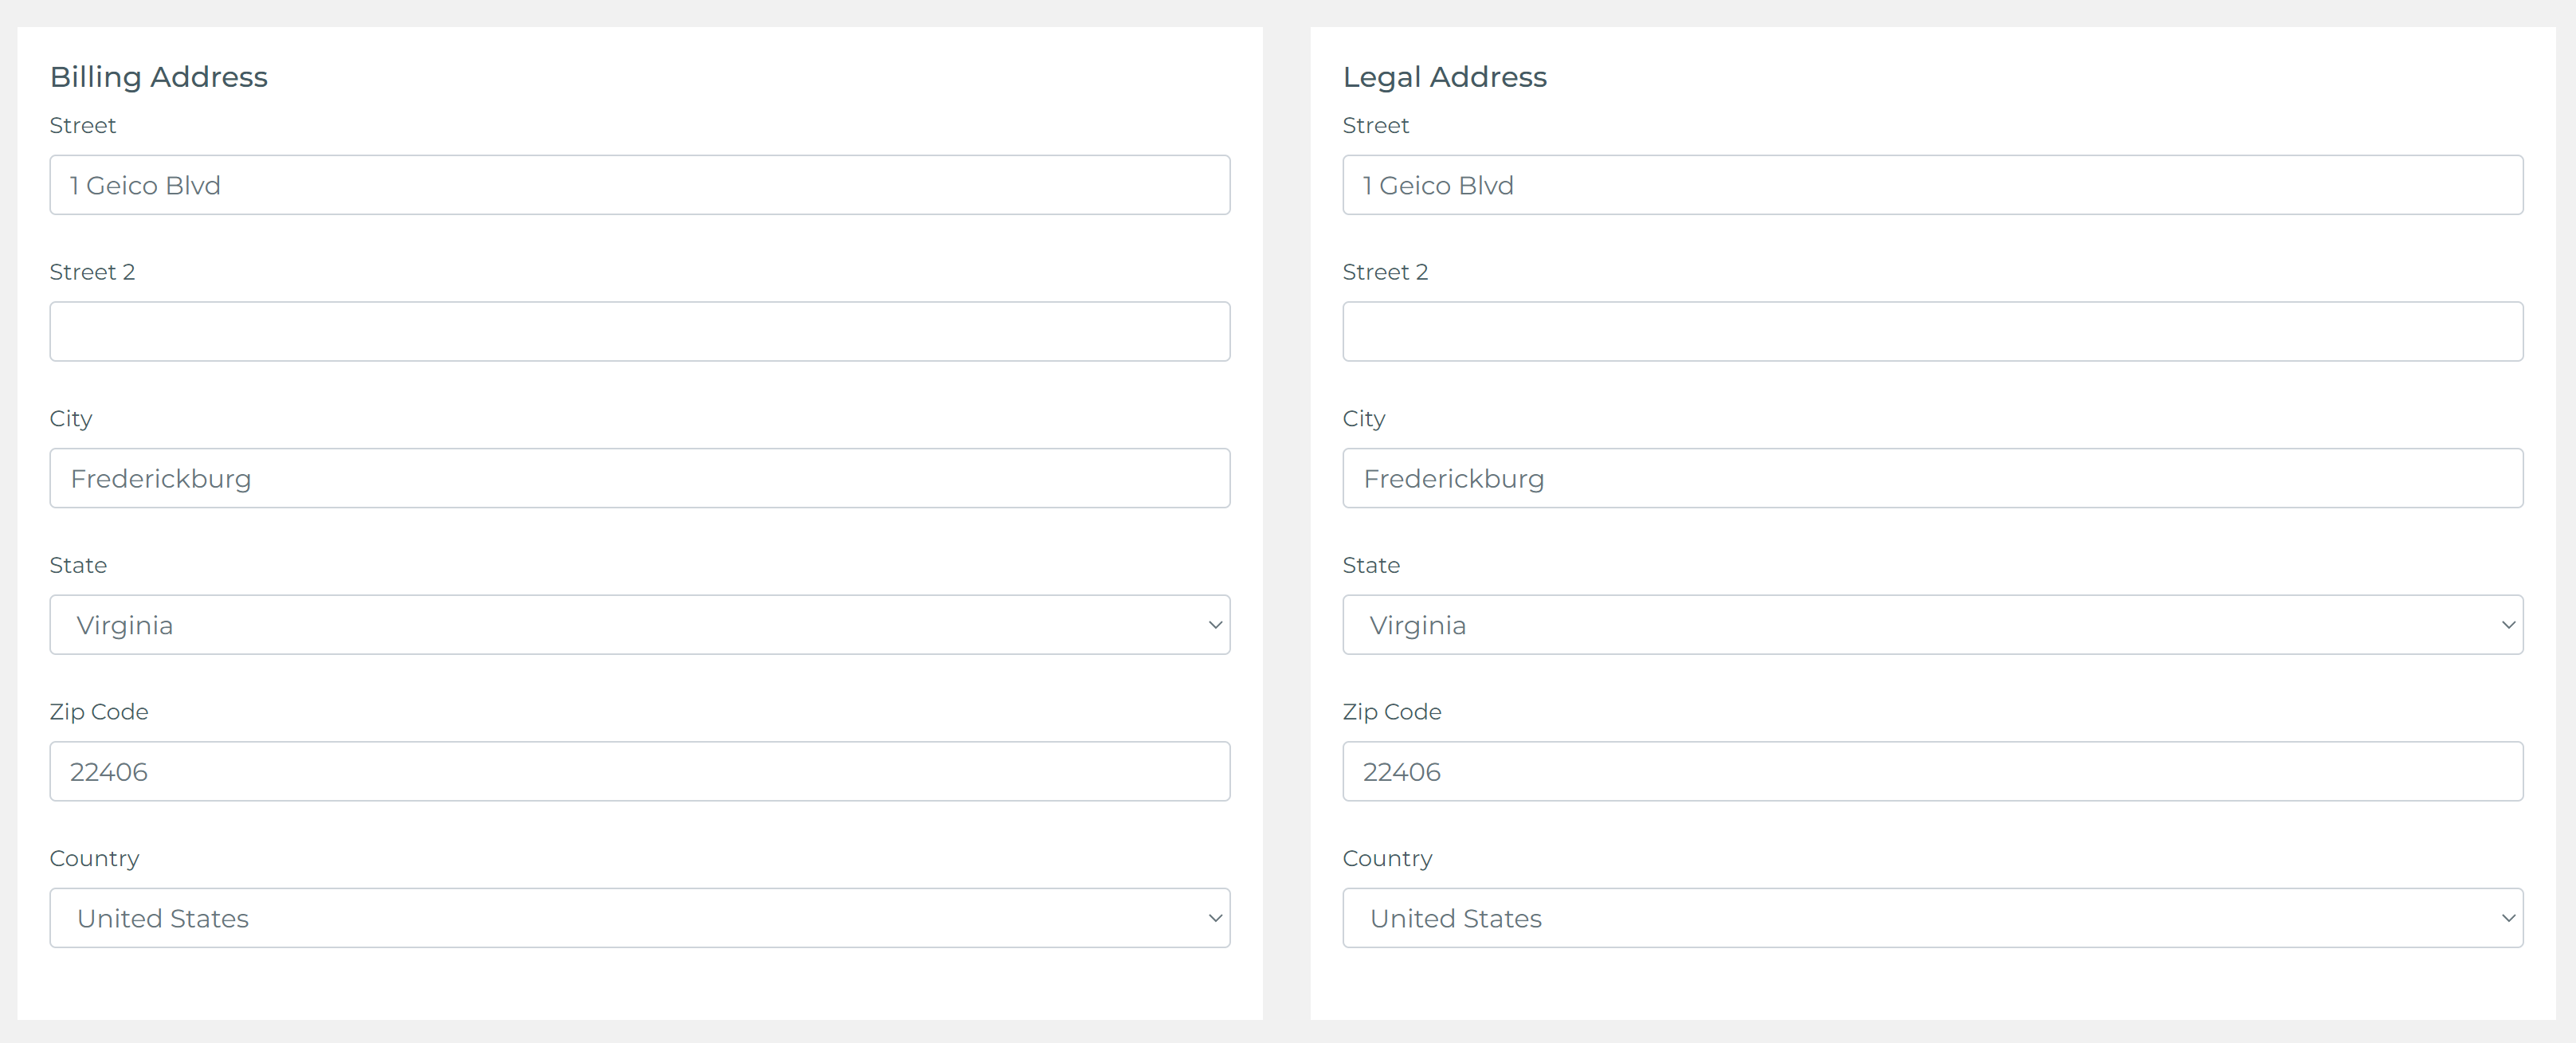
Next, you can fill in the Billing Address and Legal Address of the carrier. These fields allow you to specify both the billing and legal contact details for the carrier.
Reviewing and Saving the Carrier
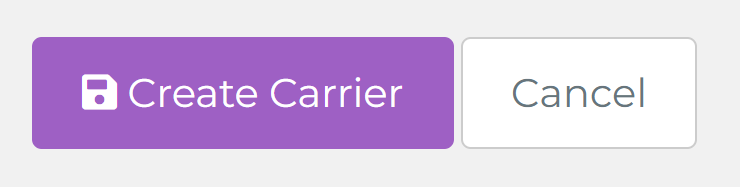
Once all the information is entered, you should review it to ensure everything is correct. If everything looks good, click the Create Carrier button at the bottom of the form. Keep in mind that this information can be edited later if any mistakes were made or if you need to add details later.
After creating the carrier, you will be redirected back to the carriers list, where you will see the newly added carrier.

Step 3: Adding a Product to a Carrier
To add a product to a carrier, start by selecting the carrier from the Carriers List. Once you are on the carrier’s details page, scroll to the bottom where you will find the Products section.
In this section, you can view the products that have already been added to the carrier. To create a new product, click the green Create Product button.

Step 4: Filling the Product Information
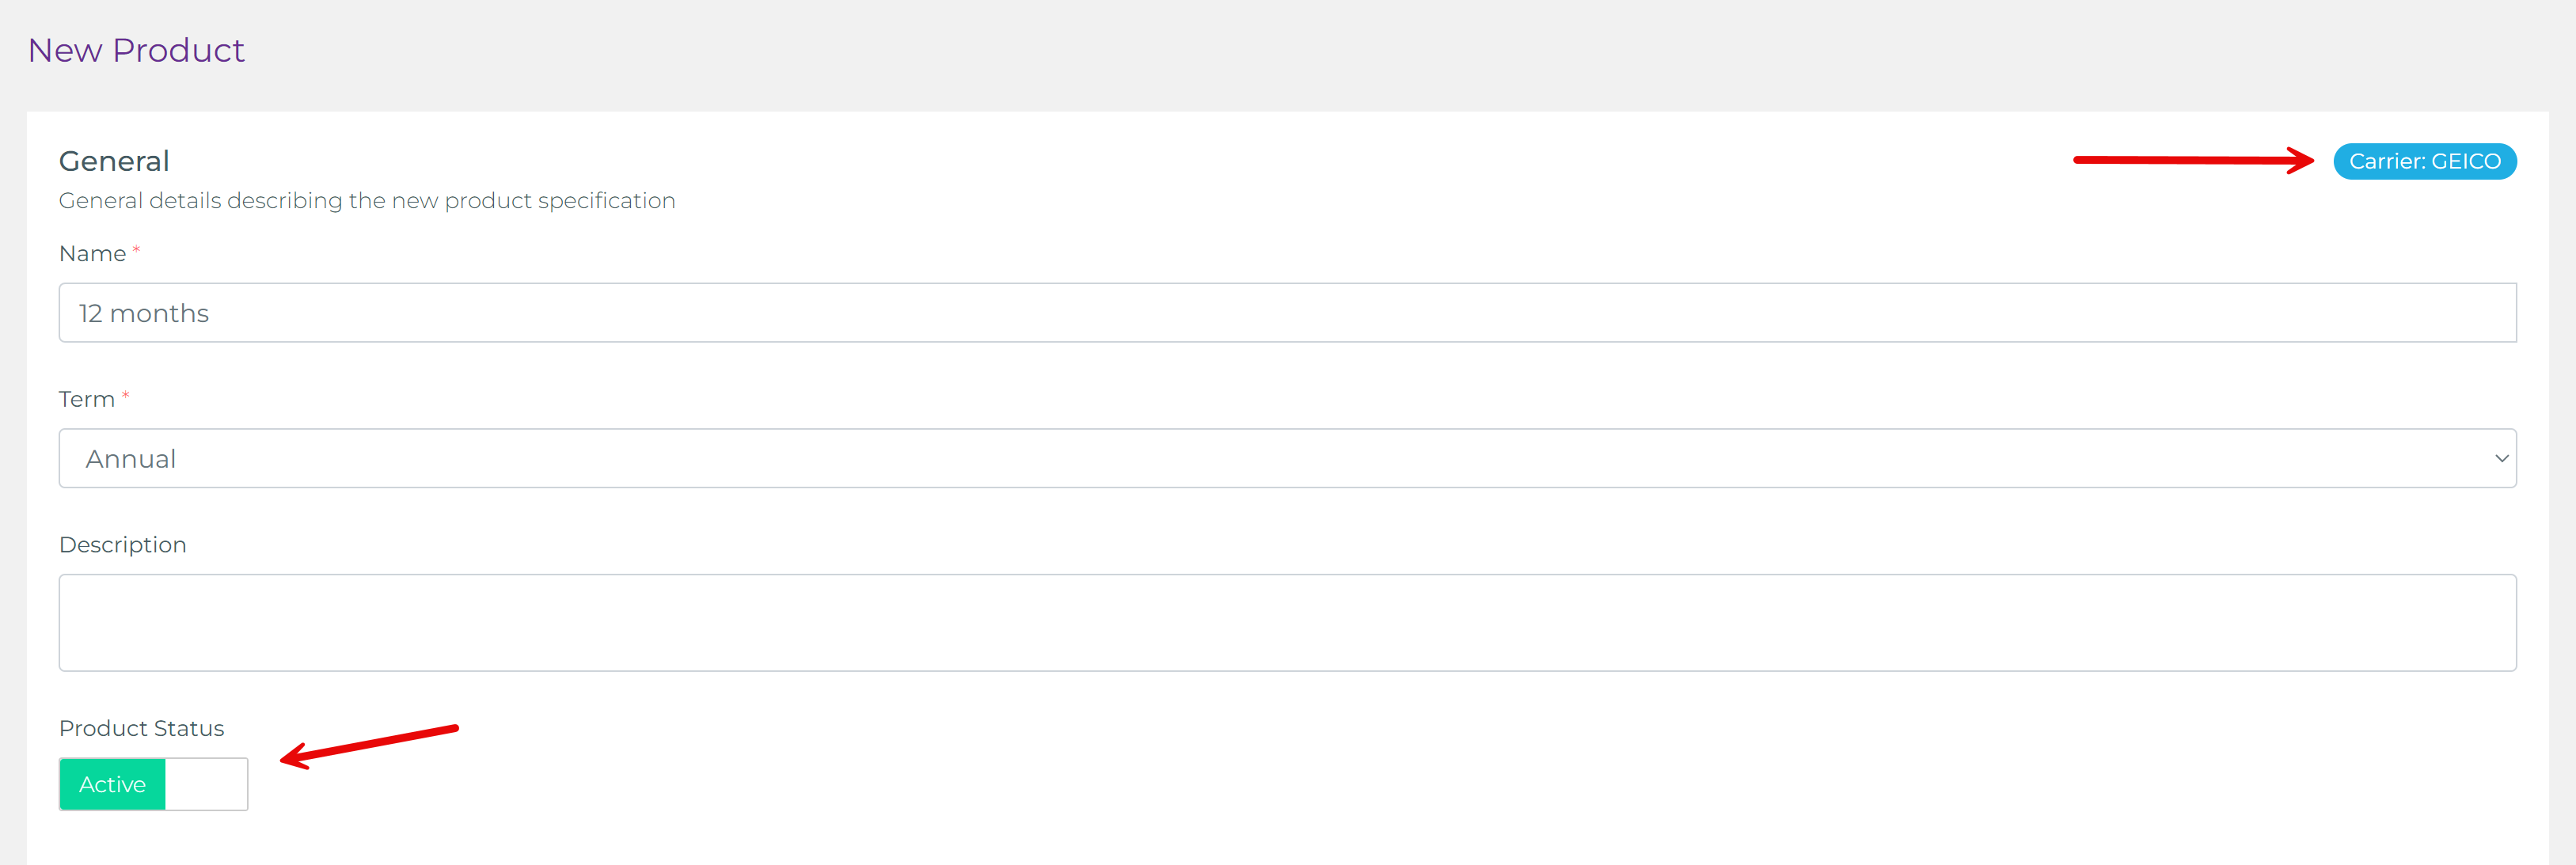
After clicking the Create Product button, you will be presented with the new product form. Start by filling out the General section, which includes the following fields:
- Name: The name of the product (e.g., Auto Insurance, Home Insurance).
- Term: The duration of the product (e.g., annual, semi-annual, quarterly, monthly, or other).
- Description: A brief description of the product.
- Product Status: You can set the status of the product to active or inactive based on its availability.
Additionally, at the top-right corner of the form, there is a blue label that shows which carrier the product is being added to. This helps ensure that the product is associated with the correct carrier.
Next, in the Line of Business section, you can select the specific line of business to which this product belongs.

Step 5: Defining Transaction Settings
In the Transaction Definitions section, you can predefine key financial elements for each carrier's product, such as transaction types (New Business, Renewal, Endorsements, etc.), associated fees, and commission structures. This allows agents to select a product for a specific carrier, and all necessary transaction records will be auto-generated—saving time and ensuring consistency across policies.
By defining transaction types in advance, such as New Business or Renewal, the system will automatically add the relevant fields when a policy is created or modified, streamlining the process. This includes commission records for the agency, agents, and carrier fees. For example, in a New Business transaction, agents can see predefined commission structures for agents and the agency, along with carrier fees, which are added to the base premium. This approach ensures all fees and commissions are accurately reflected, making policy creation faster and more consistent. For a detailed explanation of how commissions work, including how to configure them for different transaction types, refer to this article on Commissions and Fees.
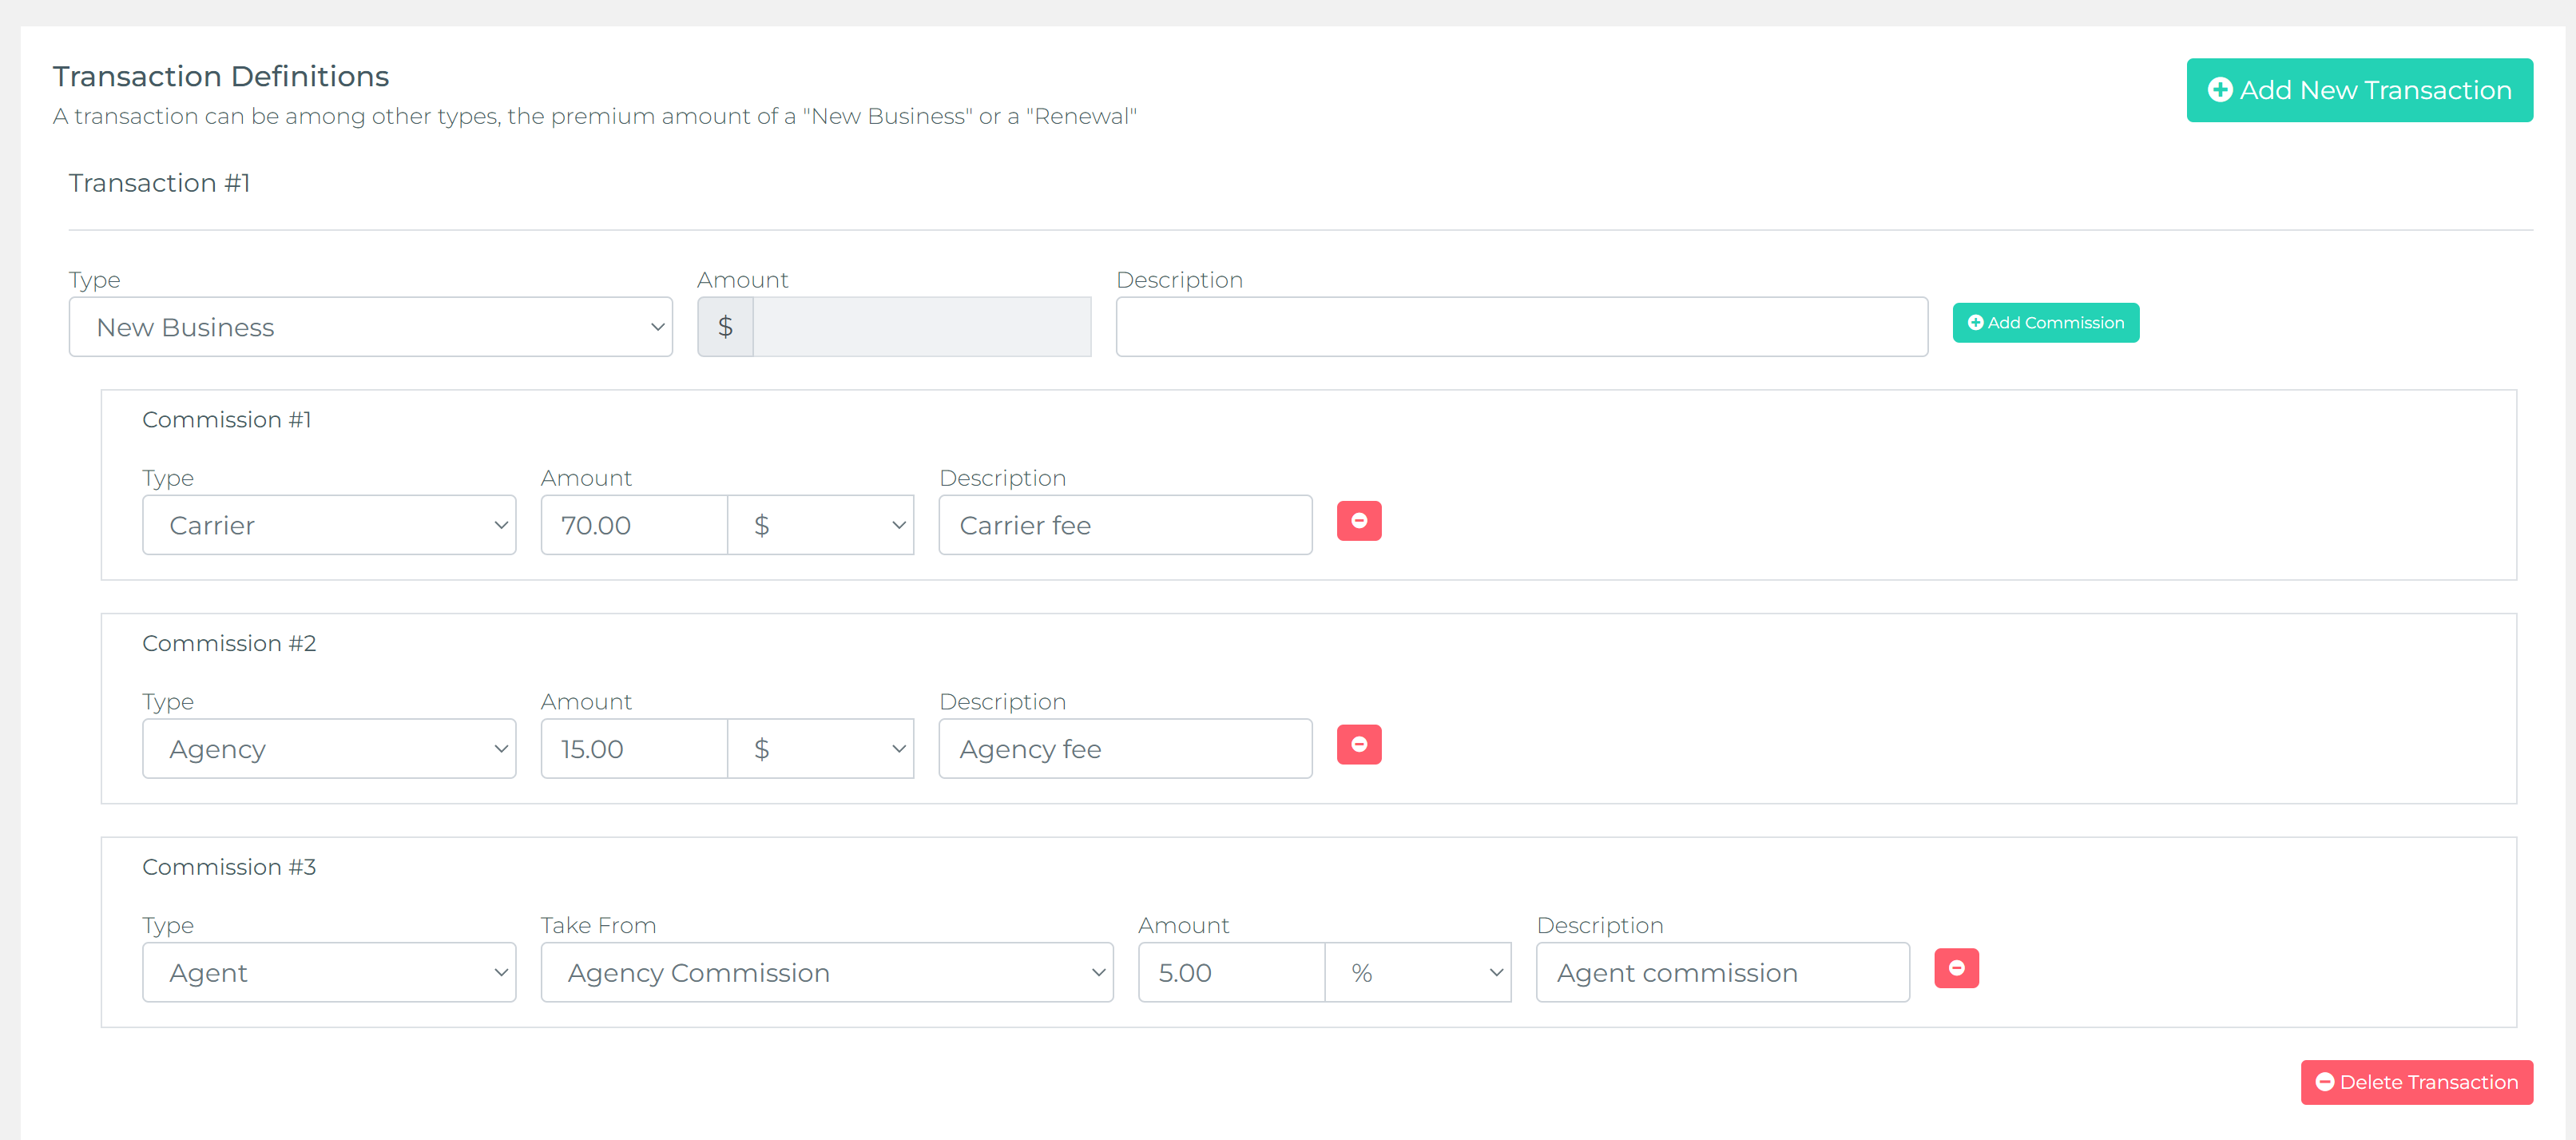
Check out the image above, showing a New Business transaction with two agent commissions, an agency commission, and a carrier fee. The system will automatically generate these records, meaning agents won’t need to manually input them, reducing errors and increasing efficiency.
Step 6: Configuring Billing and Payment Information
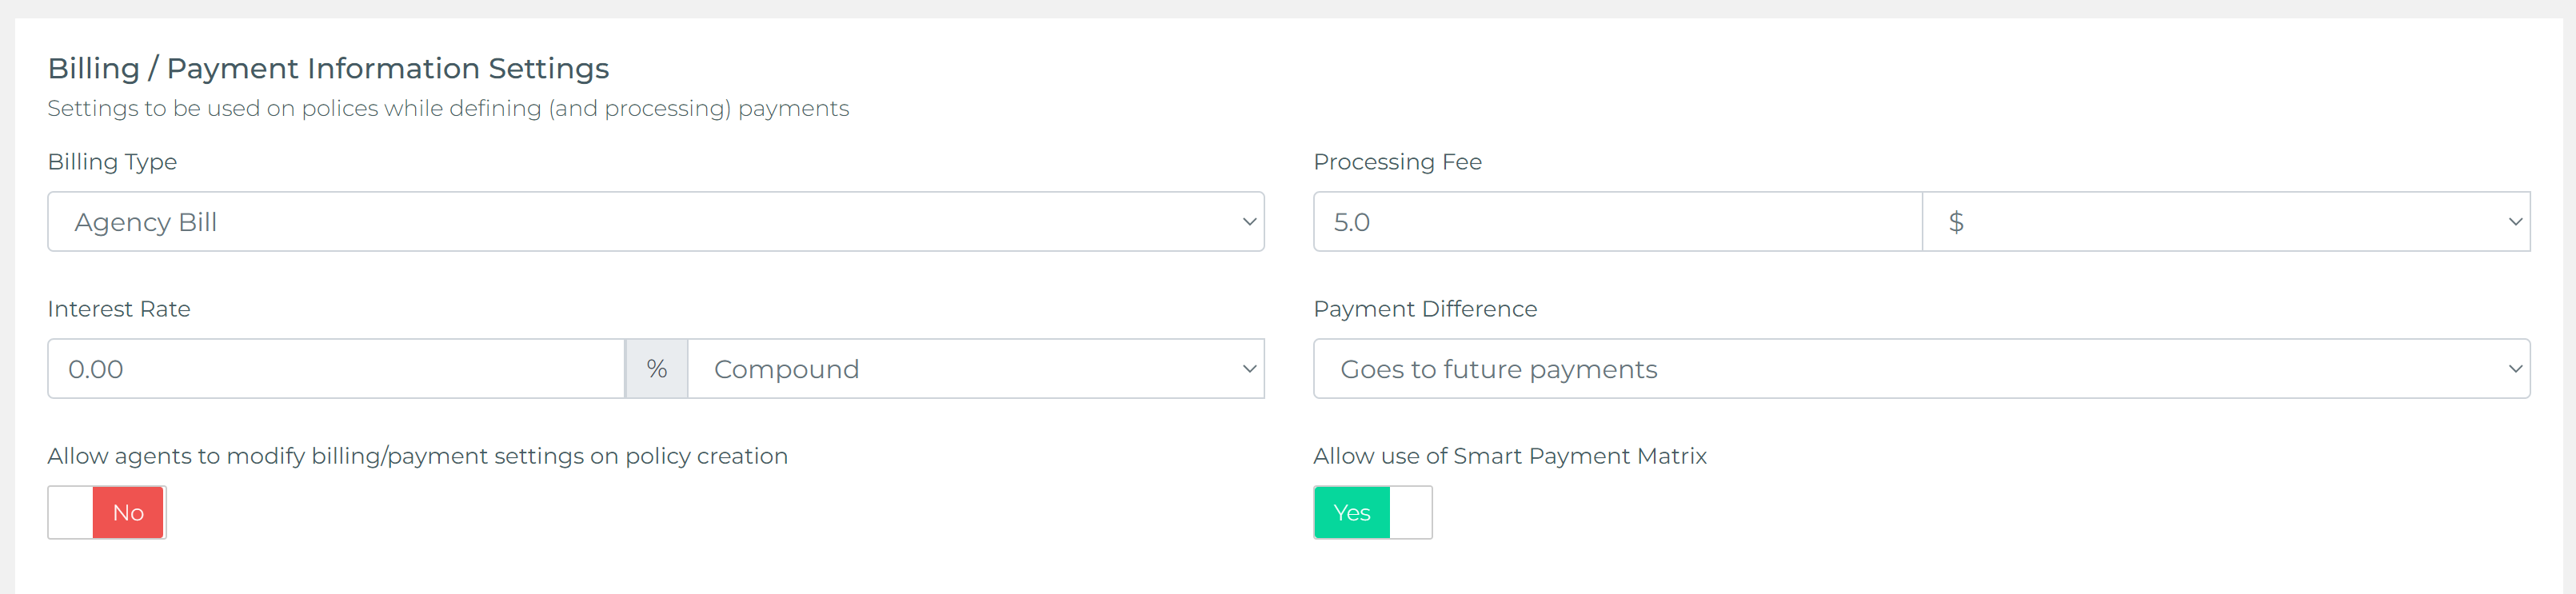
In this section, you can set up crucial financial settings for this product, including billing types, processing fees, interest rates, and how to handle payment differences. These configurations are essential if your agency manages financing for customers or captures payments directly.
Billing Type: Choose the billing method applicable to this product. If your agency handles billing internally, select option 'agency billing'. If the carrier manages billing (direct billing), indicate that here. This ensures that the billing process aligns with how payments are actually processed.
Processing Fee: Specify any additional fees your agency charges per payment. This fee will be added to each scheduled payment generated by the Smart Payment Matrix. It's useful for agencies that charge an extra fee (e.g., an agency fee) when they are the ones capturing payments from customers. If you're not using the payment matrix or don't charge additional fees, you can leave this field blank.
Interest Rate: If your agency provides financing to customers, enter the interest rate here. The Smart Payment Matrix will use this rate to calculate an amortized payment schedule, applying the appropriate interest to each payment. This is particularly important for agencies that handle financing themselves. If financing isn't provided, you can skip this field.
Payment Difference: This setting determines how to handle situations where a customer pays less or more than the expected amount for a scheduled payment. The options include:
- Adjust Future Payments: If a payment is under the expected amount, the difference is distributed across future payments. The Smart Payment Matrix adjusts the remaining schedule accordingly.
- Apply Difference to Next Payment: The unpaid amount is added to the next scheduled payment, requiring the customer to make up the difference in the following month.
- No Payment Difference Allowed: Customers must pay the exact amount due for each payment. Underpayments are not accepted, and the payment will be considered incomplete.
These options provide flexibility in managing customer payments, especially if your agency handles its own financing. For agencies that don't offer financing or use direct billing (where payments go directly to the carrier), this setting may not be necessary.
Allow Use of Smart Payment Matrix: This checkbox enables or disables the Smart Payment Matrix for this product. If set to "No," agents won't have access to the payment matrix when creating a policy with this product. This can simplify the policy creation process if automated payment scheduling isn't needed.
By configuring these settings, agency owners or administrators can control how the product behaves during policy creation, tailoring it to the agency's specific processes and ensuring agents have the appropriate options available.
Step 7: Reviewing and Creating the Product
Before finalizing, review all the product details for accuracy. Once confirmed, click the Create Product button to save the new product.
Concluding Thoughts
Pre-defining carriers and products in Taino helps streamline workflows for agents, accounting, and commissions. By following this guide, you can easily set up and manage carriers and products, ensuring smooth operations.
Watch the video below for a step-by-step tutorial: