Introduction to Customer Creation and Management
Creating and managing customer records in the Taino platform is essential for maintaining accurate and organized customer data. This guide will take you through the process step-by-step, ensuring that all customer information is properly captured and easily accessible by agents.
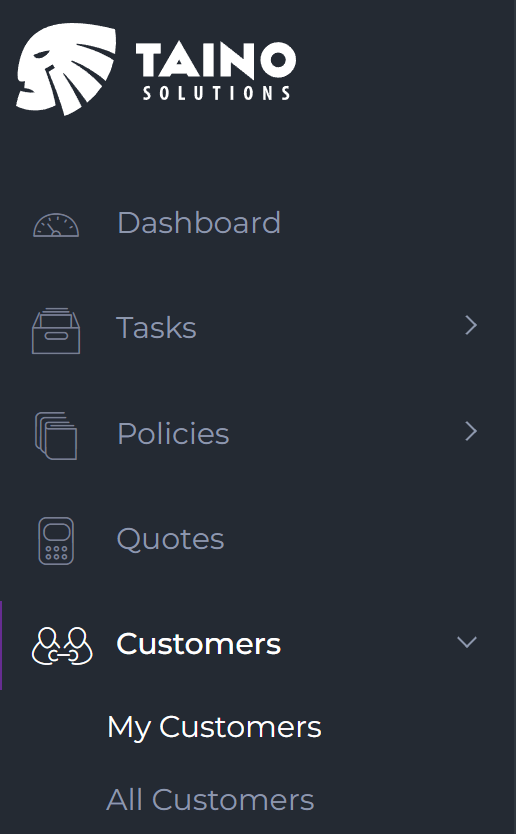
Step 1: Navigating to the "My Customers" Option
To create a new customer, you need to navigate to the "My Customers" option inside the "Customers" section.
Once there, click on the "Create Customer" button, located at the top-right corner of the page. This will open the customer creation form, where you can enter all necessary details.

Step 2: Entering Customer Information
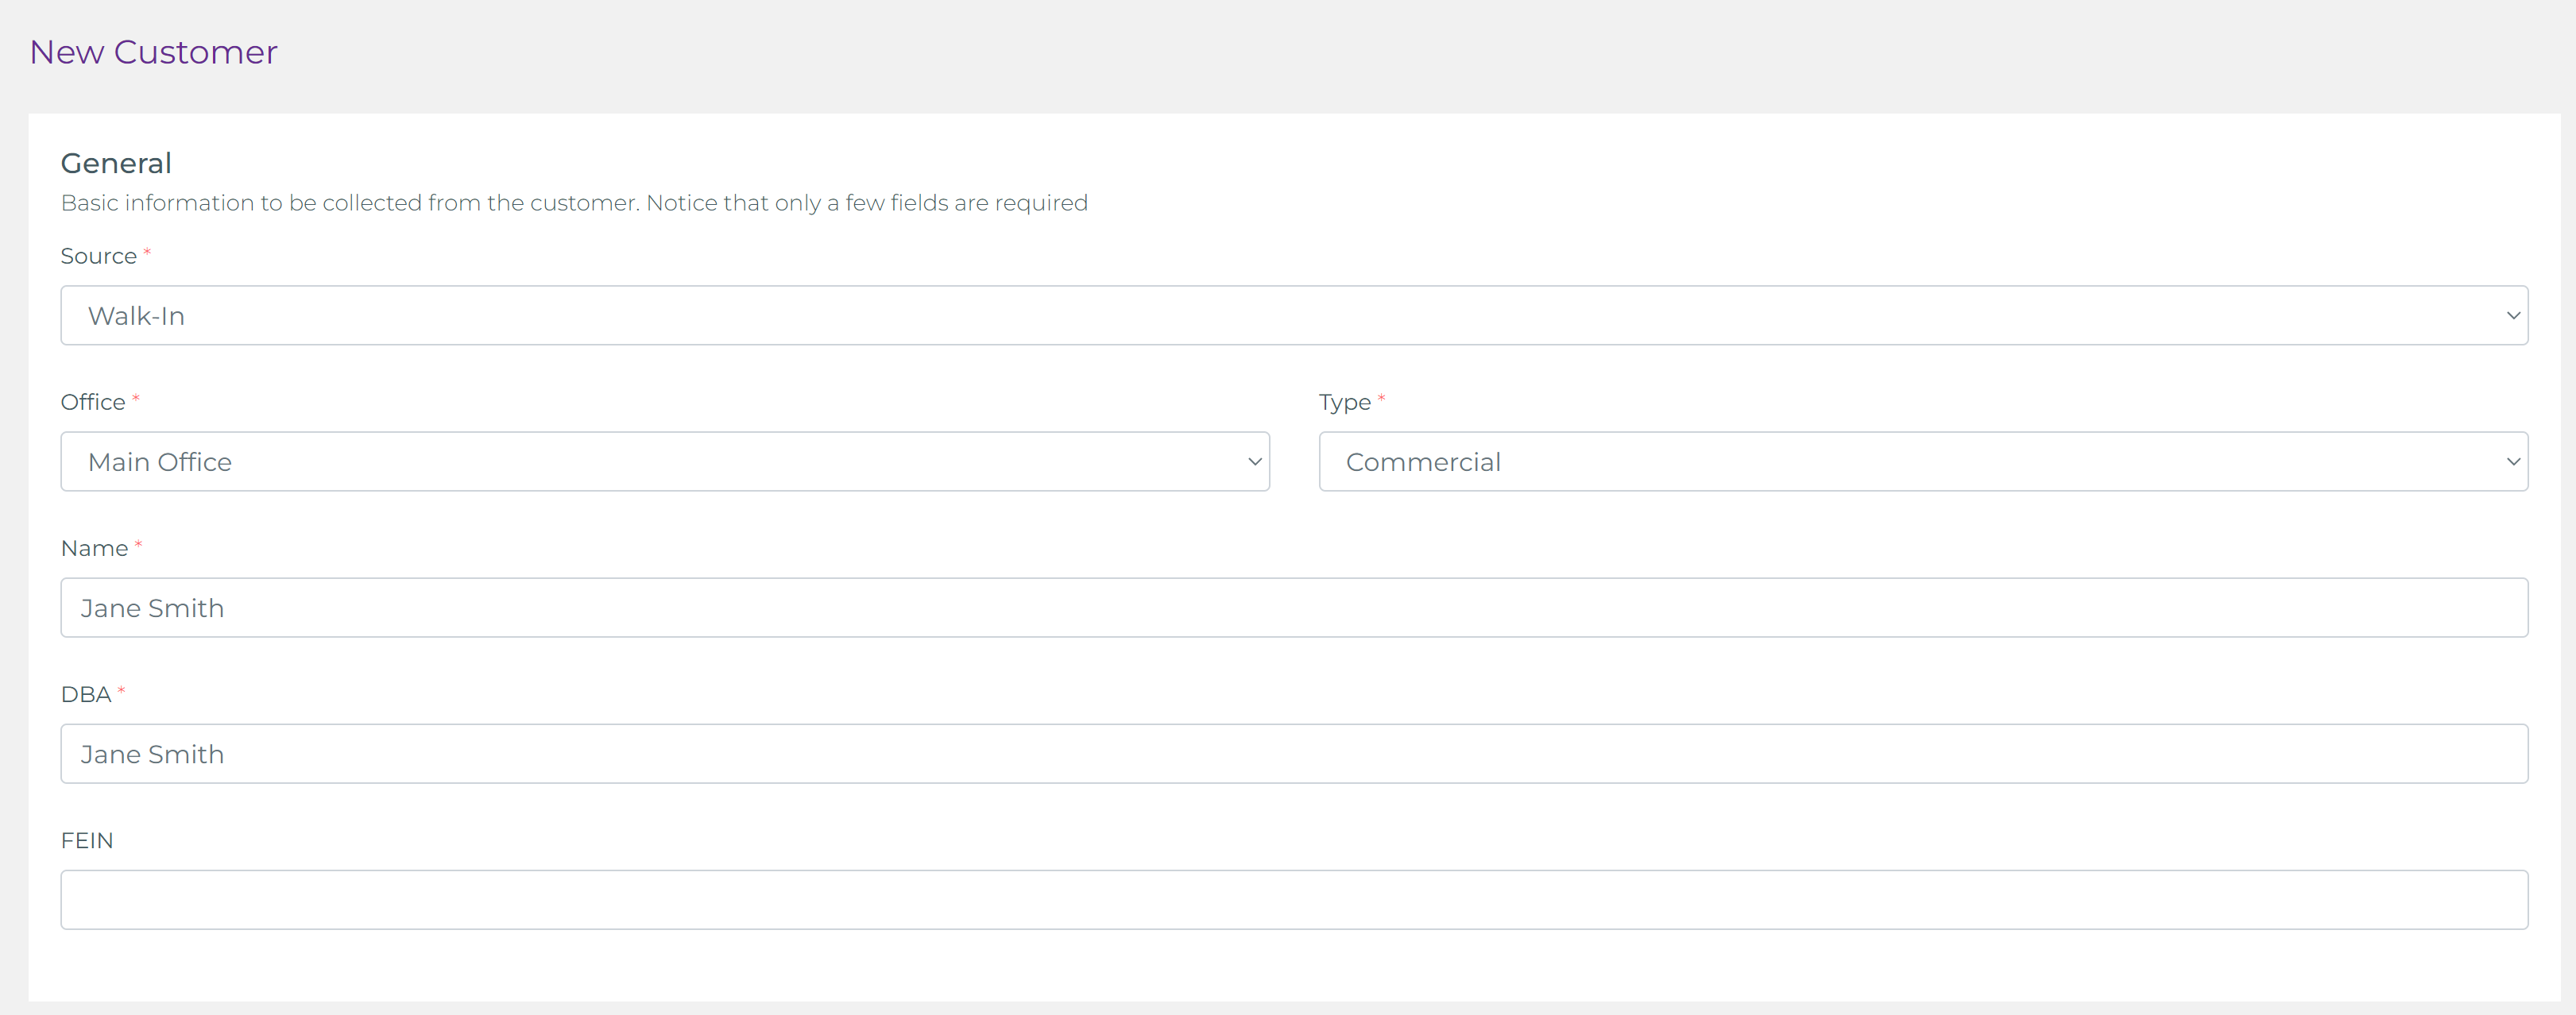
To begin creating a customer, you need to start by filling in the General section, which contains basic information about the customer. This section includes:
- Source: The source where the customer originated from (e.g., Walk-in, Referred, Advertisement).
- Office: The office handling this customer’s account.
- Type: The type of customer (e.g., Personal, Commercial).
- First Name: The customer's first name.
- Last Name: The customer's last name.
- Date of Birth: The customer’s birth date.
- SSN: The customer’s Social Security Number.
- Gender: The customer’s gender.
- Marital Status: The customer's current marital status.
- Driver License: The customer’s driver's license number.
- Driver License State: The state in which the driver's license was issued.
Required fields are marked with a *, so make sure to complete those fields to proceed.
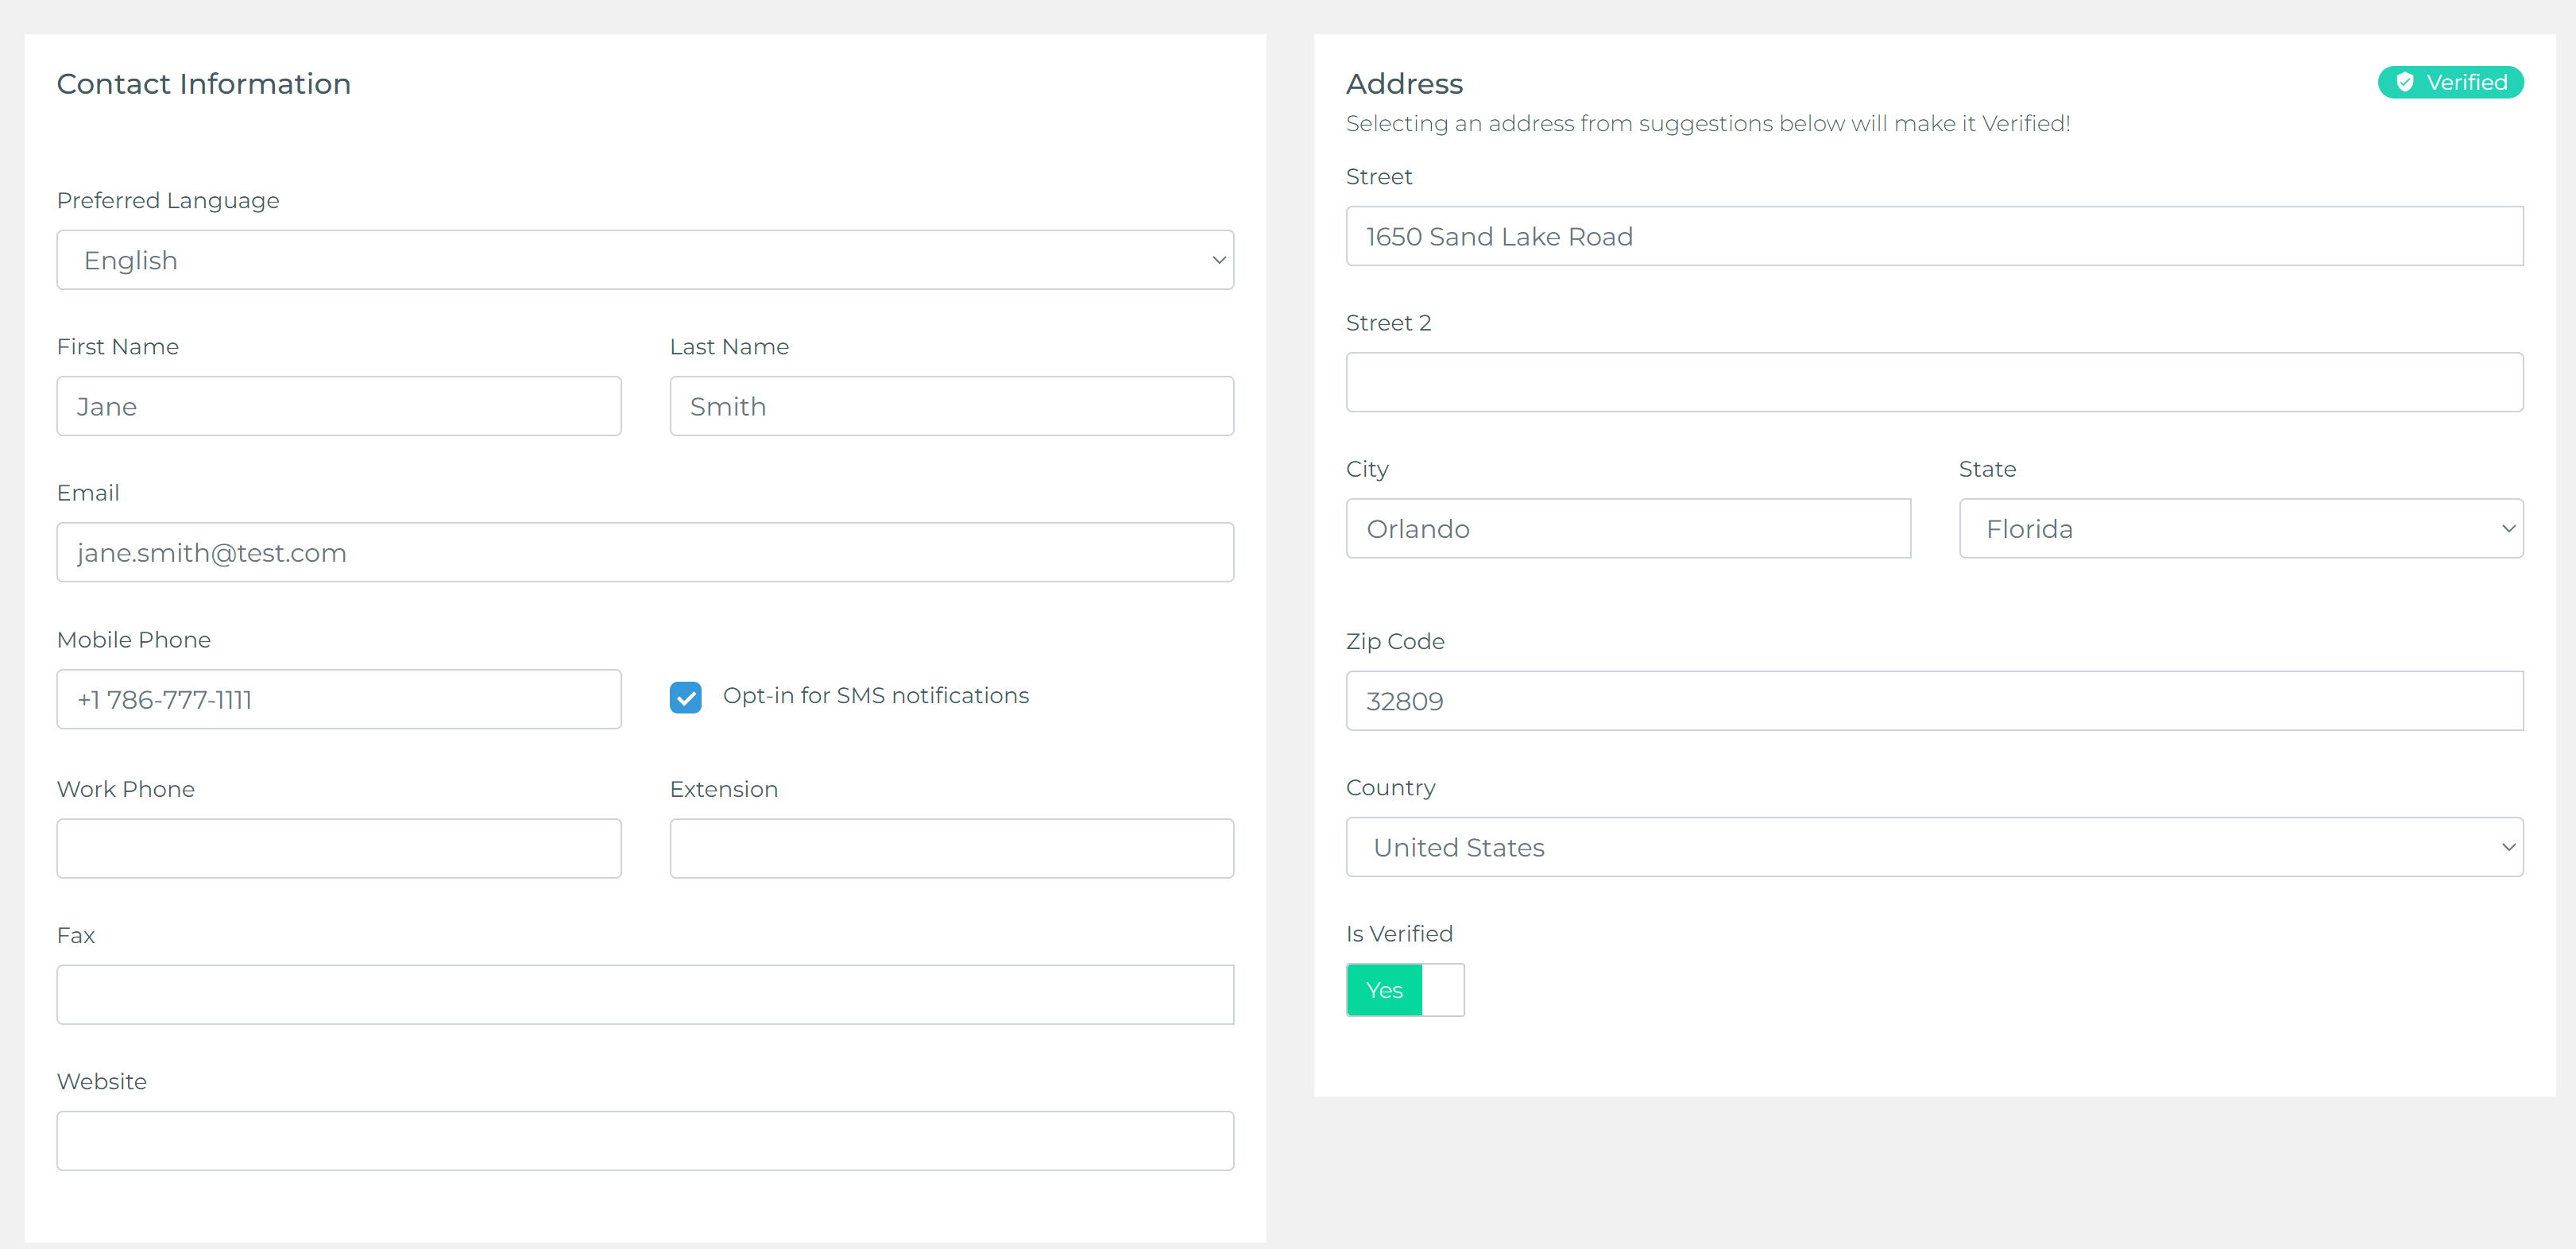
Customer Contact Information
Next, you can fill in the customer's contact information, which includes:
- Preferred Language: The customer’s preferred language for communication.
- Email: The customer’s primary email address.
- Mobile Phone: The customer’s mobile phone number (with an opt-in for SMS notifications).
- Work Phone and Extension: The customer’s work phone number and extension, if applicable.
- Fax: The customer’s fax number, if available.
- Website: The customer’s website, if they have one.
Additionally, you can enter the customer’s physical address.
Custom Fields
If you need extra fields for entering customer information that isn’t provided out of the box, you can always create custom fields. This allows you to capture any specific details unique to your business needs.

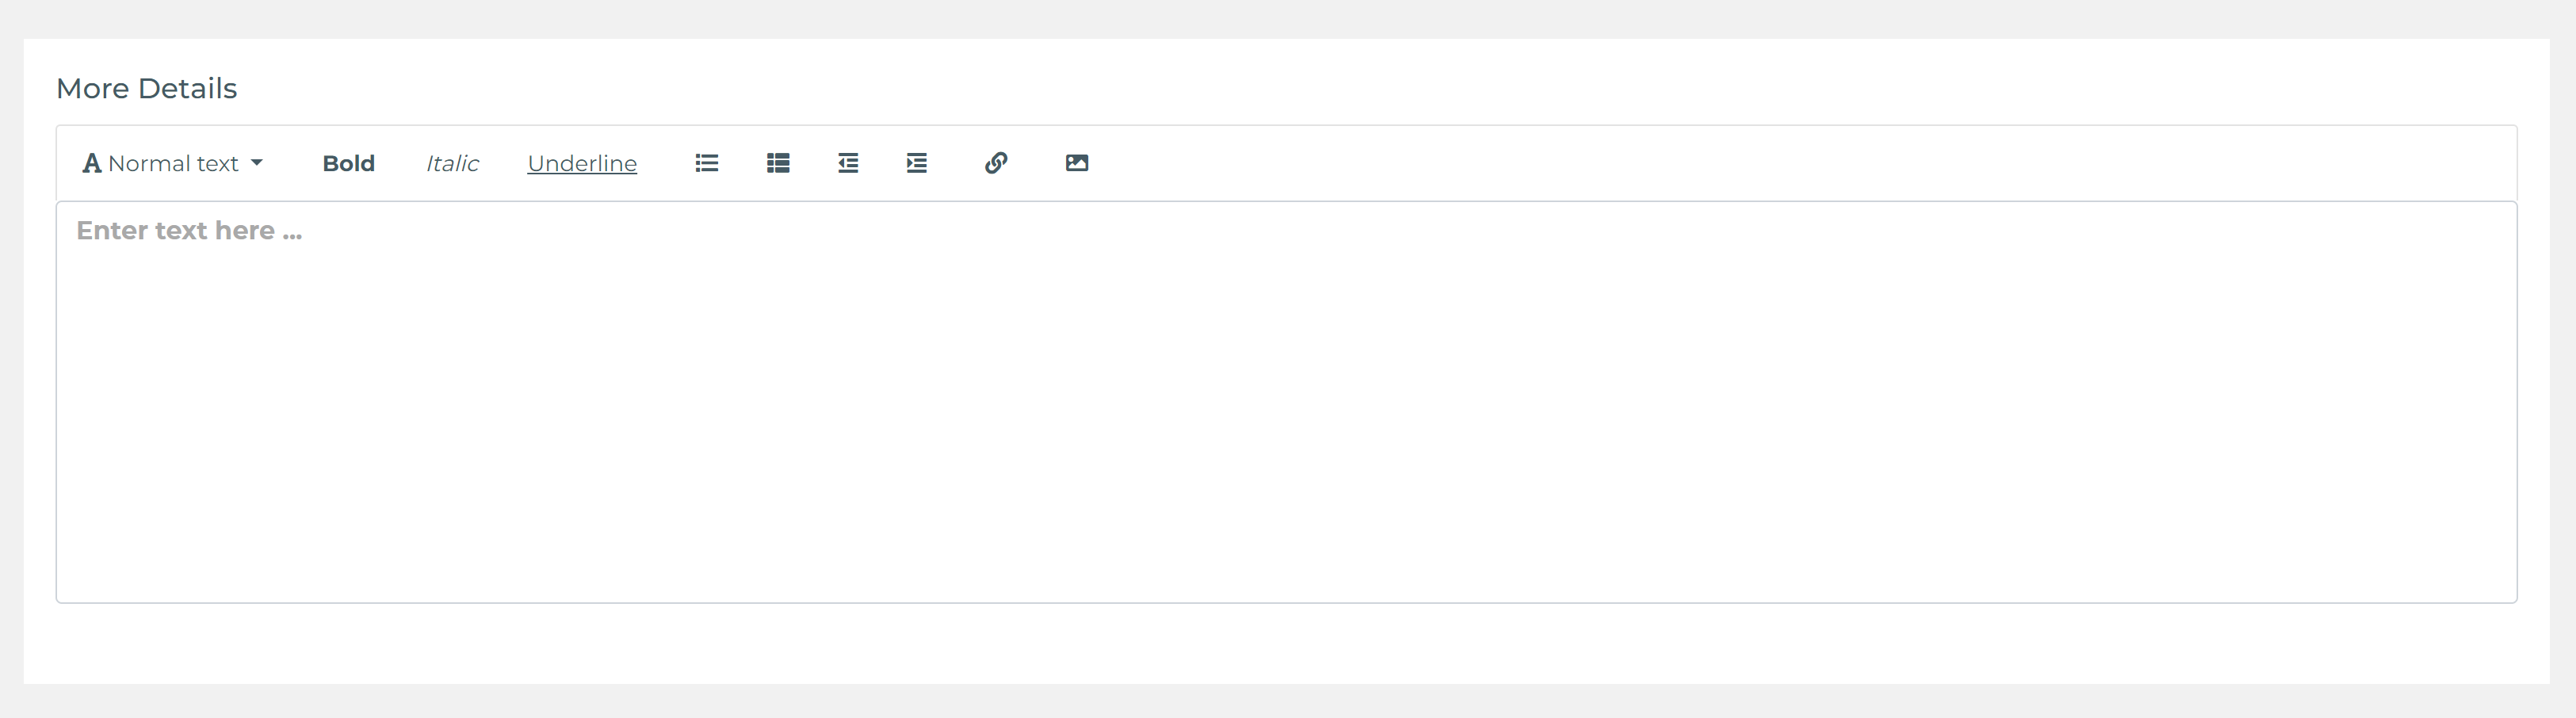
More Details
The More Details section contains a rich text editor, where you can add any additional information about the customer. This section is useful for providing detailed notes or any other relevant information that may not fit within the standard fields.
Step 3: Assigning a Customer to an Agent
In the Users section, you can assign the users (agents) who will work on this customer. By default, the user creating the customer will be automatically assigned, but it can be removed if needed. This feature is particularly useful if multiple agents need access to the customer’s information or will be managing their related policies.

Step 4: Reviewing and Saving the Customer
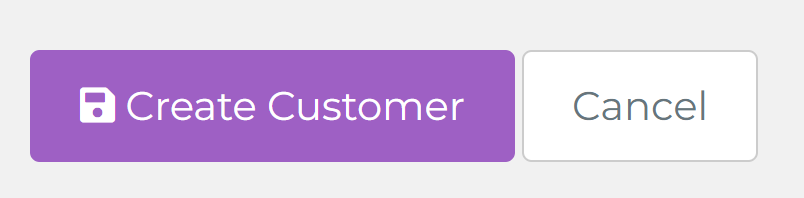
Before saving the customer, make sure to review all the information you have entered. If everything looks correct, you can proceed by clicking the Create Customer button.
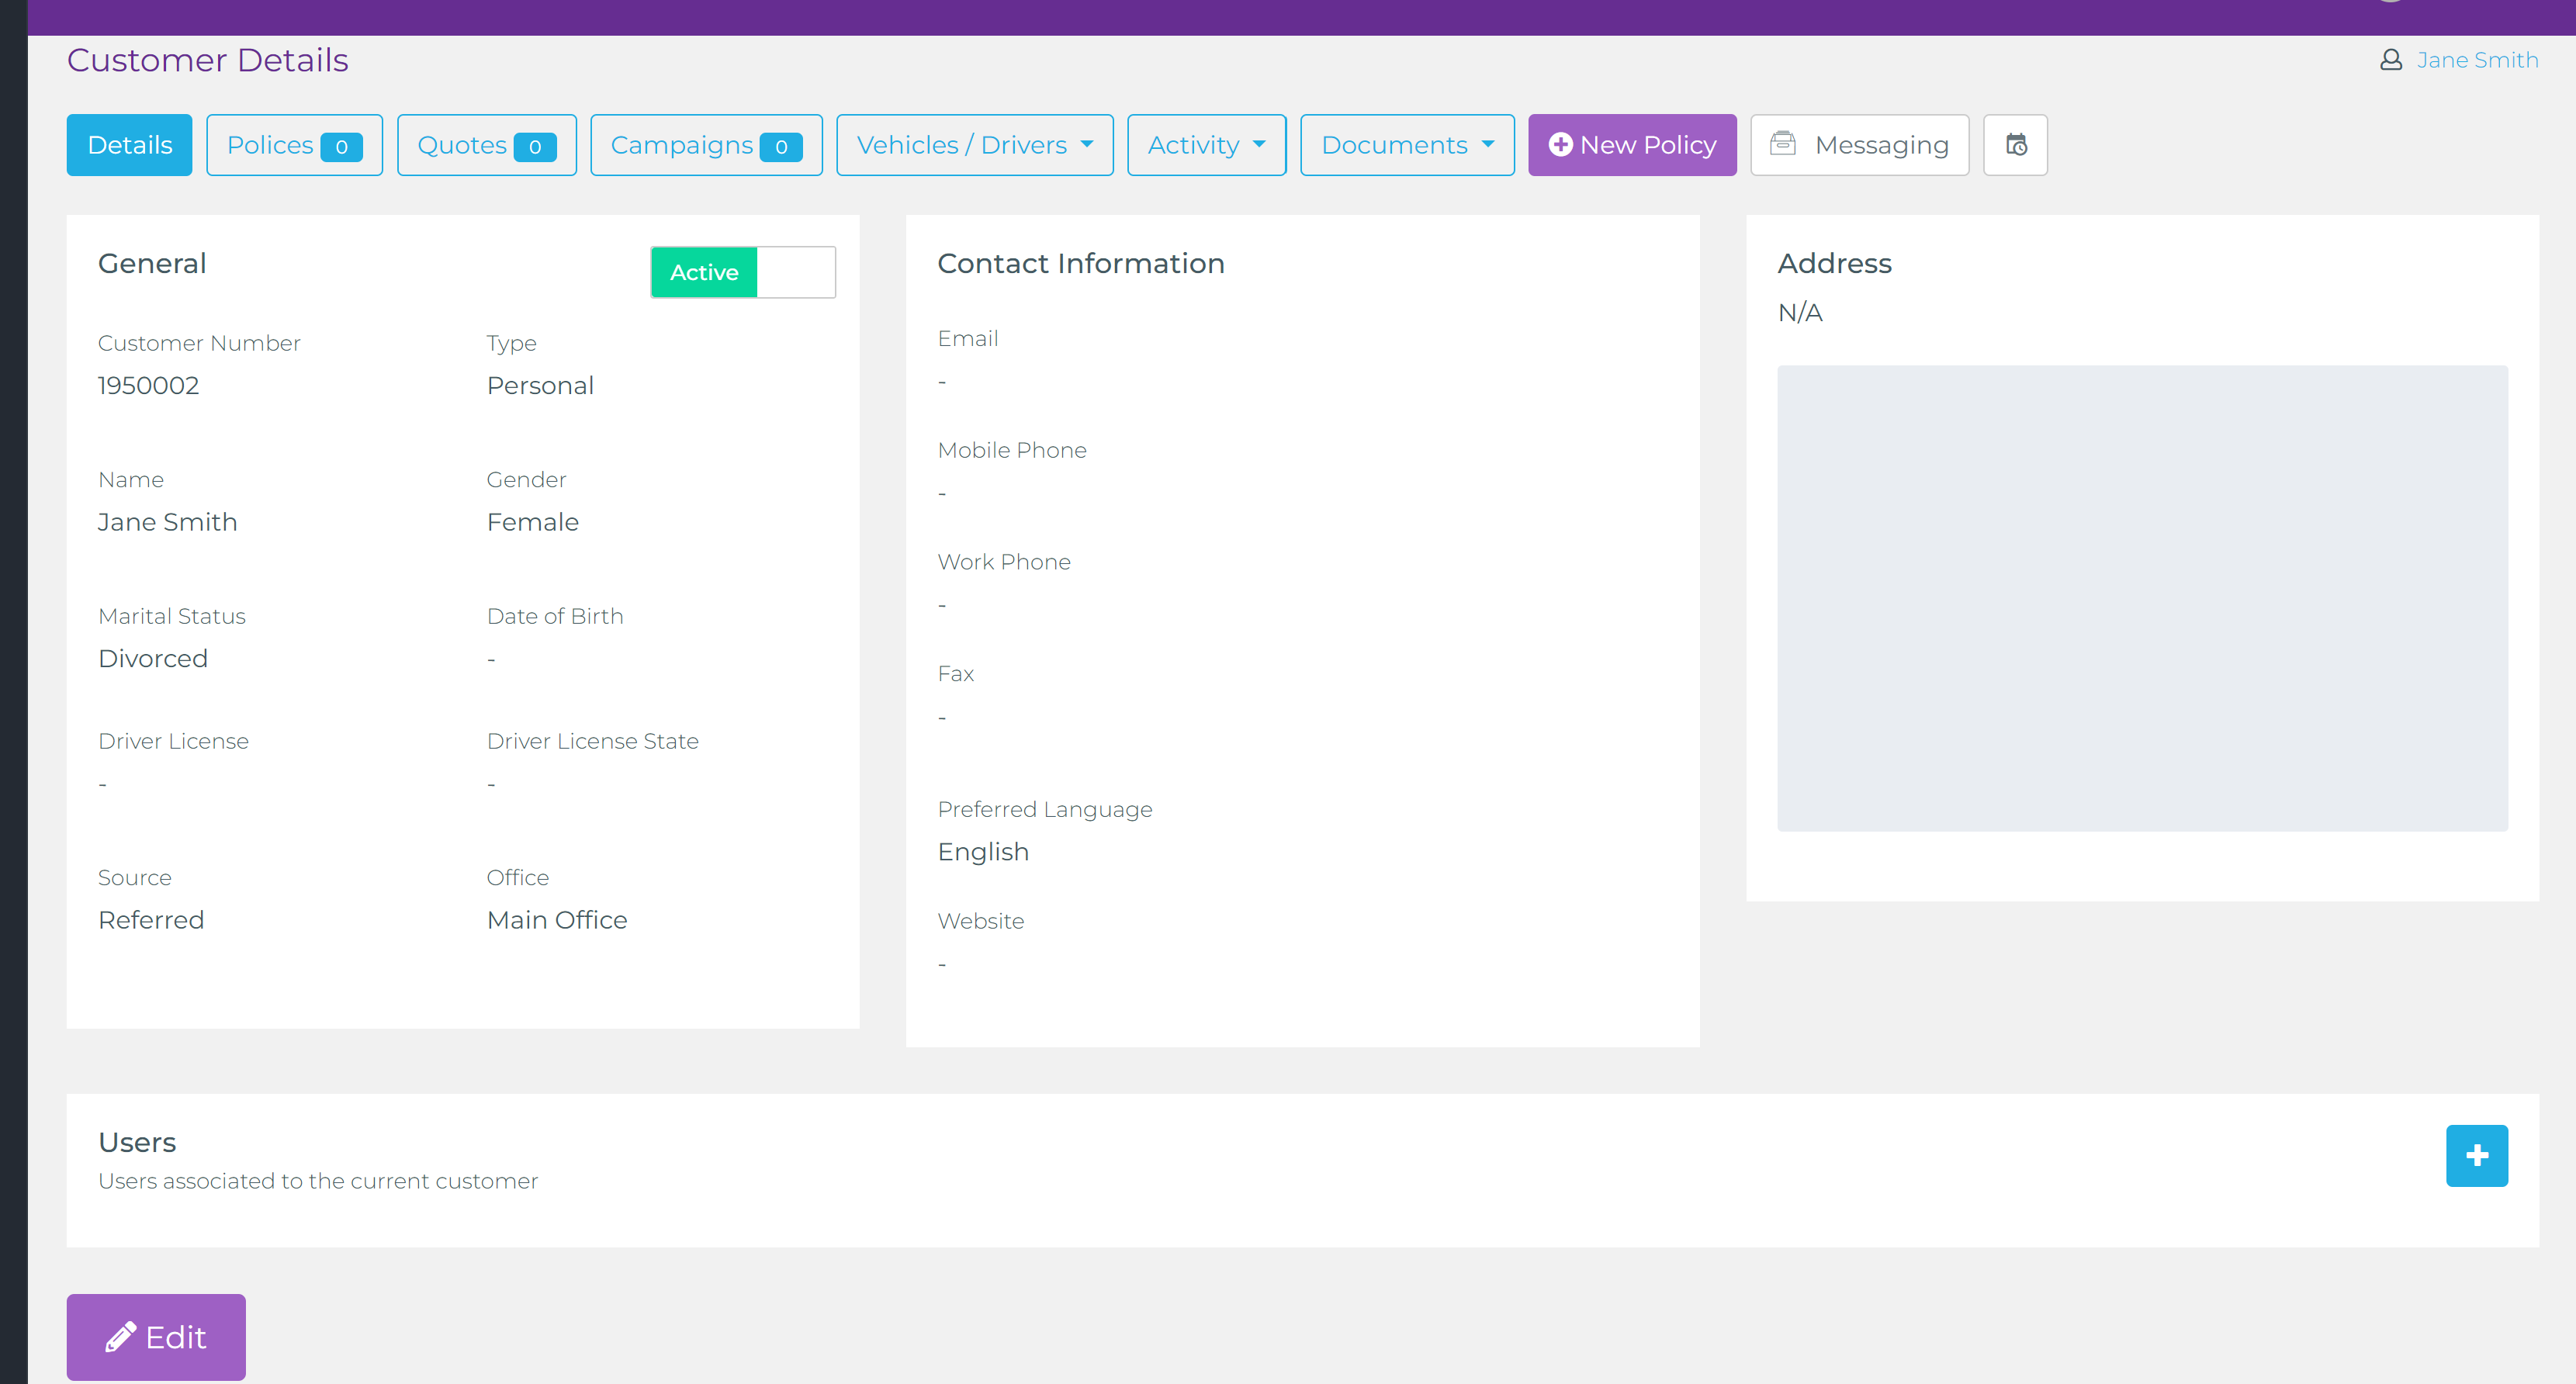
Once the customer is created, you will be redirected to the customer details page. From here, you can start working on the customer by creating new policies, adding documents, vehicles, and other related records. If any incorrect information was entered, you can easily edit it by using the Edit button located at the bottom of the page.
Concluding Thoughts
Properly managing customer records is crucial for ensuring smooth operations within the Taino platform. Following this guide will help you keep customer data organized and accessible, allowing agents to efficiently manage their relationships with clients.
Watch the video below for a step-by-step tutorial: