Custom Fields are how you extend the platform to match your agency’s processes. They let you capture extra data on Customer and Policy records, grouped in clear sections, and reused across Automation, Web Forms, and Custom PDF Templates. Define once—then auto‑fill documents and forms without copy/paste.
Where to Manage Custom Fields
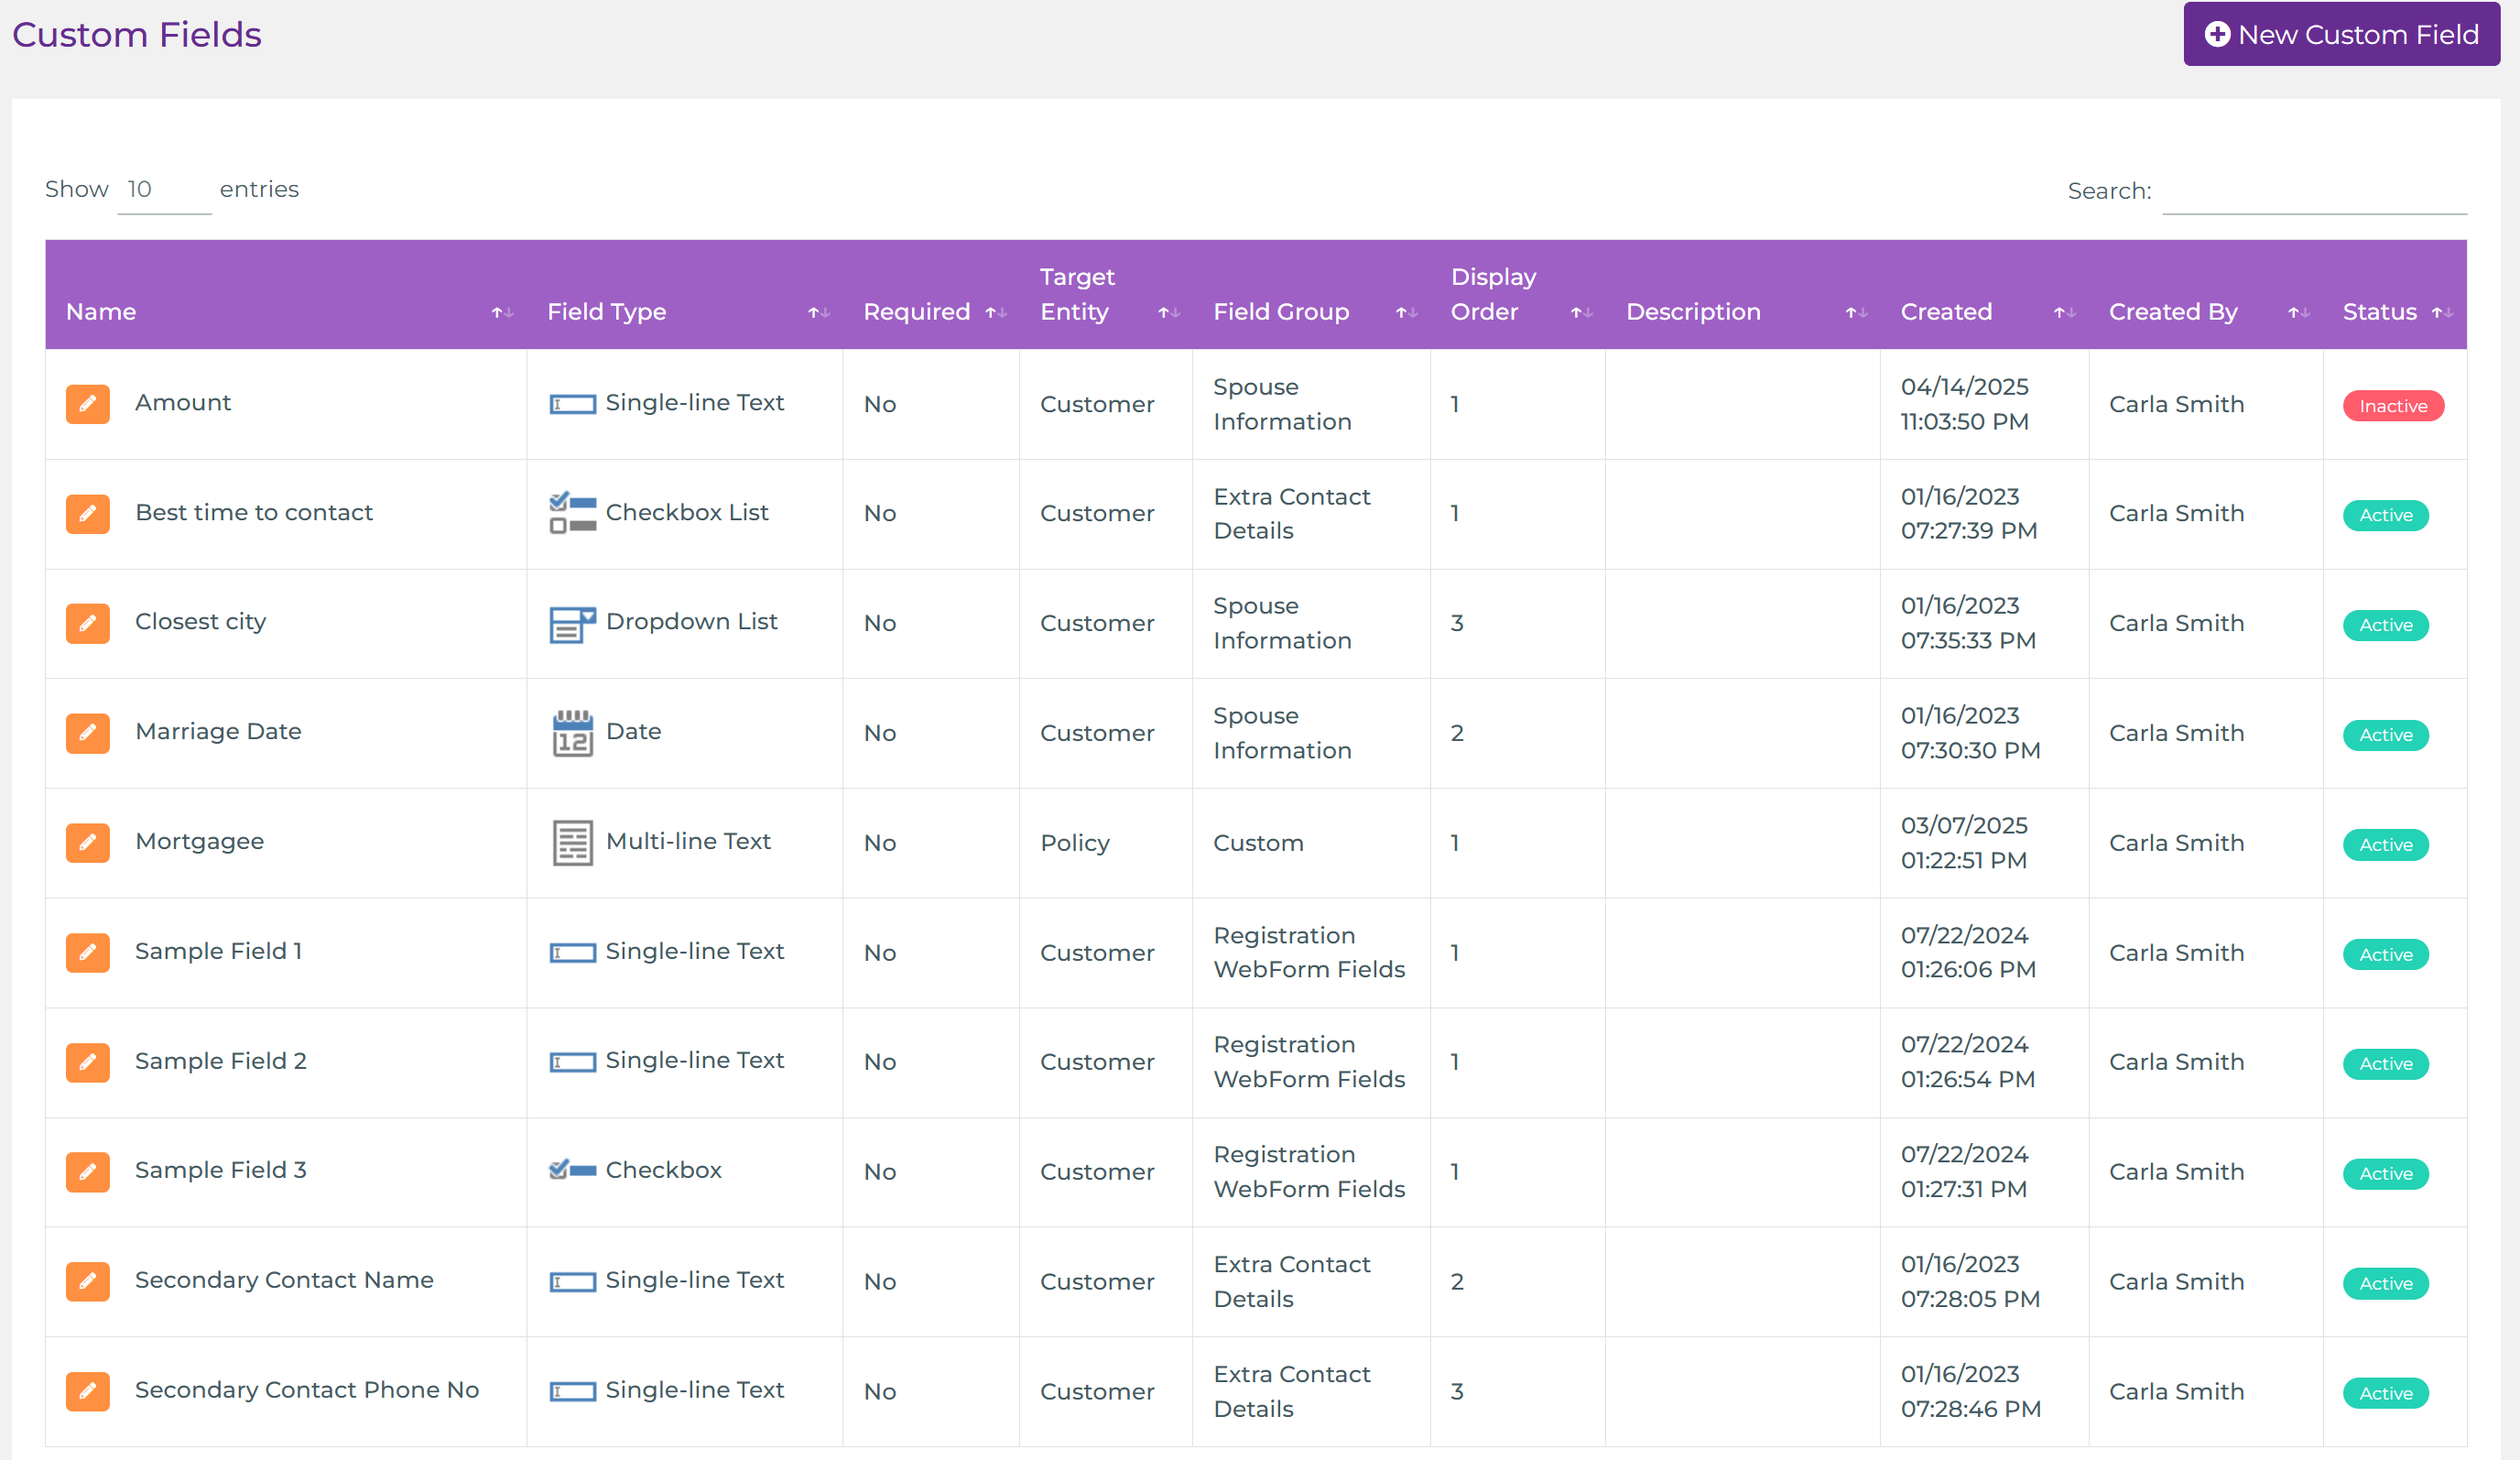
Navigate to: Administration > Customizations > Custom Fields.
Create, edit, or delete fields here. The list shows name, type, target entity, group, display order, creator, and status.
Create a Custom Field
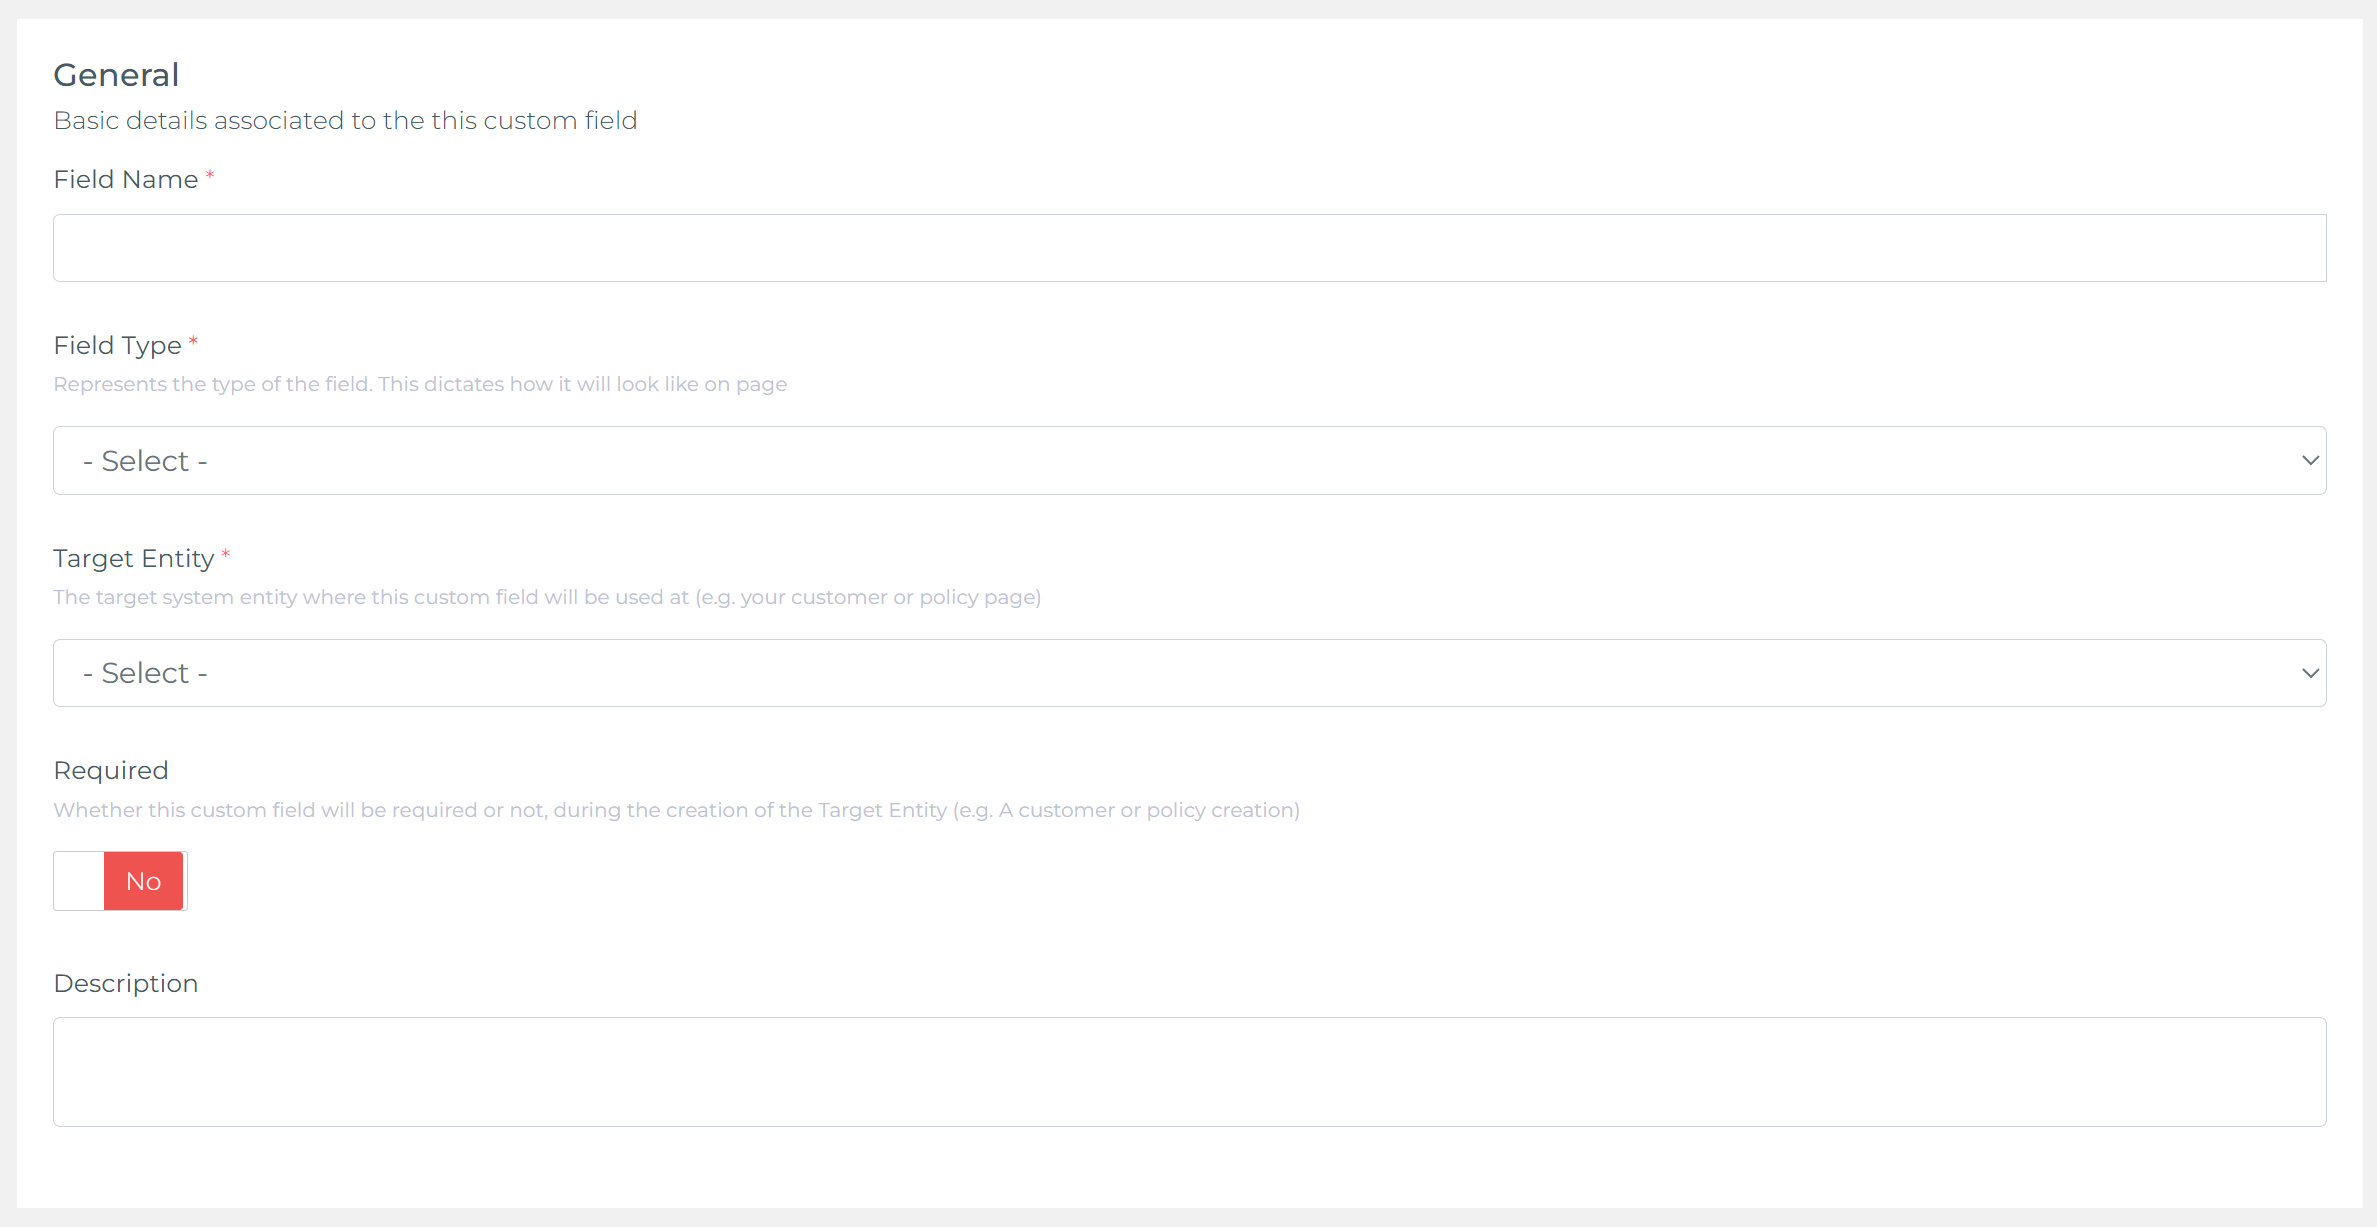
Click New Custom Field. The form has two parts: General and Field Group.
General
Set the basics for how the field behaves and where it appears.
- Field Name – The label agents will see.
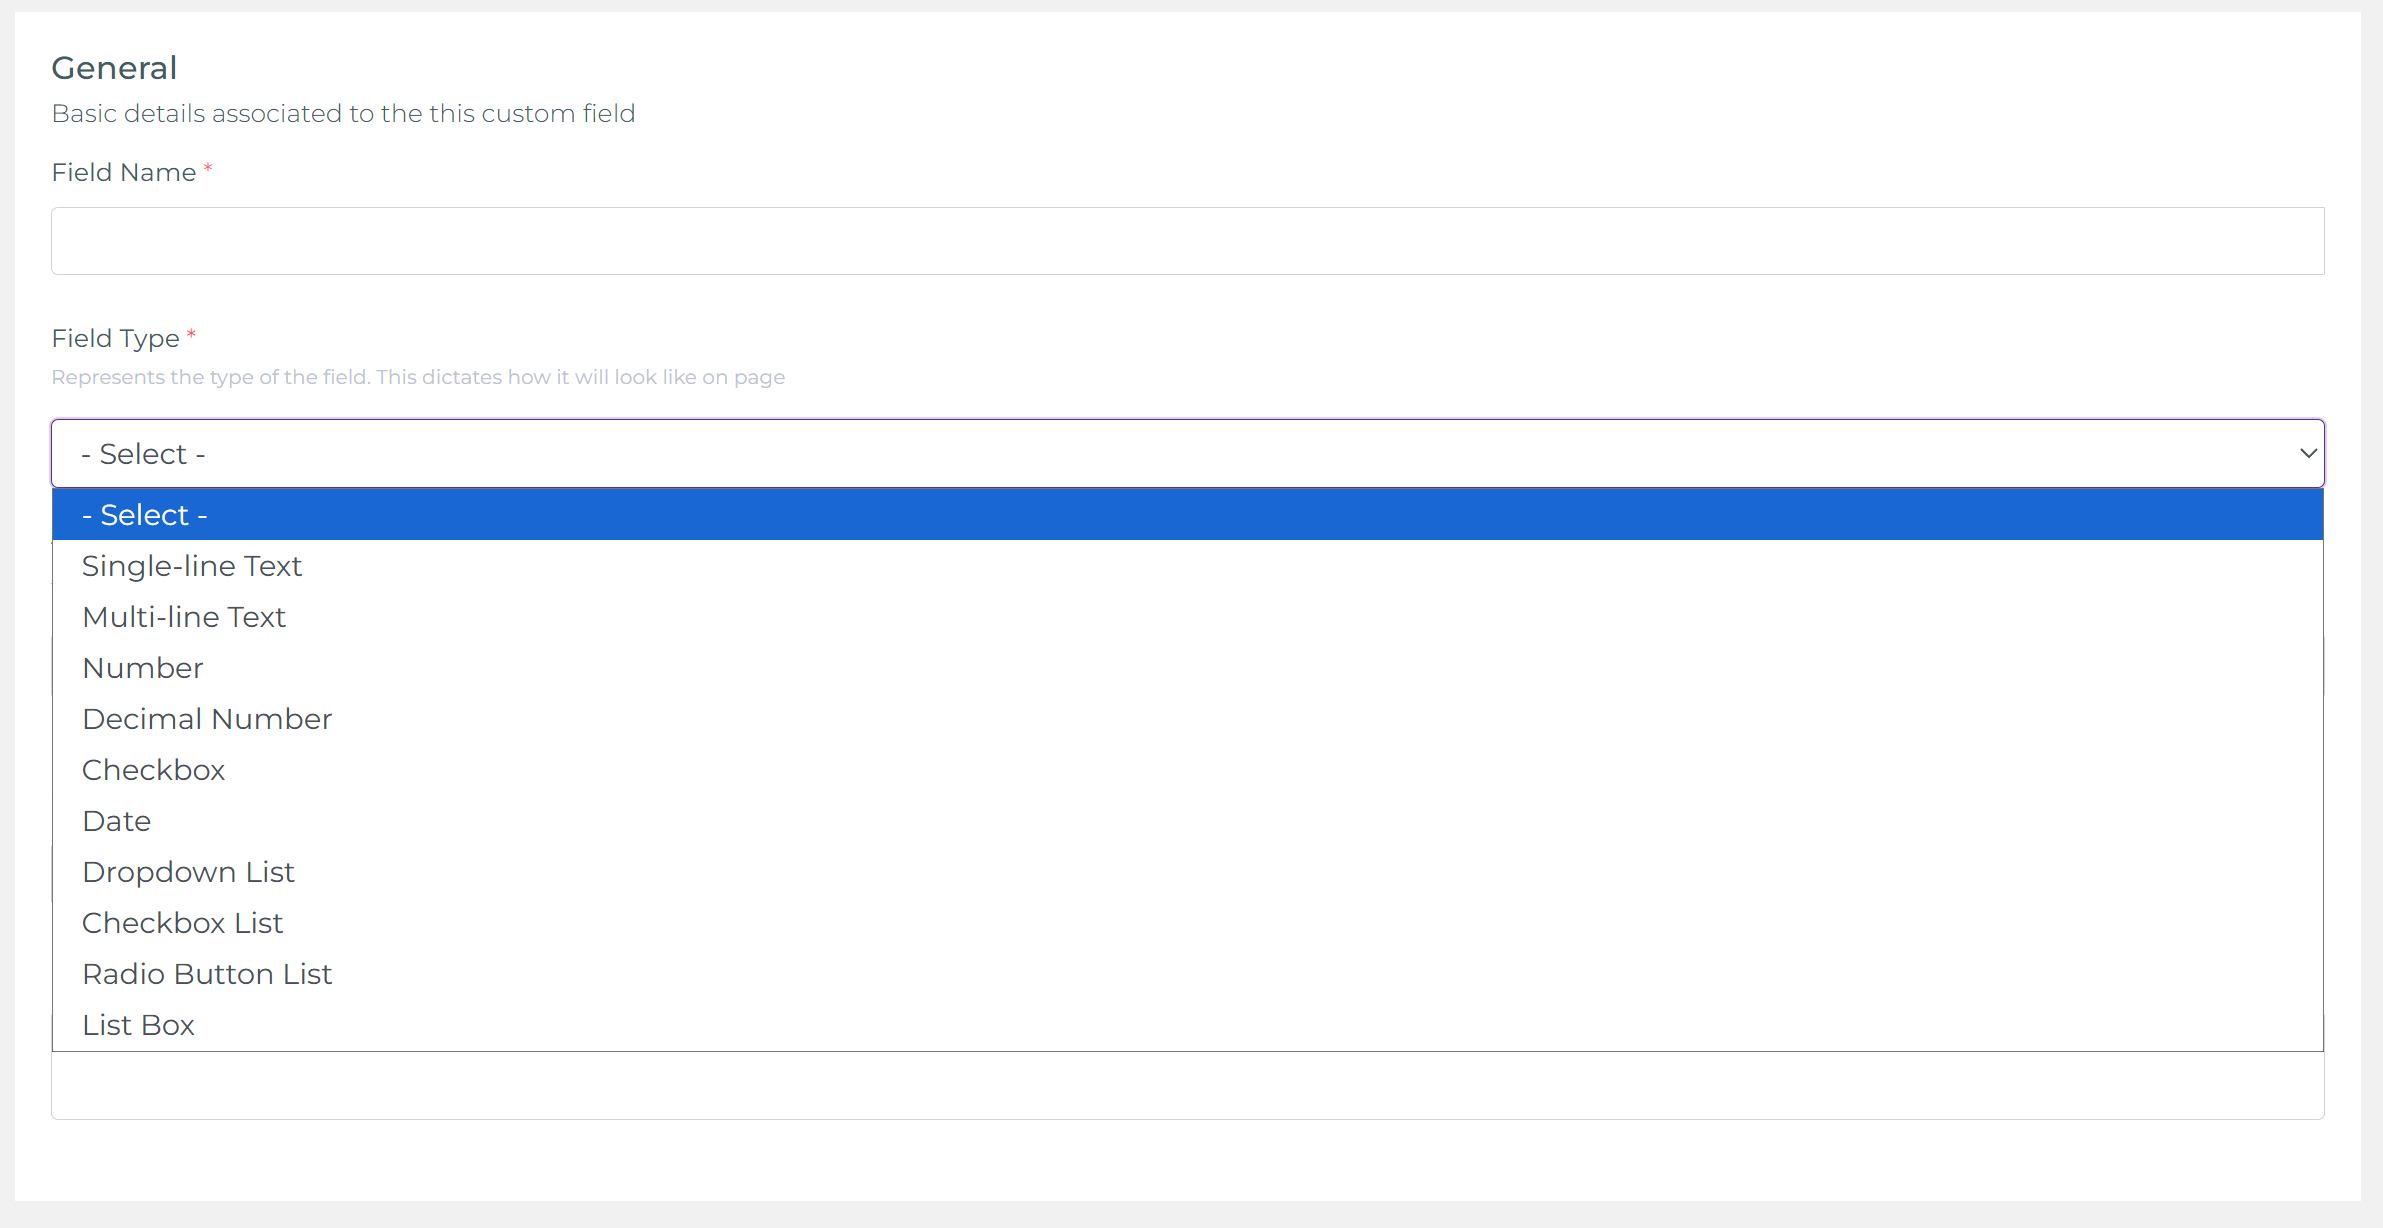
- Field Type – How the field renders. Options include: Single‑line Text, Multi‑line Text, Number, Decimal Number, Checkbox, Date, Dropdown List, Checkbox List, Radio Button List, List Box.
- Target Entity – Customer or Policy.
- Required – Enforce completion during creation/edit when applicable.
- Description – Internal help text so agents know what to enter.
Field Group & Display Order
Place the field inside a Field Group so agents see related fields together on the Customer or Policy page. You can select an existing group or create a new one on the spot, then set the Display Order for how fields stack within that group.
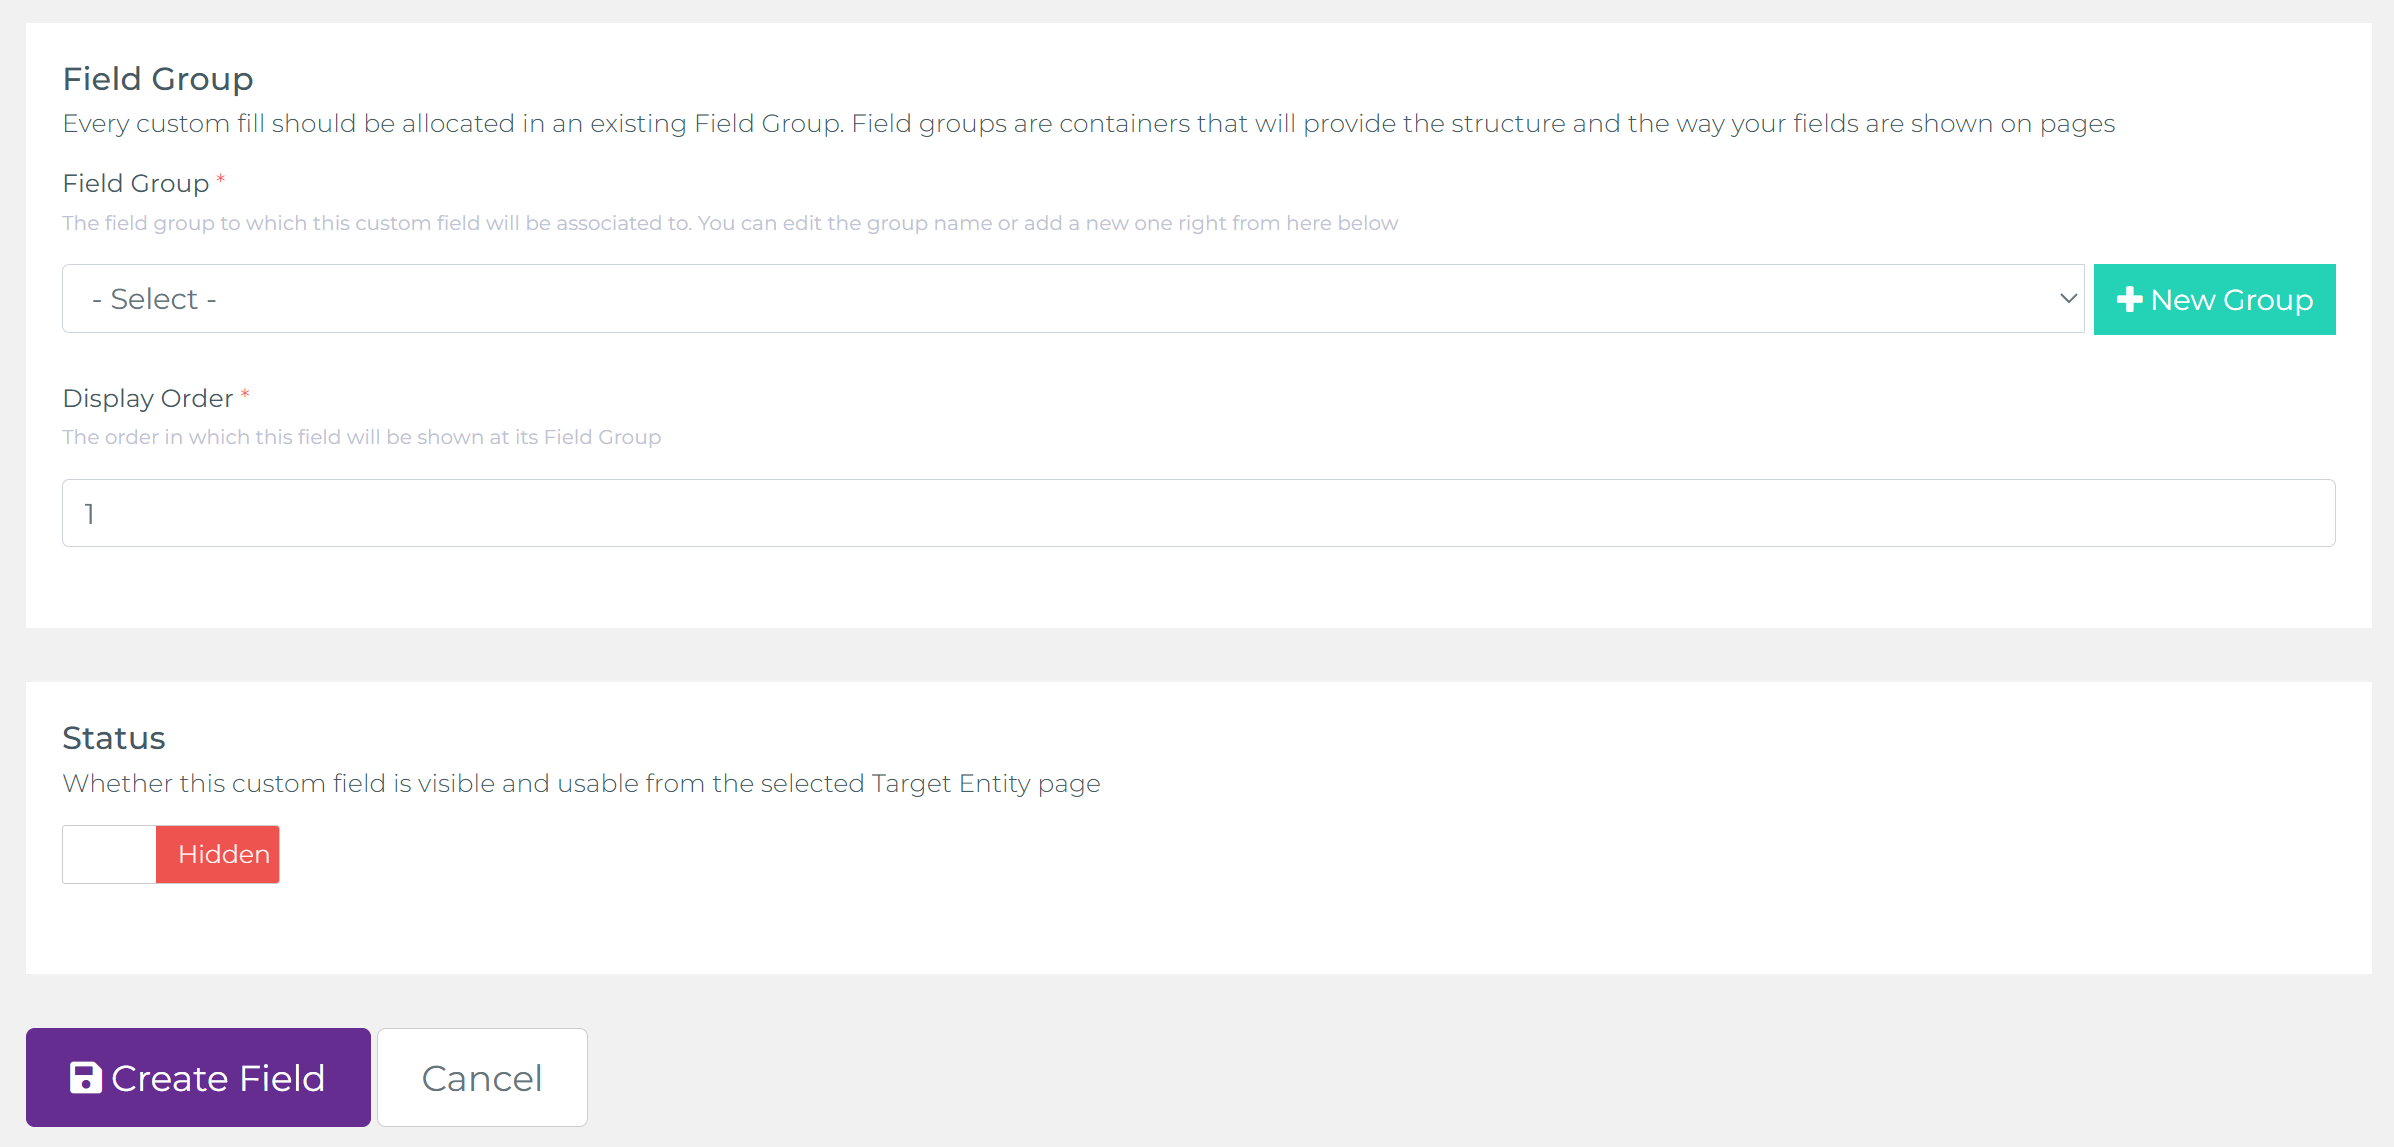
Status
Use Status to control visibility. When a custom field is disabled/hidden, it will not render on any Customer or Policy page—even if it belongs to a Field Group. Toggle it back to visible to re‑enable without losing mappings or historical data.
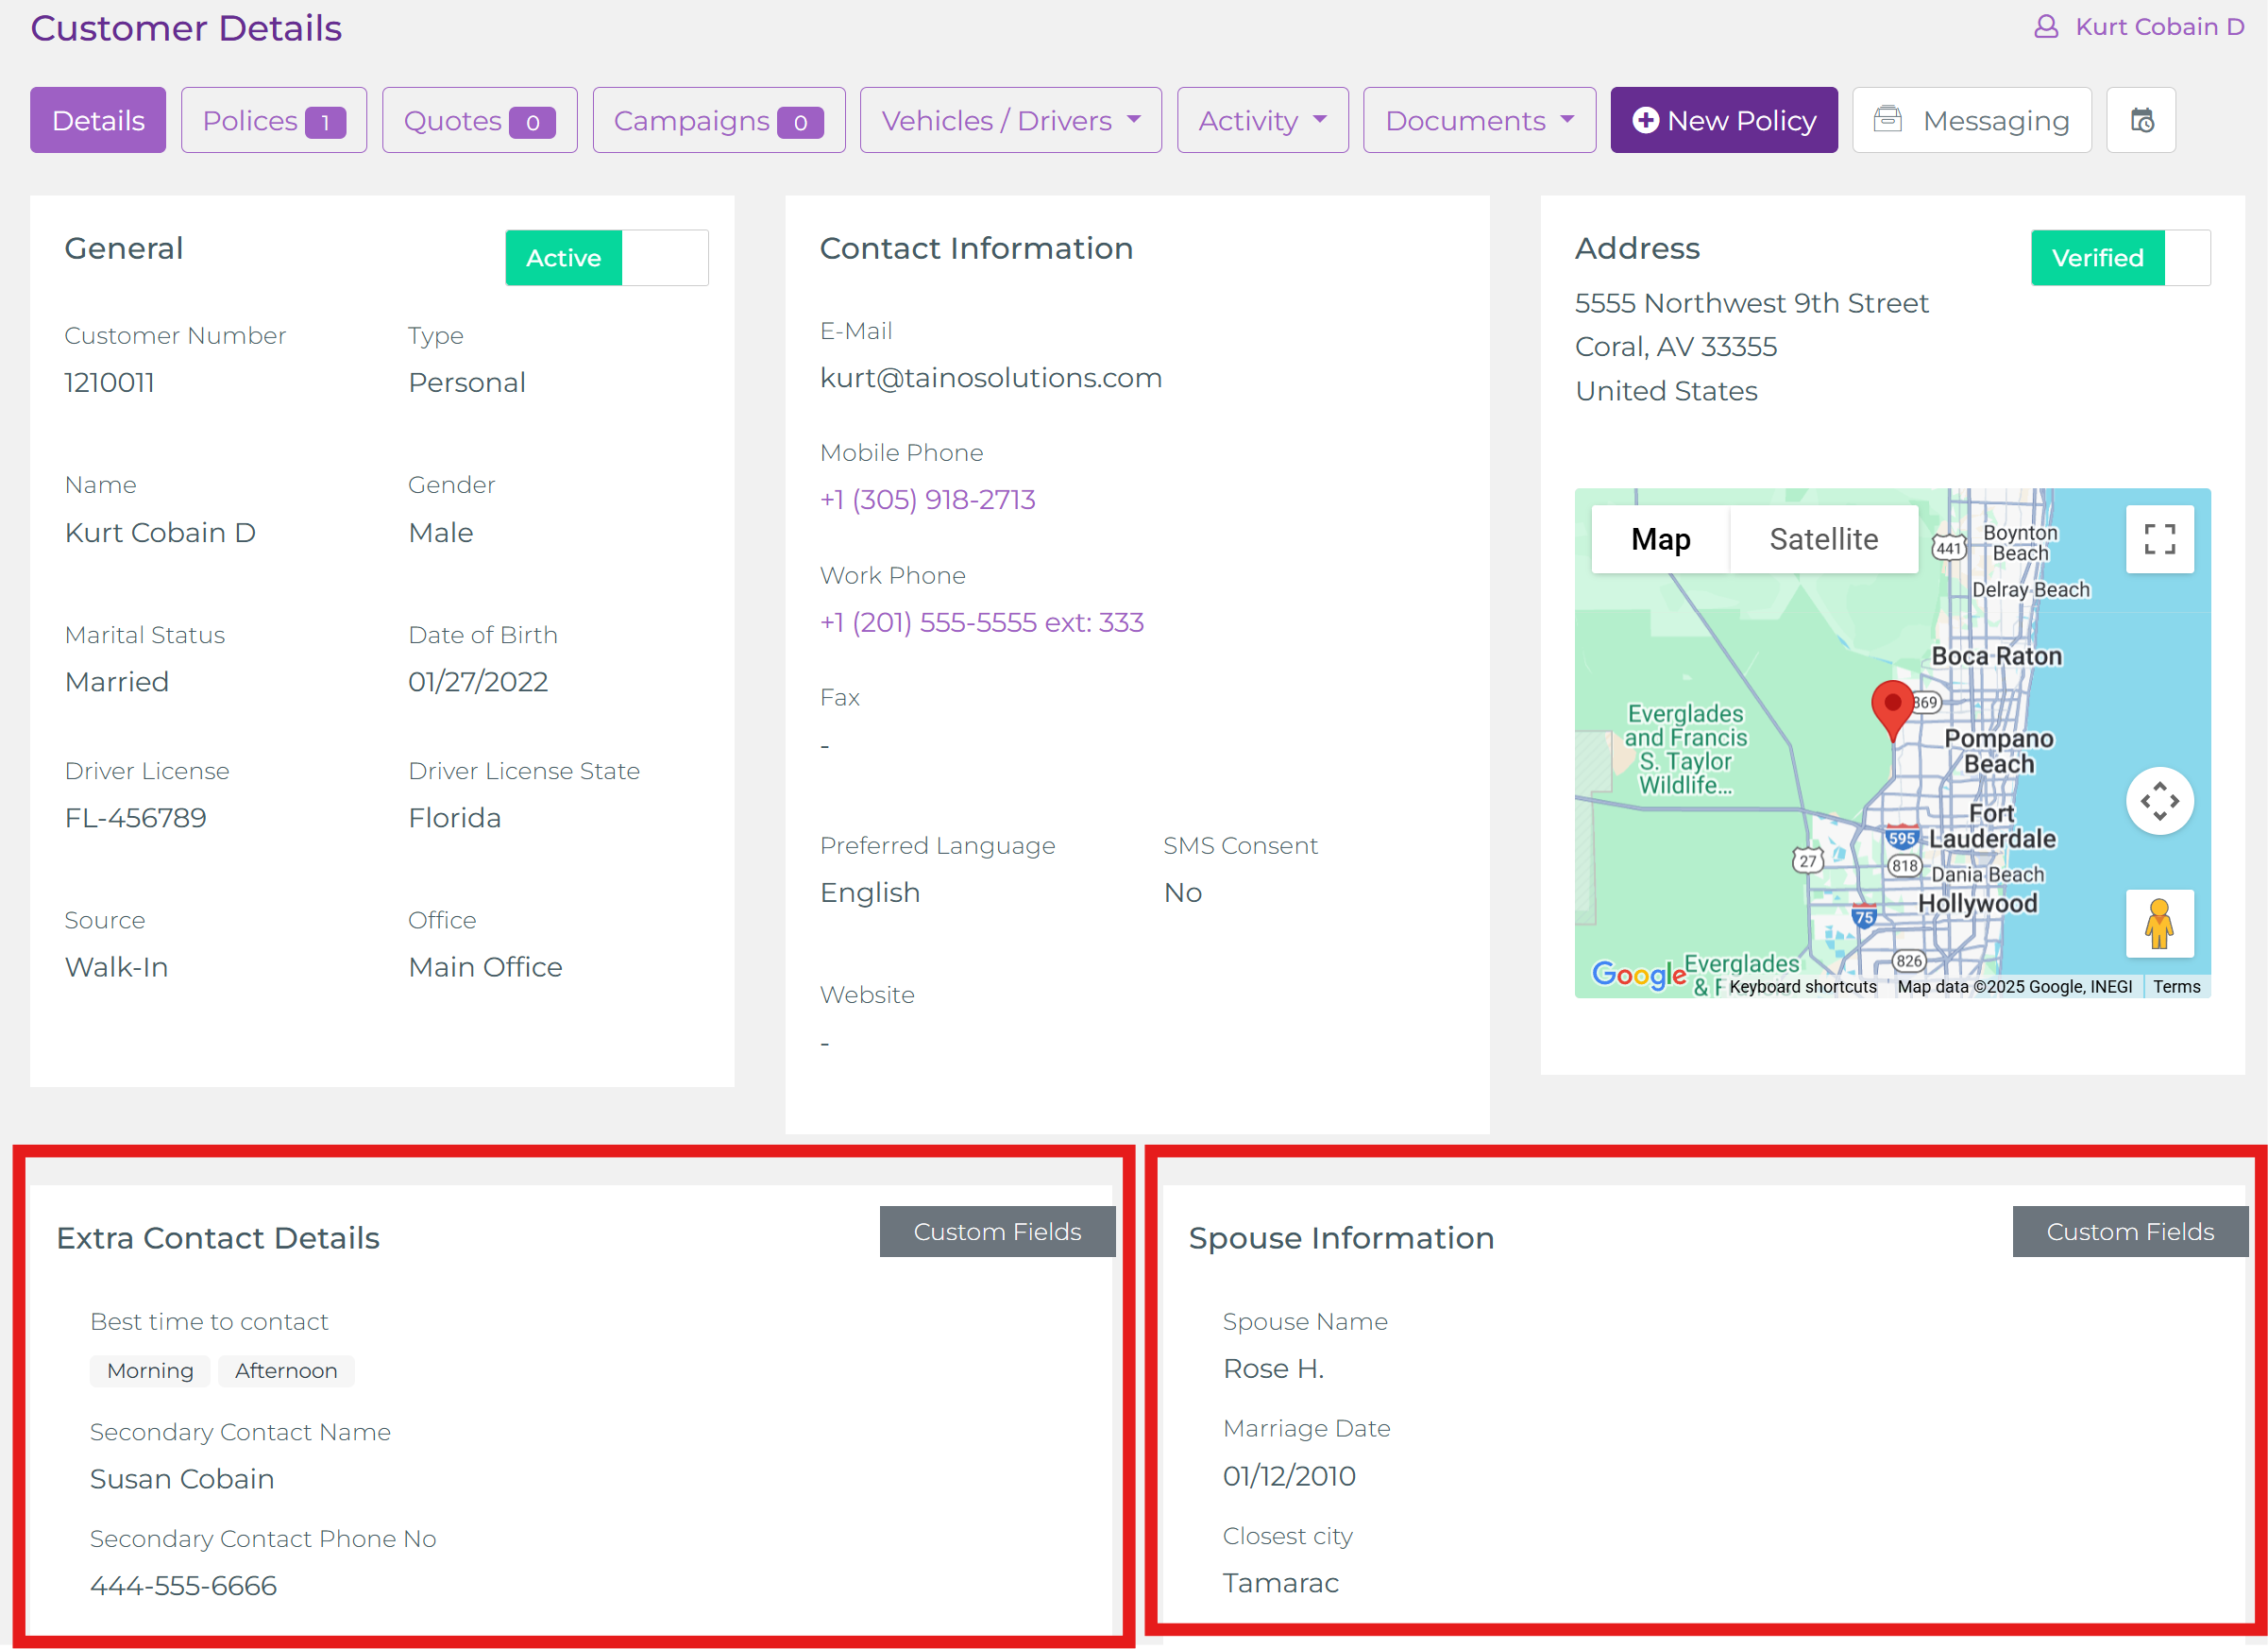
How Fields Render on Records
On the Customer/Policy page, each Field Group appears as a panel with its fields inside. Agents can view and update values inline alongside core profile data—no need to open separate tools.
Powering Automation, Web Forms, and PDFs
Because Custom Fields are first‑class data, they can be mapped into Custom Web Forms and Custom PDF Templates. Automated campaigns can request missing info via web forms and then generate PDFs (certificates, forms) with values auto‑filled—no retyping, fewer errors, faster turnaround. For generating forms from templates, see Generate Web Forms and Generate PDF Forms & Certificates. To orchestrate end‑to‑end workflows, see Automated Pipelines.
- Name stability: Pick clear, stable names—these show up in mappings to forms and PDFs.
- Right type: Choose the tightest field type (e.g., Date vs. Text) to improve data quality.
- Small groups: Group by task or topic; long mixed groups slow agents down.
- Required wisely: Only enforce when the value is truly needed at creation time.
Optional Demo: